|
Oil painting can be daunting to explore because there's so much information and insider jargon that can be difficult to decipher. However, it doesn't have to be hard to get started; with the correct info on supplies, you'll be able to effectively oil paint easily in no time! This post will be organized in a True or False format, presenting common misconceptions about oil painting and providing the correct information for each statement. This format lets you quickly skim and get a good idea of where to start or take your time to learn more in-depth. Before we get into it, some terminology in this post that is specific to art can be a little confusing, like the word "medium." I could explain it, but this article from ThoughtCo explains it in a really concise way, and I couldn't have written it better myself! Now let's dig in! TRUE: THERE IS A LEARNING CURVE TO OIL PAINTINGOil paint is very different than other common painting mediums like watercolor, acrylic, and tempera. Oil paint on its own is a very thick paint that is great for texture, but with the right mediums it's creamy, smooth, and pigmented. One of the best things about oil paint is how far it can go when using mediums. Because of its creamy texture, it spreads out very nicely and dries substantially slower than acrylic paint—think hours to months depending on how thick the paint is and if mediums are used! This means you'll have more time to play around with your blending before the paint sets, making gradients a breeze. Sometimes oil paints' slow drying time can make things tough, though, especially if you like painting in a more graphic or color-block style you may have a little bit of trouble because wet paint on wet paint can get muddy really fast. TRUE: PAINT IN A WELL VENTILATED AREAWhile oil paint is much safer to use than it used to be, it still has substantial fumes, so using it in a well-ventilated area is not just wise, it's essential for your safety! Plus, if you're like me and you're sensitive to smells, you may want to get a fan going or paint by an open window. These simple measures can make your painting experience more comfortable and safe. TRUE: CLEAN UP CAREFULLYAs discussed in our previous section, oil paint isn't the safest to breathe in an enclosed space for extended periods; that also means it's not great for skin or water pipes, so you may wonder how you're supposed to clean up after a painting session. There are two easy ways to clean up! 1. Wear gloves while you paint to avoid skin exposure. 2. Use Odorless Mineral Spirits or Linseed Oil to clean your brushes well; when all visible oil paint is off the brush(you can see more clearly by wiping your brushes on a paper towel), you'll want to wash it thoroughly with dish soap or Brush Soap! TRUE: OIL PAINT TAKES A LONG TIME TO DRYEspecially in comparison to acrylic paint, oils take ages to dry. It can take anywhere from days to months, depending on many factors. You can speed up the process by getting a painting medium like Liquin and Galkyd and Linseed Oil that you'll mix with your oils as your painting. Or if you haven't gotten started with using mediums, drying your painting in direct sunlight will speed up the process substantially, so setting it up to dry facing a window is definitely the way to go! FALSE: OIL PAINTING ISN'T FOR BEGINNERSOne main reason this is absolutely true is that acrylic paint didn't exist until 1934! Before that time, everyone had to learn to paint with either watercolor or, of course, oil paint. Additionally, it took a lot of work to find the exact paint colors you wanted to work with for many reasons. Pigments were too expensive, rare, or even toxic. So, if they could do it, you definitely can! The processing for oil painting has come so far in the last century; we now have safe, synthetic pigments that perfectly match older toxic or rare pigments of the past, we have new pigments that never could've been dreamed of before, and we have new mediums and varnishes that age and work better than ever before. We also have the internet, the most valuable resource for new oil painters. The internet is a treasure trove of tutorials, tips, and resources. If you want to learn a new technique or research a new medium, it's only a click away! FALSE: YOU SHOULD START WITH THE PRICEY PAINTSOne of the biggest lies in art is that you need the most expensive, fancy supplies to make good art. But I argue that starting with lesser-quality supplies will make you a better artist! Suppose you can learn to work with the most basic supplies and their problems (less pigment, grittier textures, etc.) and still make fantastic art using them. In that case, you will be unstoppable with higher-quality paints! If you need more persuasion, it's also better to only invest a little bit of money into a new medium in case you don't like it. This way, you can experiment with different mediums without feeling guilty. As an artist, you're not going to enjoy every medium you try, but you should always be willing to try new things and see where your creativity takes you! FALSE: YOU NEED TONS OF MEDIUMSMediums or additives are just that—additions! Mediums aren't a requirement to paint well with oils. In fact, I wouldn't recommend getting any aside from the three I mentioned earlier simply because those are fantastic, basic mediums that won't overcomplicate your painting process! Once you're more familiar with oils and have begun to unlock your 'style. ' Then, you can use that style as a jumping-off point for any additional mediums you may need, whether you want to make your paint thicker, creamier, matte, etc. FALSE: OIL PAINTING IS EXPENSIVEThe incredible thing about being an artist in the 21st century is that there are all sorts of great supplies for a wide range of budgets that will still give you excellent results. One such example is the Blick Studio Oil Paints. These paints are an incredible value, offering a good balance between quality and affordability. We even use them in our studio for classes and private lessons, and they consistently deliver outstanding results. You can also have a limited assortment of brushes to cut down on unnecessary expenses. If you need help deciding on your brushes, check out our post, Paintbrushes Every Artist Needs In Their Arsenal. As a general rule, you should also go for oil-specific or stiffer mixed media brushes, as oil paint is a very dense paint! ONE FINAL NOTENow that you know the basics of oil painting, the last thing I recommend is watching loads of videos of artists using oil paints. I recommend this in particular because most creative people are visual learners, so of course, seeing artists working in real-time and seeing how they use their paint, brushes, different mediums, and techniques will help you learn! Don't limit yourself to watching people paint in styles you like most either; expand that a bit because you never know when you could learn a whole new technique! Here are some great videos for a starting point! The Basics Of Oil Painting by Alpay Efe OIL PAINTING TIMELAPSE II "Blossom" by Daria Callie HUNGRY FOR MORE PAINTING KNOWLEDGE?We have just the thing! For an amazing introduction to understanding art fundamentals like value, contrast, color theory, color mixing, and more, check out our Foundations Studies curriculum. Our at-home art lessons will implement acrylic paint, but these foundational skills will translate into any variety of painting or drawing! BRUSH UP ON MORE ART TIPS!
0 Comments
Getting into painting can be daunting for all kinds of reasons, whether you've never done it, haven't done it since you were a kid, aren't sure what supplies you need, etc. You may have many preconceived notions about art that can get in the way of expressing your creativity!
That's where we come in! Our painting kits have the essential supplies you'll need to get started and create your masterpiece. All of our canvas painting kits come with soft-body acrylic paint in all of the colors you'll need, paintbrushes, a pre-sketched canvas, and a full-length video tutorial, so even if you don't choose your first project from this list, all of our painting kits are great for beginners! Whether you need gifting ideas or want some ideas for yourself as a good starting point for a new painting hobby, we've got plenty of variety for you! So, without further ado..... OUR TOP 10 PAINTING KITS FOR BEGINNERS!
What's so special about these picks? Well, there are a few things that set them apart! For one, while all of them have some blending, it's very straightforward blending because the colors you'll be blending with are very similar to each other, i.e., green and yellow or a darker and lighter version of the same color; this will help you a lot with getting your blending in with minimal stress about colors getting muddy! Another thing that makes these easier than others is that they are more natural subjects with little symmetry, making them more forgiving if you don't stay entirely in the lines! And finally, speaking of lines, all of these options have very minimal outlining, if any, which is ideal for anything that doesn't have a steady hand.
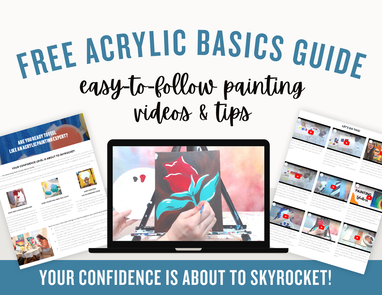
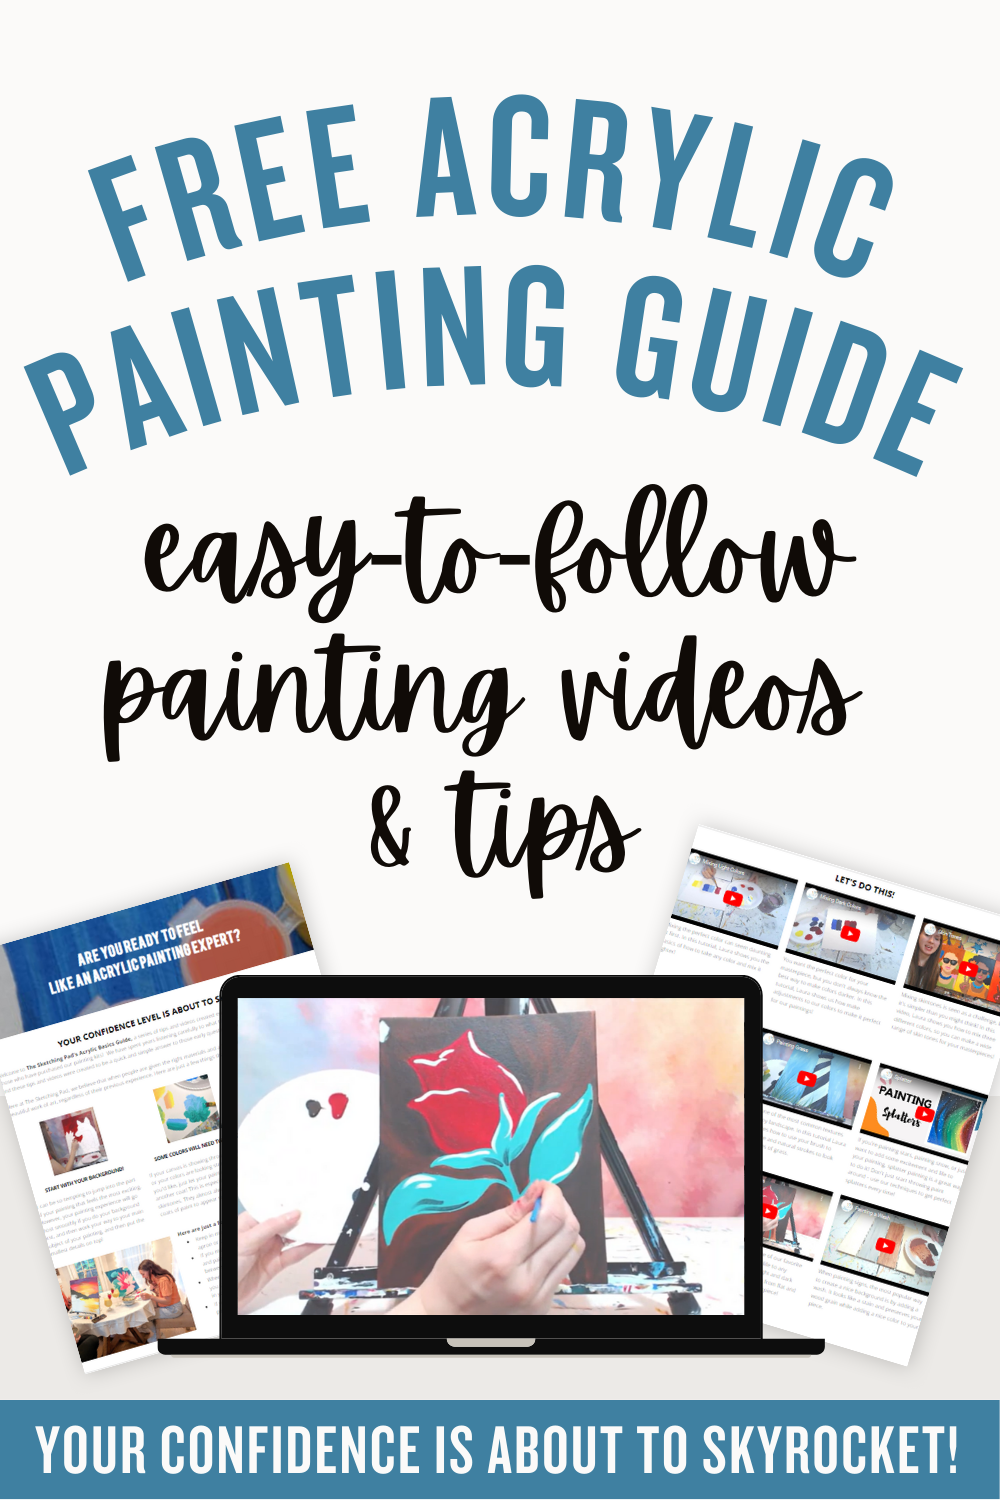
Want to be a little more prepared to make your first masterpiece or just learn fun painting techniques that you can enhance your art with? YOU MAY LIKE OUR ACRYLIC BASICS GUIDE!
In this guide you'll find a dozen videos covering everything from mixing skin tones, painting gradients, lightening colors, darkening colors, and more! We're also always taking suggestions for new tutorials so email us at [email protected] if you have ideas!
IN THE MOOD FOR SOMETHING A LITTLE DIFFERENT? WE HAVE SOMETHING FOR EVERYONE!IF YOU LIKED THIS BLOG POST, CHECK THESE OUT WHILE YOU'RE HERE!
You want to thrive in life, we all do! A huge part of that is making room for and prioritizing fun, creativity, and connection whenever you can! We understand that financial constraints can make it challenging to fit something like a painting party into your budget, especially considering the drastic effects of inflation over the past few years.
However, at The Sketching Pad, we're dedicated to creating an inclusive space where art is for everyone, regardless of economic background. Everyone deserves the opportunity to express themselves through art, even if it's not with our art kits! Our objective here isn't just to sell our products; it's to give you resources, inspiration, and education so you can make the right decisions for yourself! Ready to dive into these money-saving tips? We'll be exploring three main tips in depth below; we'll also provide you with specific recommendations for brands and items. Remember, this isn't a one-size-fits-all guide, so choose what you think will work best for your party! 1. OPT FOR PACKS AND SETS
Of course, buying in bulk saves money on things like groceries, clothes, and more, but it also works with lots of art supplies! Specifically canvases and brushes. Especially when planning a party, you're already going to buy a lot of these, so opting for packs and sets of canvases and brushes can save you a ton!
Here are our favorites: Canvases/canvas boards! Blick Super Value Canvas Packs Blick Studio Cotton Canvas Panels and Packs Brushes! ESRICH Acrylic Paint Brushes Set Round Paint Brushes - 12-Piece Set 2. AIM FOR QUALITY OVER QUANTITY
Craft paint can still give you a great time, but if you're looking for your paint to go further, go for a student grade paint from an art store, it'll still be affordable, but the quality will stand the test of time!
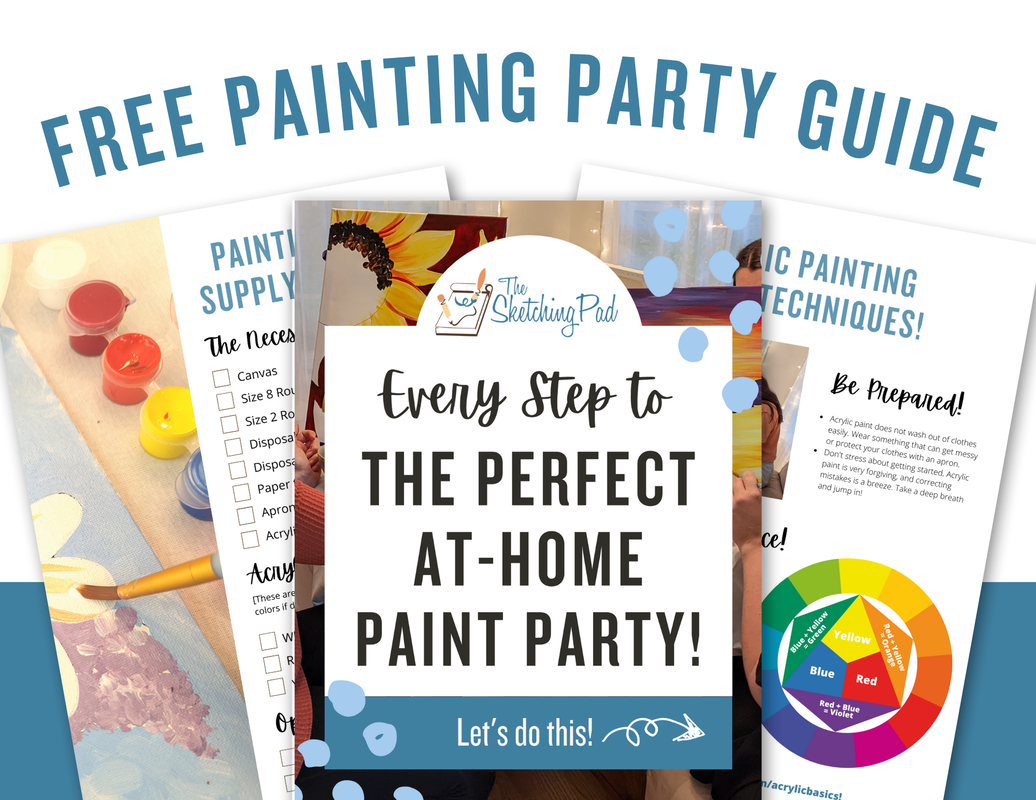
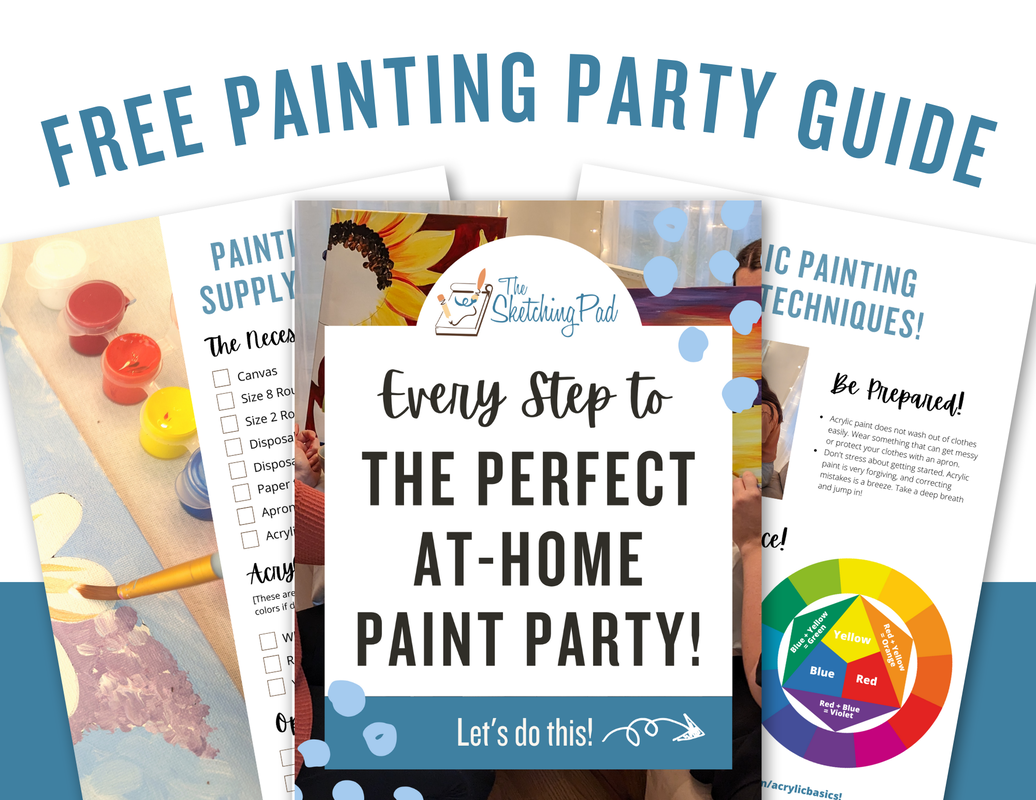
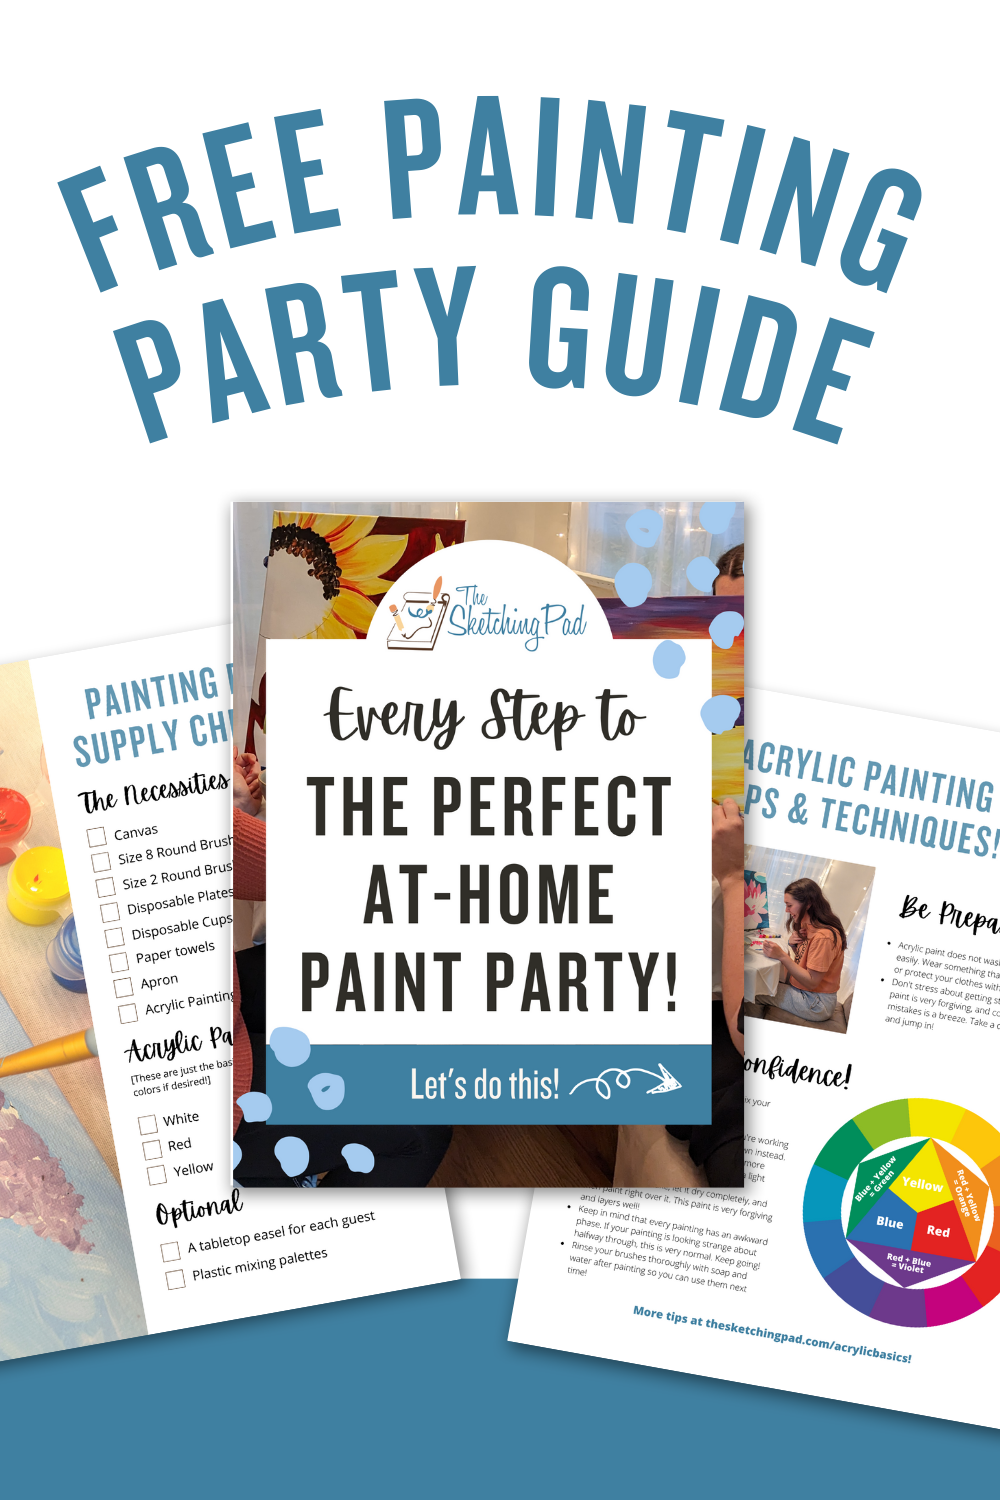
We use Blickrylic Student Acrylic Paint for its texture, pigment, and versatility! A big plus to getting this kind of paint is that as long as you close the bottles when you're finished to keep the paint fresh, it has a pretty long shelf life, so you can have parties again and again! Getting a limited range of colors will also save you a lot, but you must be willing to learn how to mix your colors! Generally, the most versatile range will come from white, blue, yellow, magenta, brown, and black. You can mix skin tones, greens, purples, blues, greys, and more with those six colors! If you need guidance on mixing your colors or want more info on why you should go with acrylic paint for your party, check out our free painting party guide! In the guide you'll find:
3. AFFORDABLE ALTERNATIVES FOR ESSENTIAL SUPPLIES
There are plenty of more affordable substitutes for common supplies that you'll need for your party! These are our top trade outs that are just as good as the standard options!
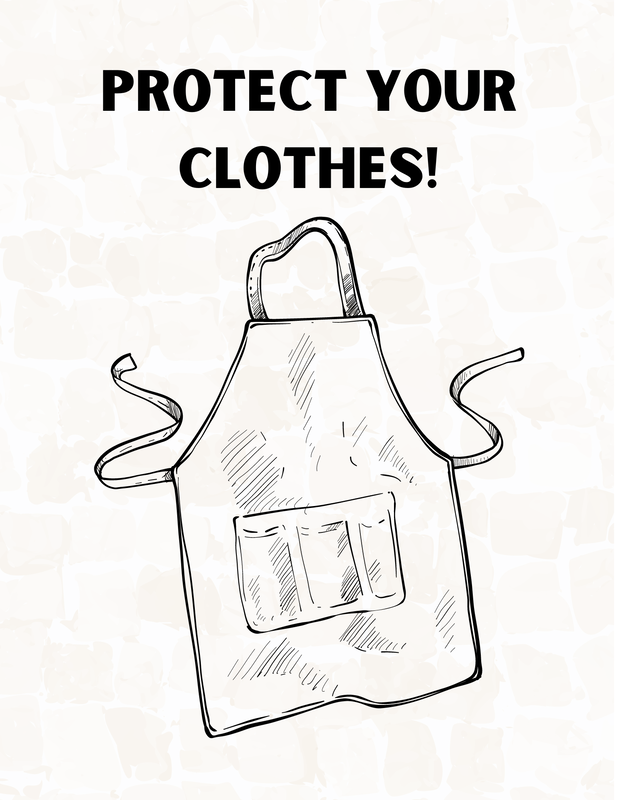
Instead of paint palettes, opt for disposable plates, specifically coated ones! Instead of cloth aprons, get disposable plastic aprons. The best part about these is that the wet paint won't seep through to your clothes, making them arguably better! Instead of wooden or metal easels, get cardboard easels! As long as they'll fit the canvas size you chose they're a great option, so be sure to check the description to see what sizes they're compatible with! Instead of getting canvases or canvas boards, don't forget you can also get paint paper, that works just like canvas and has the additional benefit of being a much smoother painting surface! Instead of getting fancy water cups specifically for painting, opt for disposable cups or even reuse old jars! You'll just want to make sure they're tall enough for the brushes you're using, otherwise they might flop out when your guests place them in the water. We hope you found these tips helpful, and feel free to comment or email us at [email protected] if you need a little extra guidance! ACCESS OUR FREE PAINTING PARTY GUIDE AND PREPARE TO WOW!
To learn absolutely everything else you'll need to know for your painting party, check out our free in-depth guide!
HOW ABOUT SOME ONE STOP SHOPPING?
Our painting kits have all of the essentials needed for your painting party needs, from paint, pre-sketched canvases, brushes, fully length video tutorials, and when you purchase ten or more kits you'll receive complimentary reusable paint palettes and disposable aprons with every kit! Plus, when you purchase ten packs of our canvas kits, the 10th kit is always free!
YOU MAY LOVE THESE POSTS TOO!
We could all use a little more calm in our lives with all the responsibilities adulthood brings. Having relaxing hobbies really helps ease the nonstop nature of life. If you're here at this blog post, you're probably looking for a little inspiration for a new mosaic project. Whether you're experienced with mosaic making or not, these will be as simple as they are beautiful, so you can just sit back, relax, and enjoy the process!
BEFORE WE GET INTO THE IDEAS...
If you're new to mosaic making, fret not! Here are a few simple tips to ensure your mosaic withstands the test of time, even in the harshest weather conditions!
STEPPING STONE INSPIRATION
There is something special about making your own stepping stones, perfect for your space. Concrete or pressure-treated wood should be your backing of choice. Any local hardware store or garden center should have something that will work perfectly.
You can go wild and fun like this paver from Etsy. A design like this is actually a lot easier to lay out than you'd think. Just start with one of the circles, get it fully laid out, then fill in more circles around the original, and then fill the extra gaps between circles. Once you've got everything laid out, tweezers will be your best friend for picking up tiles and adhering them down without disturbing the rest of your design!
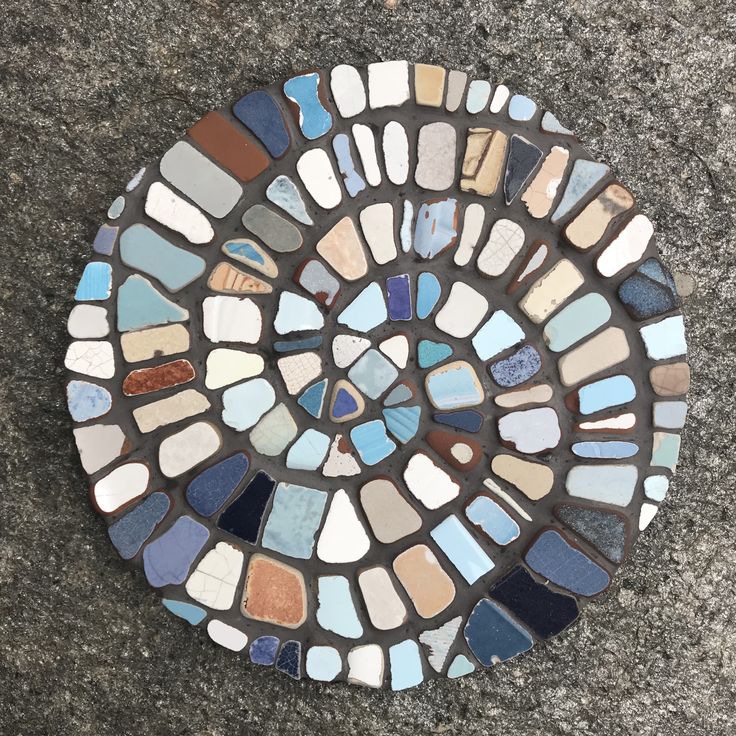
If you're feeling more inspired by this floral design, it's also deceptively simple to lay out, just like the last one! Just like you would've done with your circles, lay out the flowers around each other first, then fill in any additional gaps with assorted green tiles! This beach-inspired spiral stepping stone is GORGEOUS! For this one, you'll want to mark the center of your backing as accurately as possible. I would personally use a ruler for this. Then, arrange your tiles in a spiral, one line at a time, until you've got all of your lines on! BIRDHOUSE INSPIRATION
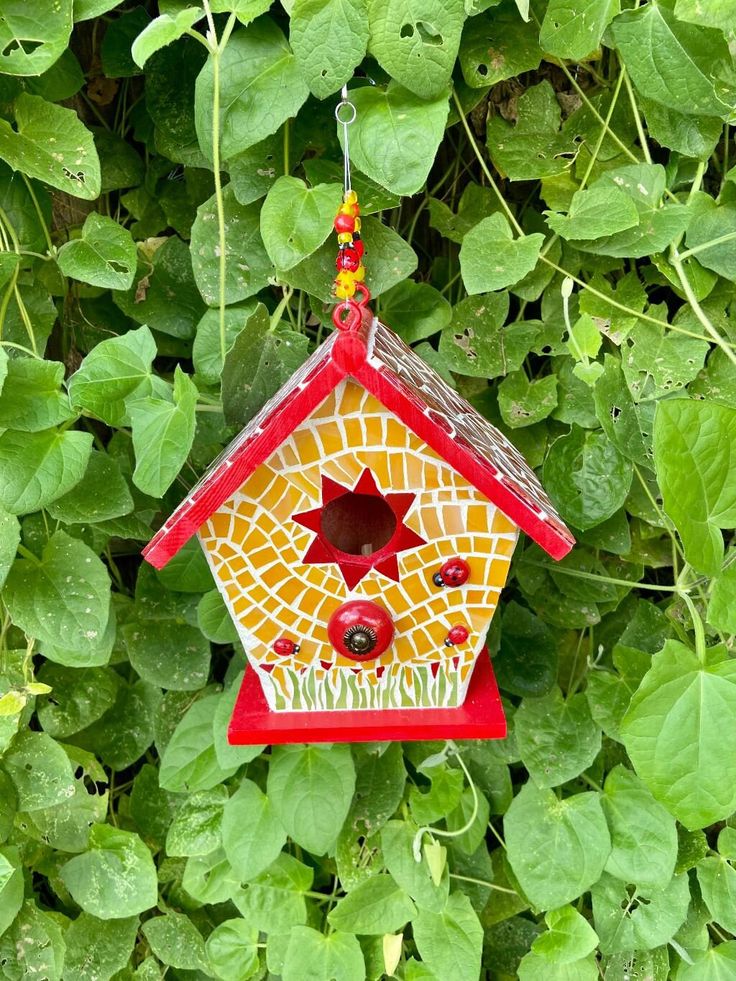
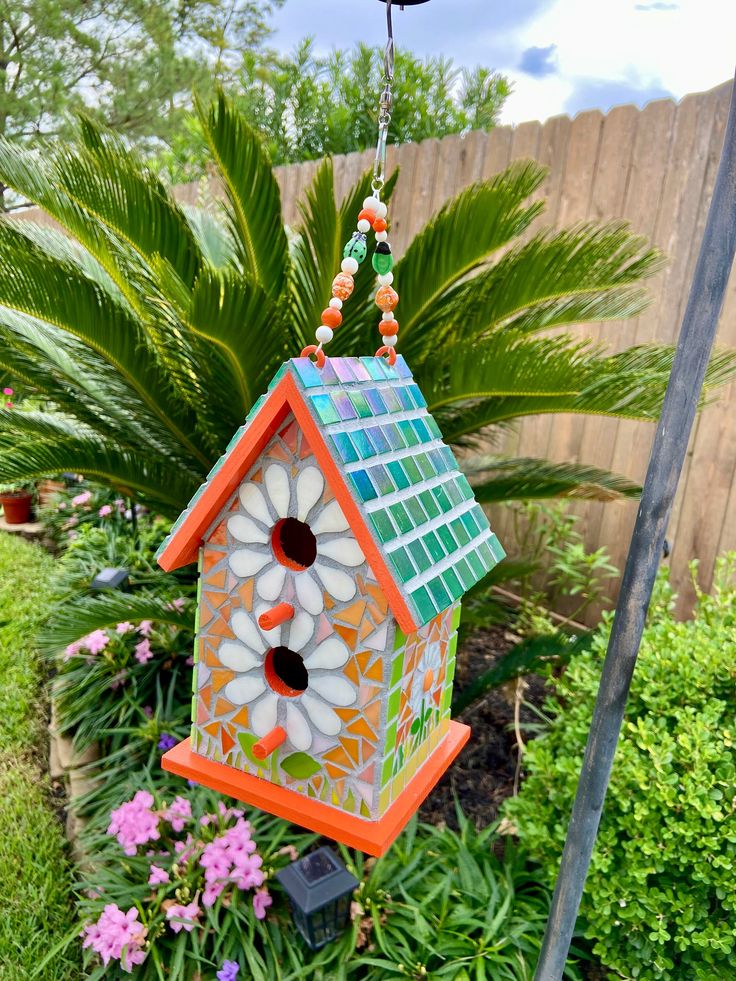
Wooden birdhouses are usually made with untreated wood, so before you get started on any of these adorable birdhouses, you'll want to paint the whole thing with exterior paint in the color of your choice to seal the wood and ensure no moisture will get through and break down the grout!
Much like those previous stepping stones, to lay out these designs you'll want to start with the more intricate parts and will in the spaces around them once everything is laid out. The most important thing to remember when adhering tiles to something like this is that you'll need to work on one side at a time and let it fully dry down before moving on to the next, otherwise your tiles will likely slide around and mess up all of your hard work!
Once you've got all of your sides on you'll want to go ahead and do a second coat of exterior paint anywhere you couldn't fit your tiles to make everything nice and finished! PLANTER INSPIRATION
If you're looking for a challenge, this project is for you! Ceramic or terracotta pots are your best friend for mosaics. We recommend starting with small ones if this is your first time working on a curved surface!
You may be thinking, "What? You think I can mosaic on a curved surface?" Yes, of course we do! It's actually easier than you may think! The only slightly challenging part about making a planter into a mosaic is that you have to work on one small portion at a time and allow the adhesive to be fully set before moving on, just like the birdhouses! You'll just have to work in much smaller sections, so nothing slides around.
Designing will also be a bit trickier because you won't be able to fully lay out your tiles before adhering them like you would on a flat surface. But if you know the dimensions of your pot, you could lay out a design flat on your table with the exact dimensions to take tiles from while you're adhering them! That way, you won't be going into things completely blind. NOT READY FOR THE FUN TO END?
NEEDING SOME FUN PROJECTS TO DECORATE THE INSIDE OF YOUR HOME WITH NOW? WE CAN HELP WITH THAT!
With tons of beautiful options to choose from, our mosaic kits are the perfect activity for satisfying your cravings for creativity without breaking the bank or researching all of the supplies you'll need in depth. We can't wait to see what you'll create!
YOU'LL LIKE THESE ARTICLES TOO!
If you've ever found yourself wrestling with the task of painting smooth, seamless gradients with acrylic paint, take comfort in the fact that you're not the only one. This is a common hurdle that many artists, both professional and hobbyist, face. The culprit behind this challenge is the fast drying nature of acrylic paint, which can make mastering gradients a bit of a puzzle. However, we're here to share some valuable tips that will make your gradient blending journey a breeze! Let's dive into our first tip!
1. USE A LARGE BRUSH
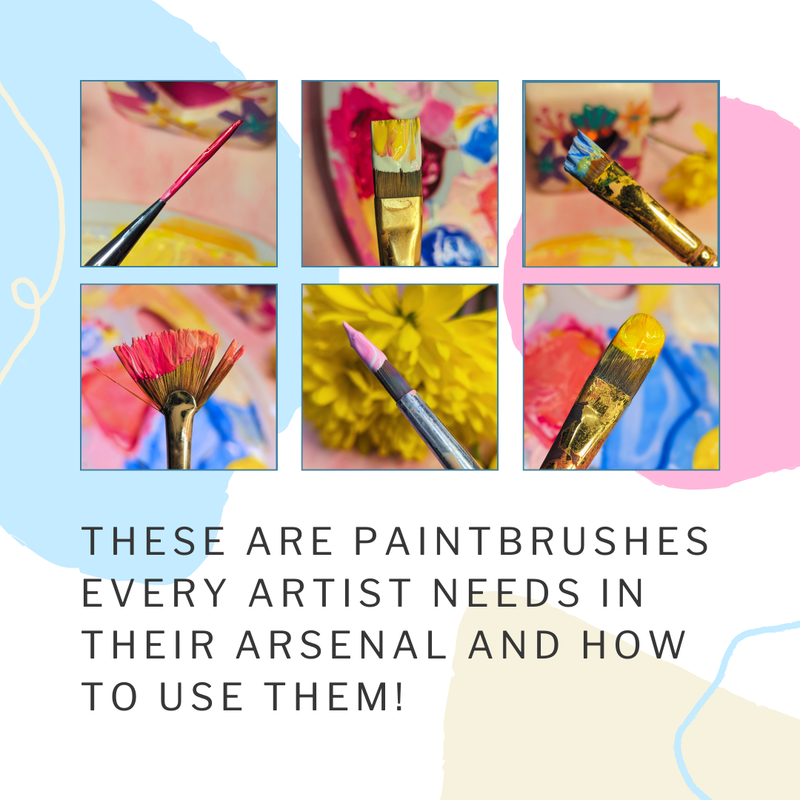
Here's my top tip for creating seamless gradients with acrylic paint, and it's a game-changer. Given the fast-drying nature of acrylic, using a larger brush can significantly enhance your blending process. With a larger brush, you can cover more surface area, work faster, and achieve those beautiful, smooth blends you've been aiming for. Remember, your brush doesn't have to be massive; just avoid using tiny detail brushes for blending. If you'd like to learn more about what shape of brush would be best for blending, check out our post on Paintbrushes Every Artist Needs In Their Arsenal!
2. SLOW DOWN DRYING TIME
Of course, you can work with your paint very quickly before it dries down, but that can be stressful and more hassle than it's worth! If you're like me and prefer to take your time, however, there is a way to slow the speed at which your paint dries, and no, it's not by switching to oil paint! It's a fantastic additive medium called retarder that slows the drying process of acrylic substantially, giving you ample time to get those beautiful seamless blends. The best part is that most craft stores like Michael's and Hobby Lobby sell it, so you don't have to go to a specialty art supply store to track it down!
3. USE THE RIGHT KIND OF ACRYLIC PAINT
Did you know there are different classifications of acrylic paint? Heavy Body, Soft Body, and Fluid are all useful for various styles and techniques! We're only going to talk about Soft Body today because it's the best kind for what you'll be doing: blending! The soft body has a lighter, creamy consistency, like yogurt or buttercream icing, which makes it ideal for blending. Here's why! Being a lighter but not watery consistency, it has enough substance to maintain excellent coverage and pigment, avoiding thin, patchy areas. Still, it's not so stiff that you can't get it smooth. It's the perfect happy medium and that's precisely why we include soft body in our painting kits!
PRACTICE YOUR GRADIENTS WITH OUR PAINTING KITS!
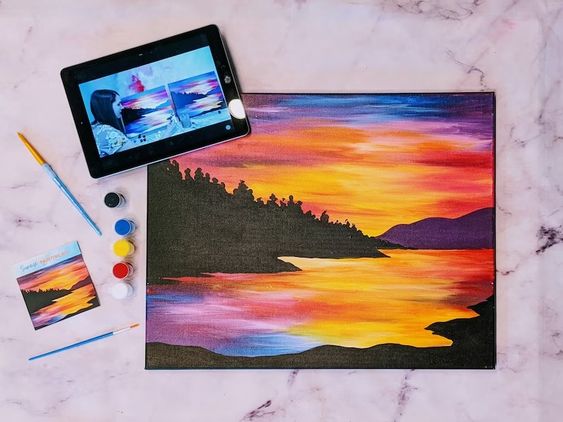
Our canvas painting kits include everything you'll need to make a painting you'll be proud of, from quality soft body acrylic paint in all of the colors you'll need, brushes, a pre-sketched canvas, and a full-length video tutorial to take you through all of the techniques you'll need to recreate our paintings your way!
4. KEEP YOUR BRUSHES CLEAN
This next tip may seem obvious, but it's actually very easy to forget! The best way to avoid muddy blends is to clean your paintbrushes well between colors. For example, if you're doing a gradient from black to red to pink to white, you don't want a lot of color cross-contamination, so you'll want to clean your brushes between each section. There is no need to use soap either; just clean water and a paper towel or a rag will do the trick!
5. CONSIDER COLOR THEORY
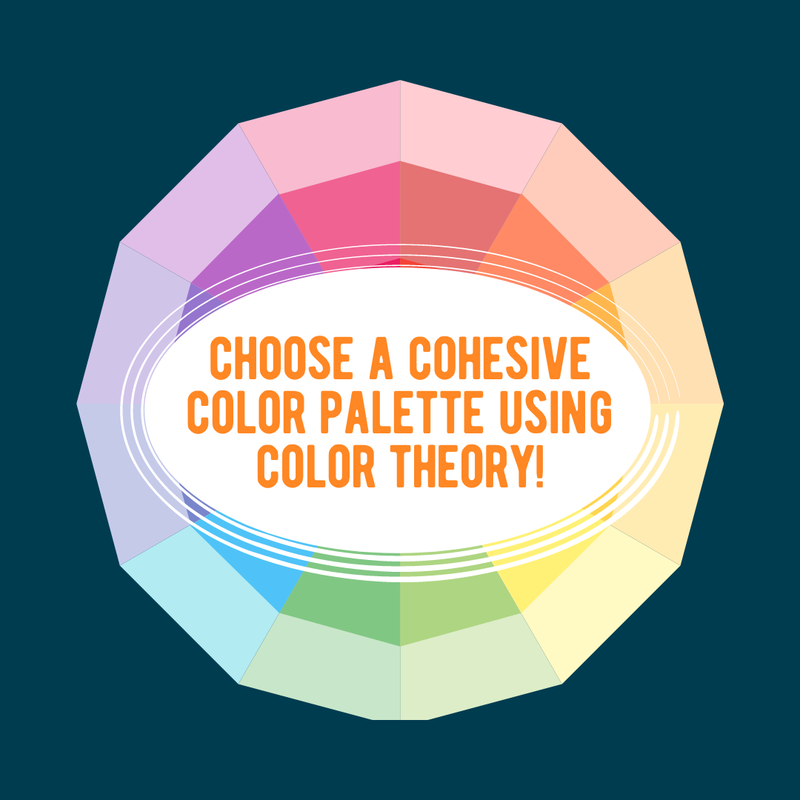
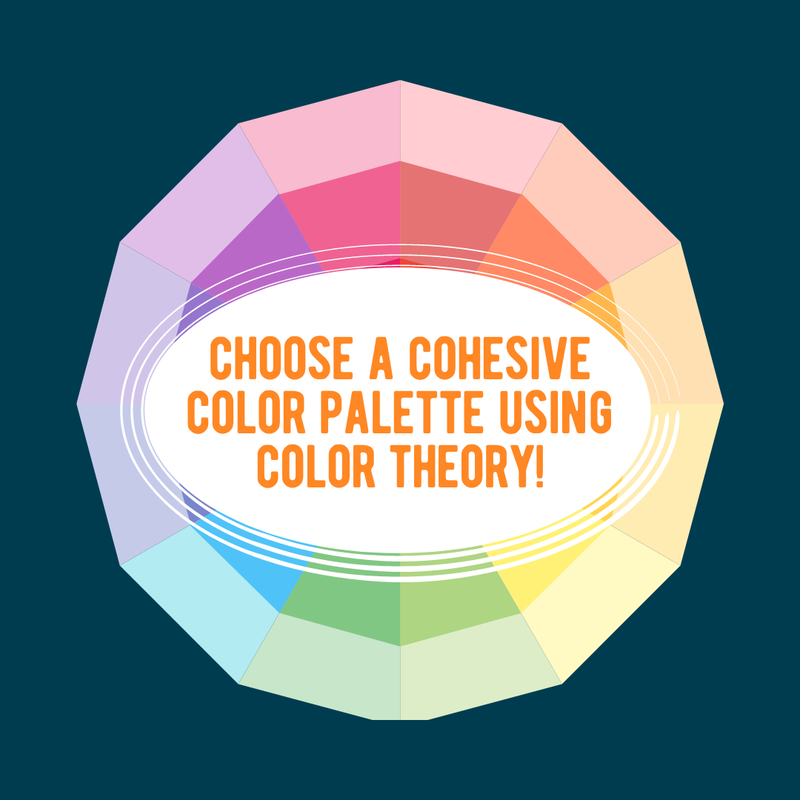
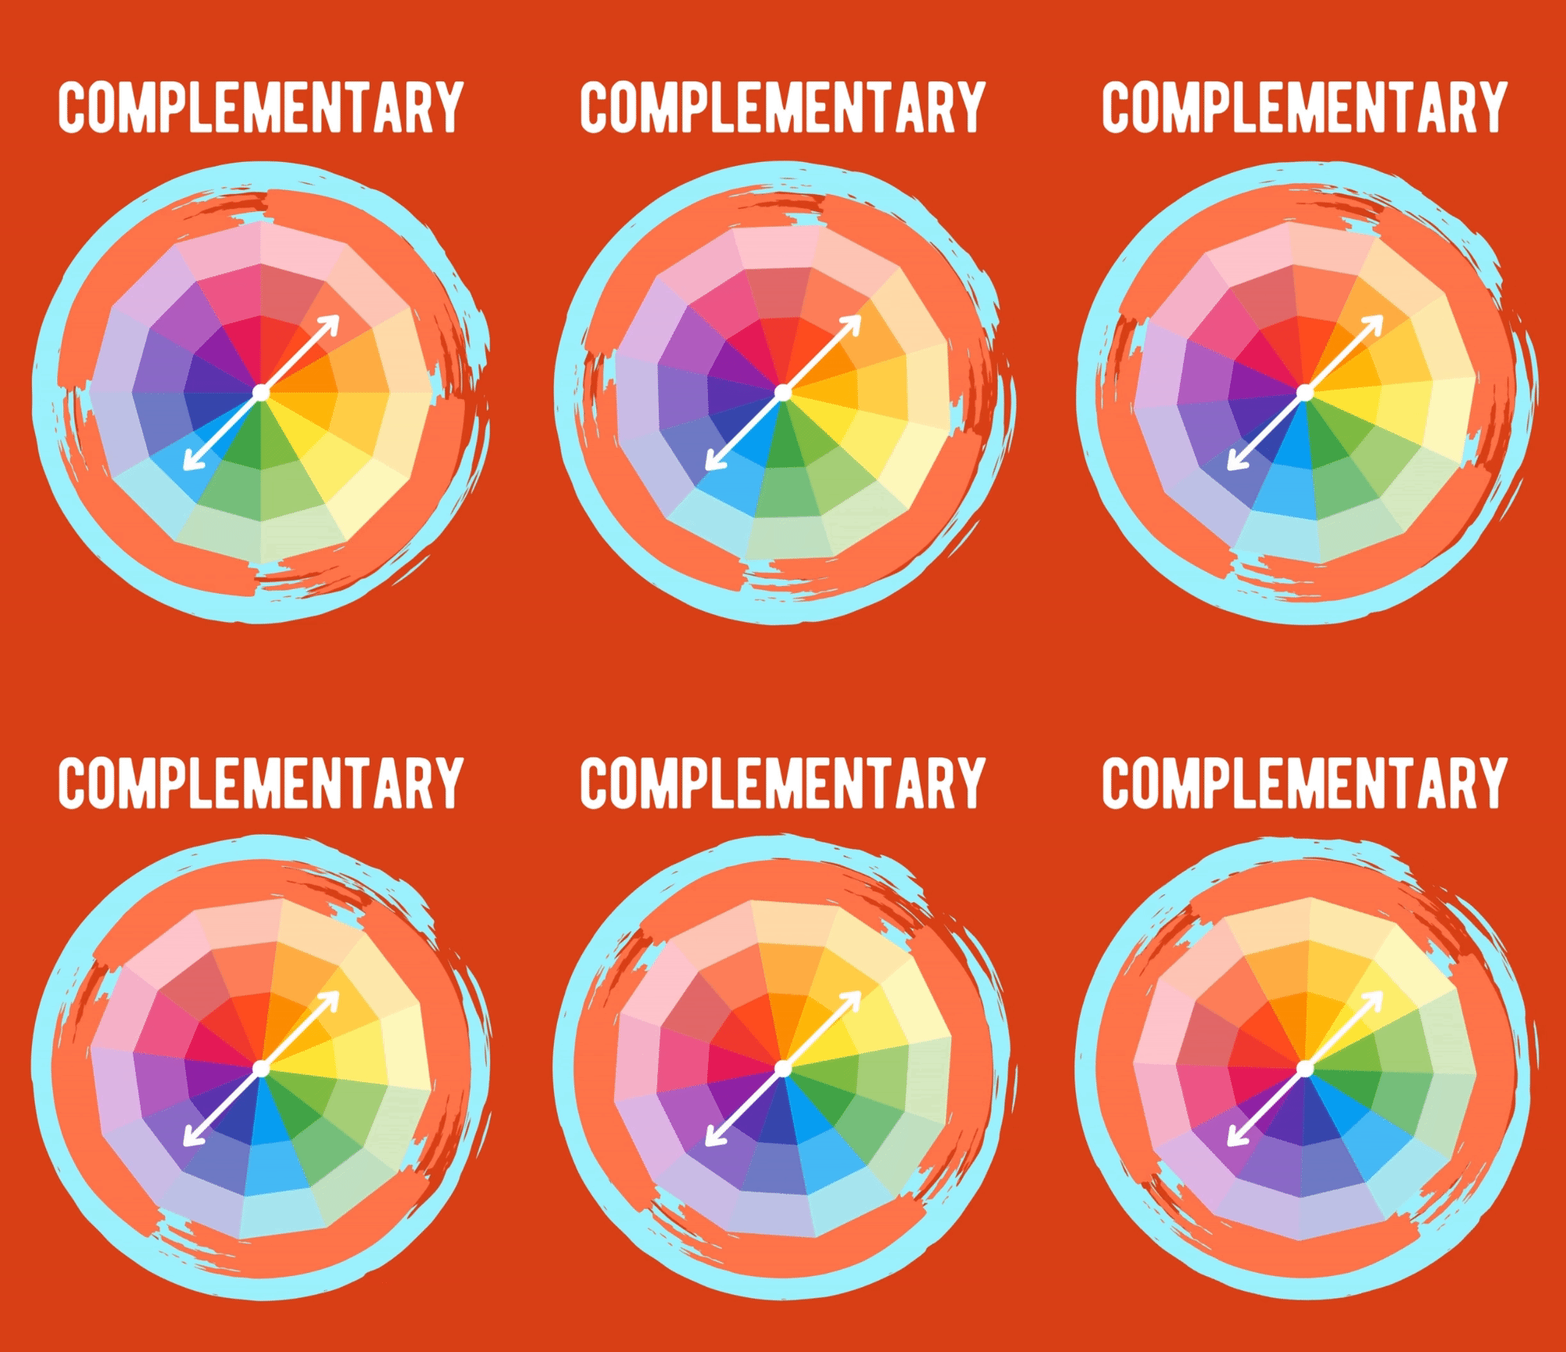
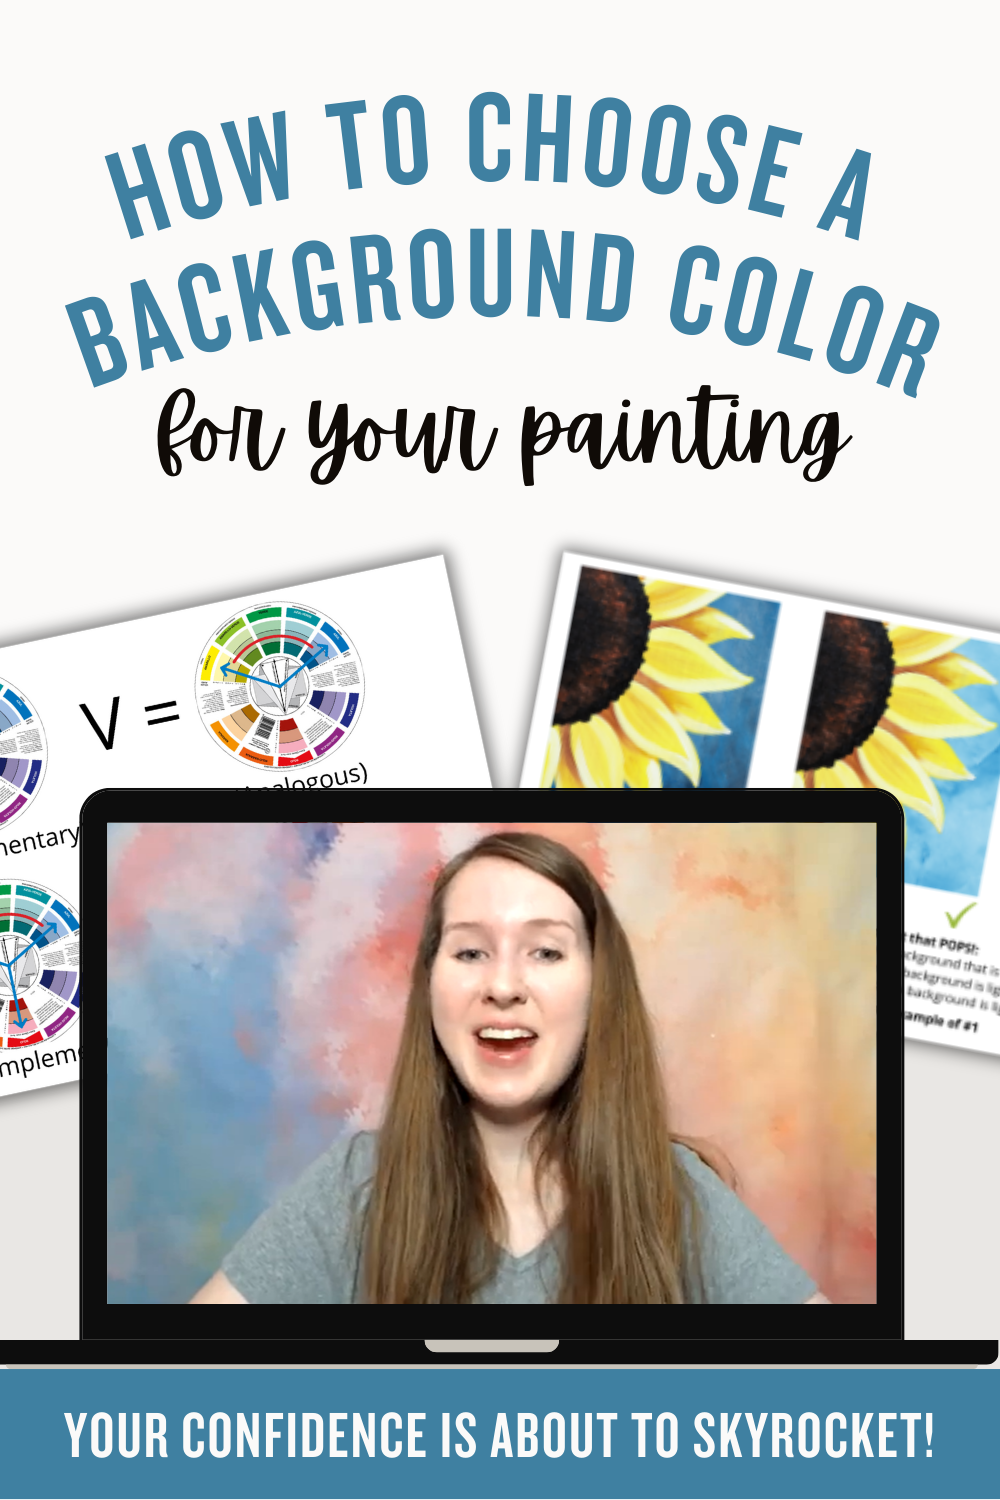
Depending on the colors you want to blend, you may need some basic color theory info. Don't worry; it's not as complicated as it sounds! The most important thing to remember is that if you blend the wrong colors, they'll most likely turn brown or gray. The easiest way to avoid that is by using colors next to each other on the color wheel; for example, blending blue with purple will result in a beautiful, vivid color, whereas blending blue with orange will make brown. This is because complementary colors cancel each other out to create neutral colors. If you want to learn more about complementary colors and how they interact, check out our blog post on How To Choose A Cohesive Color Palette Using Color Theory!
ARE YOU MORE OF A VISUAL LEARNER?
We are too! That's why we made Acrylic Basics, where you can find video tutorials for gradients, mixing skin tones, splatter painting, and so much more!
YOU MAY FIND VALUE IN THESE POSTS TOO!
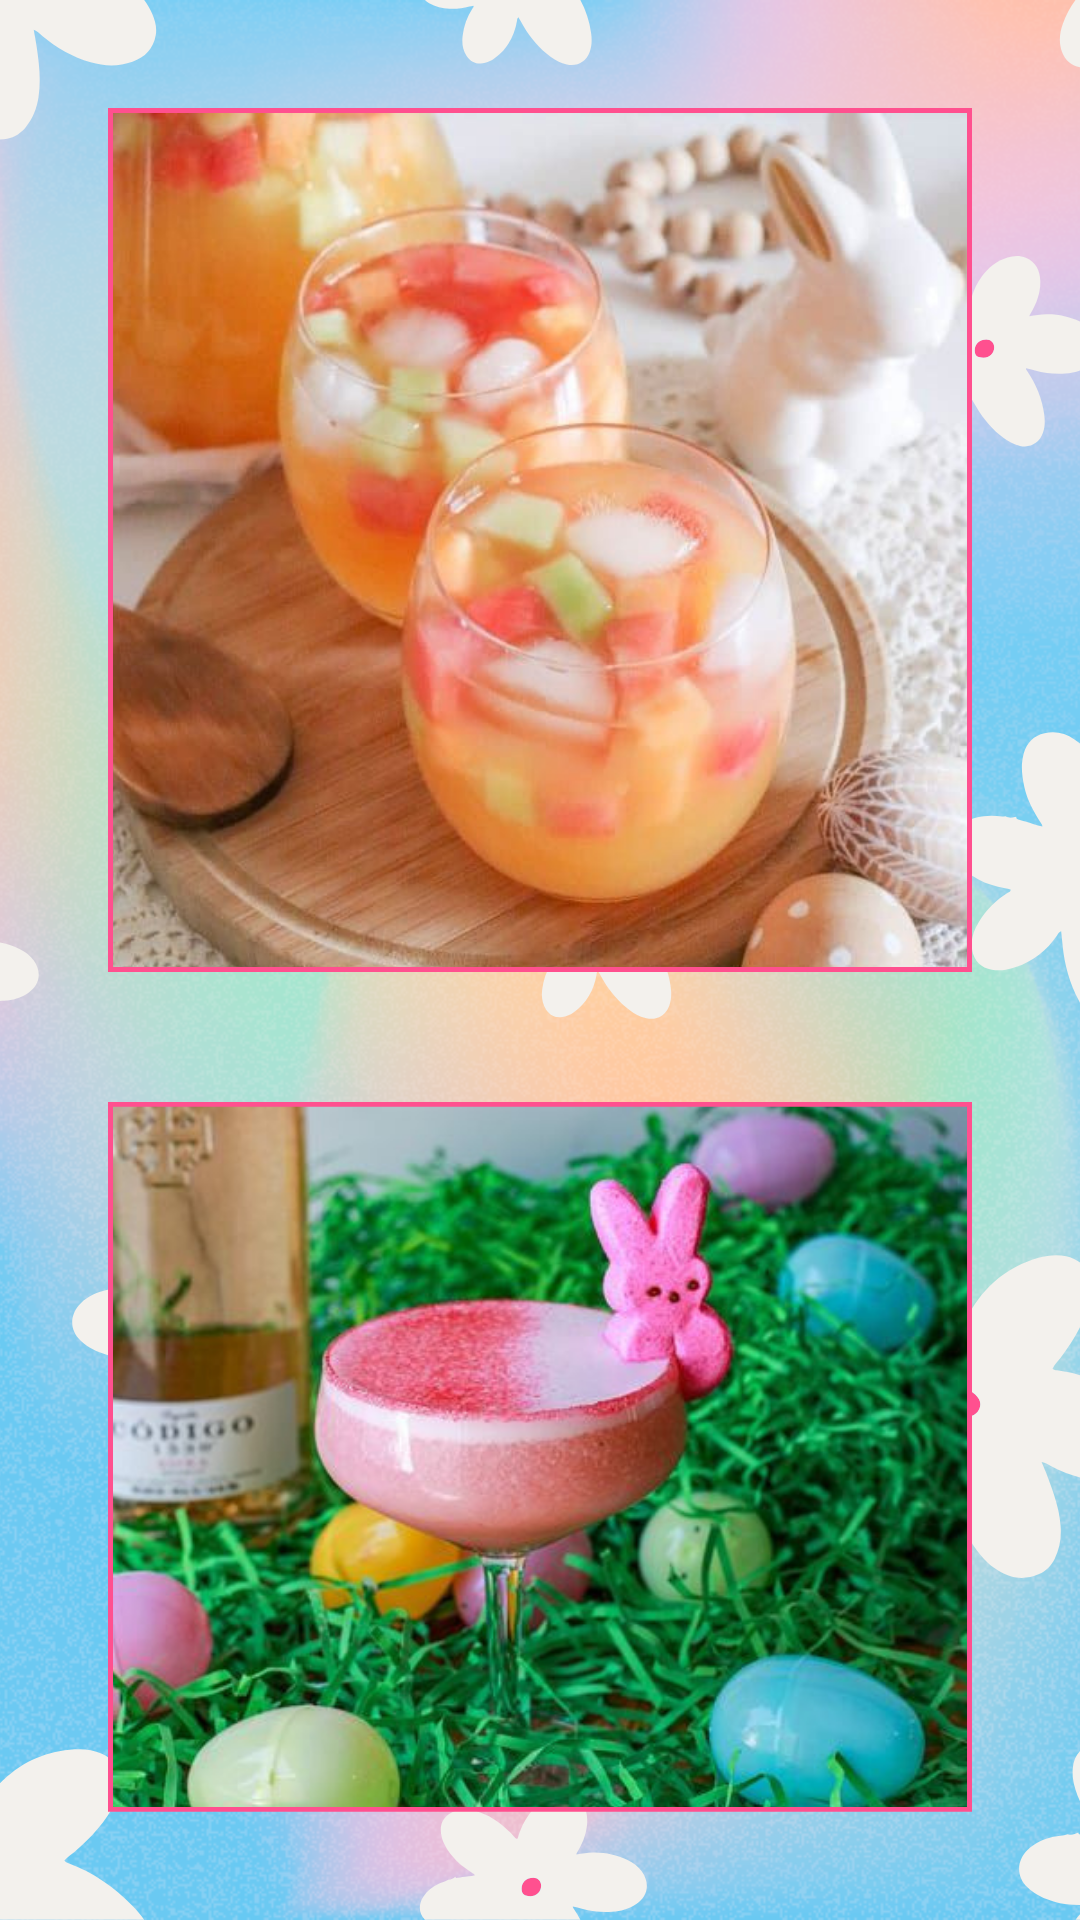
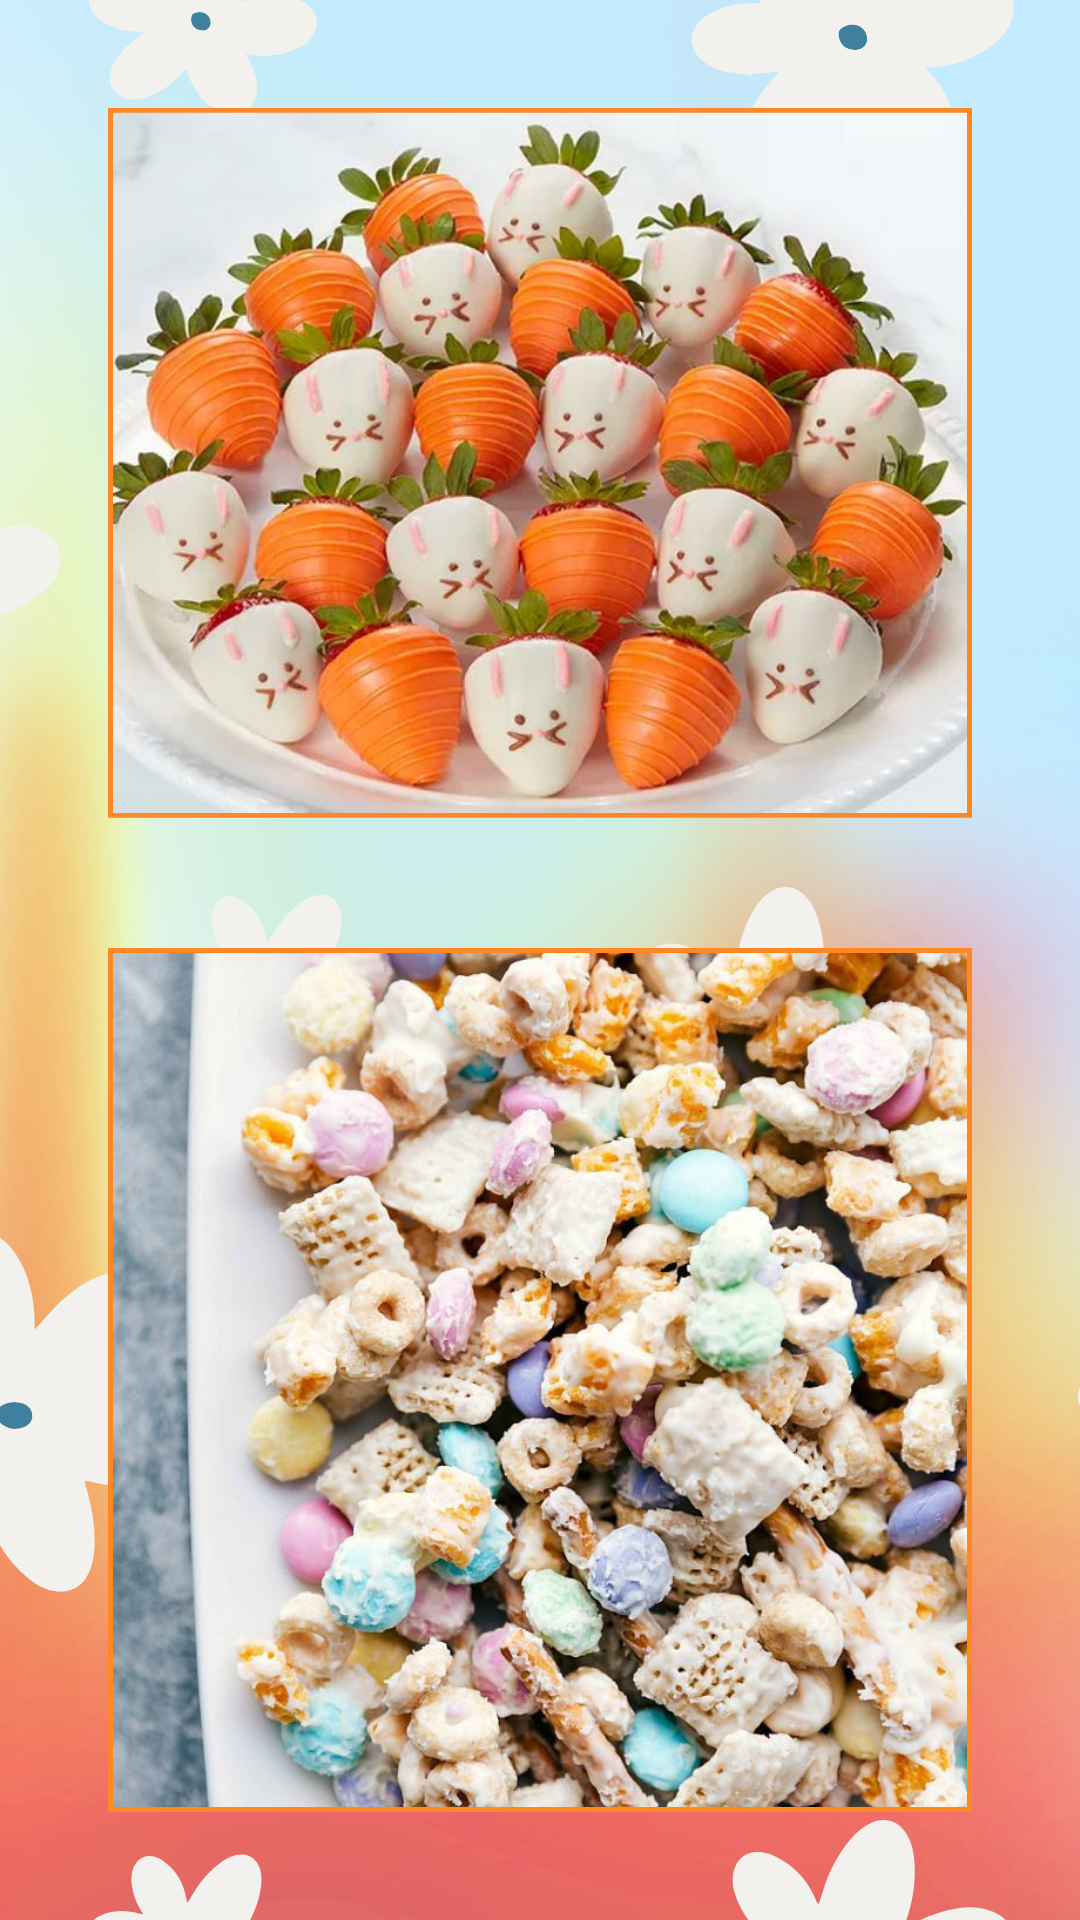
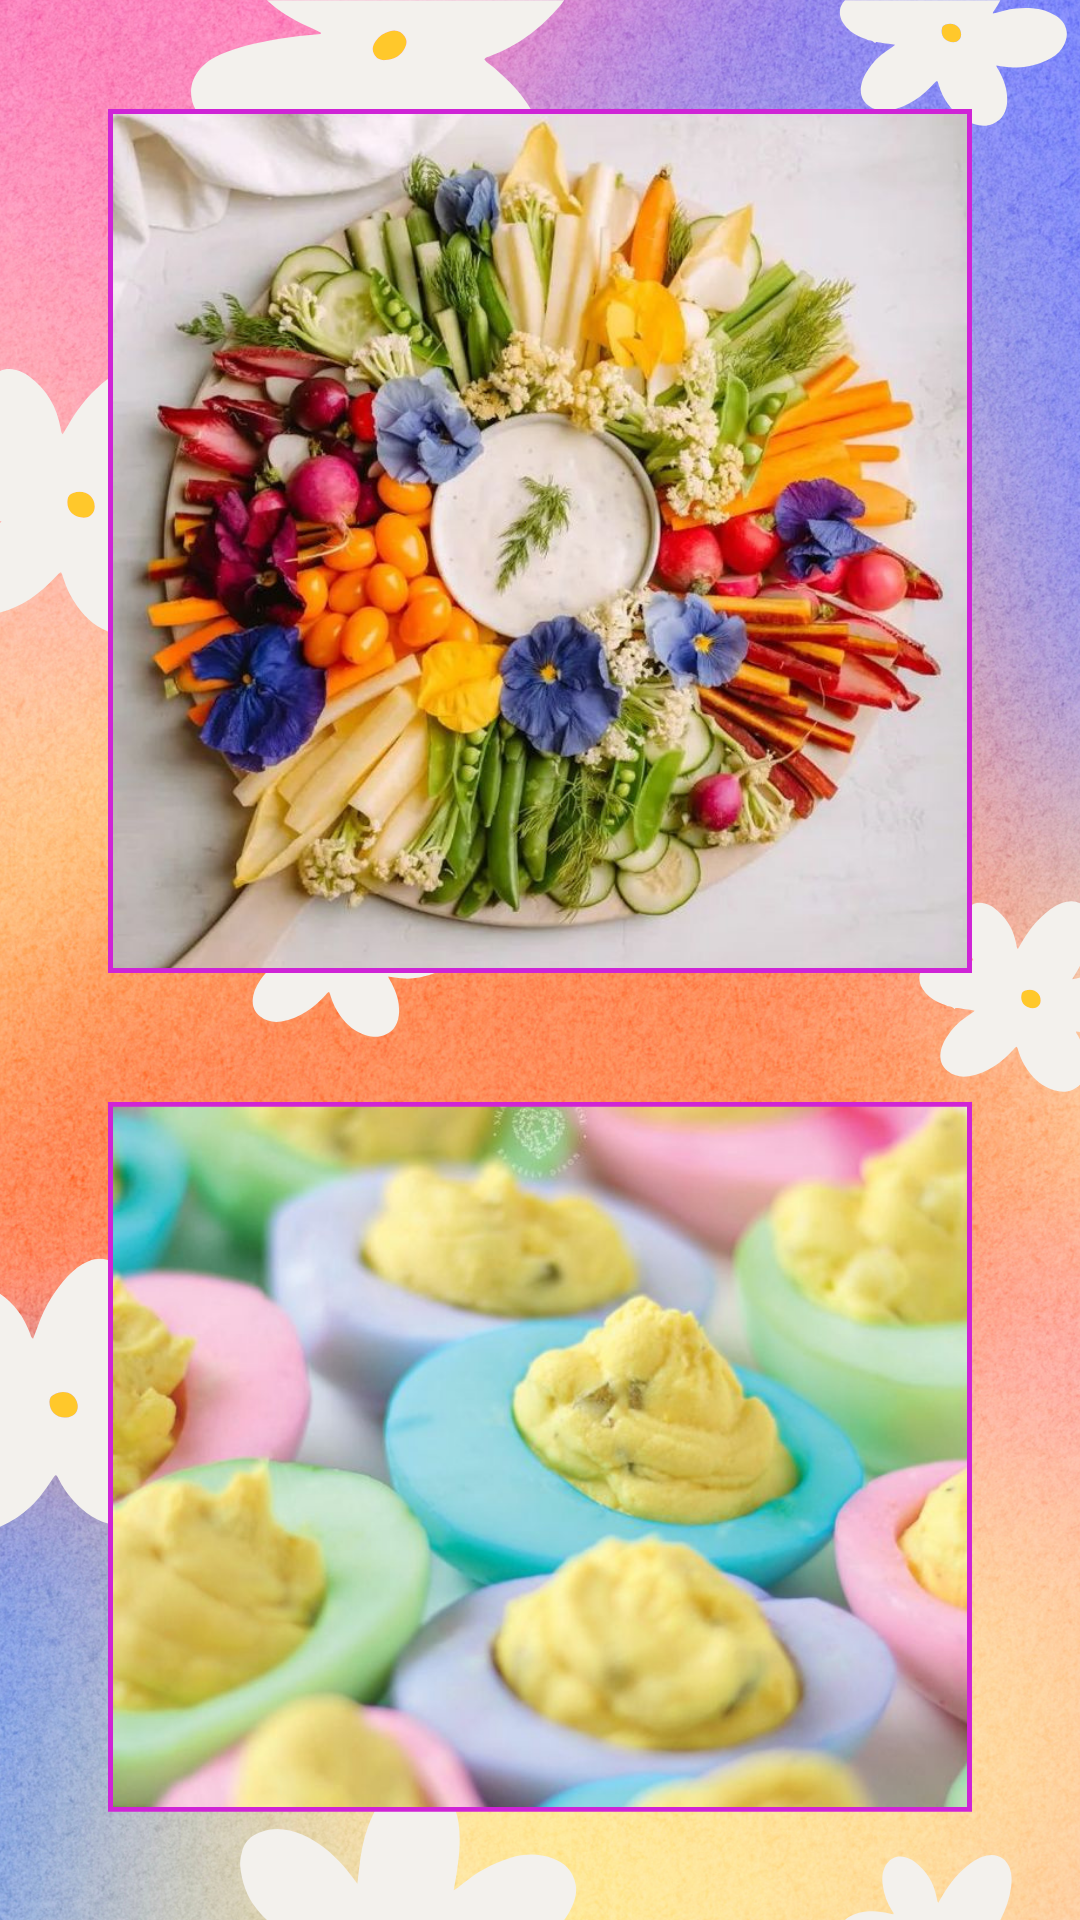
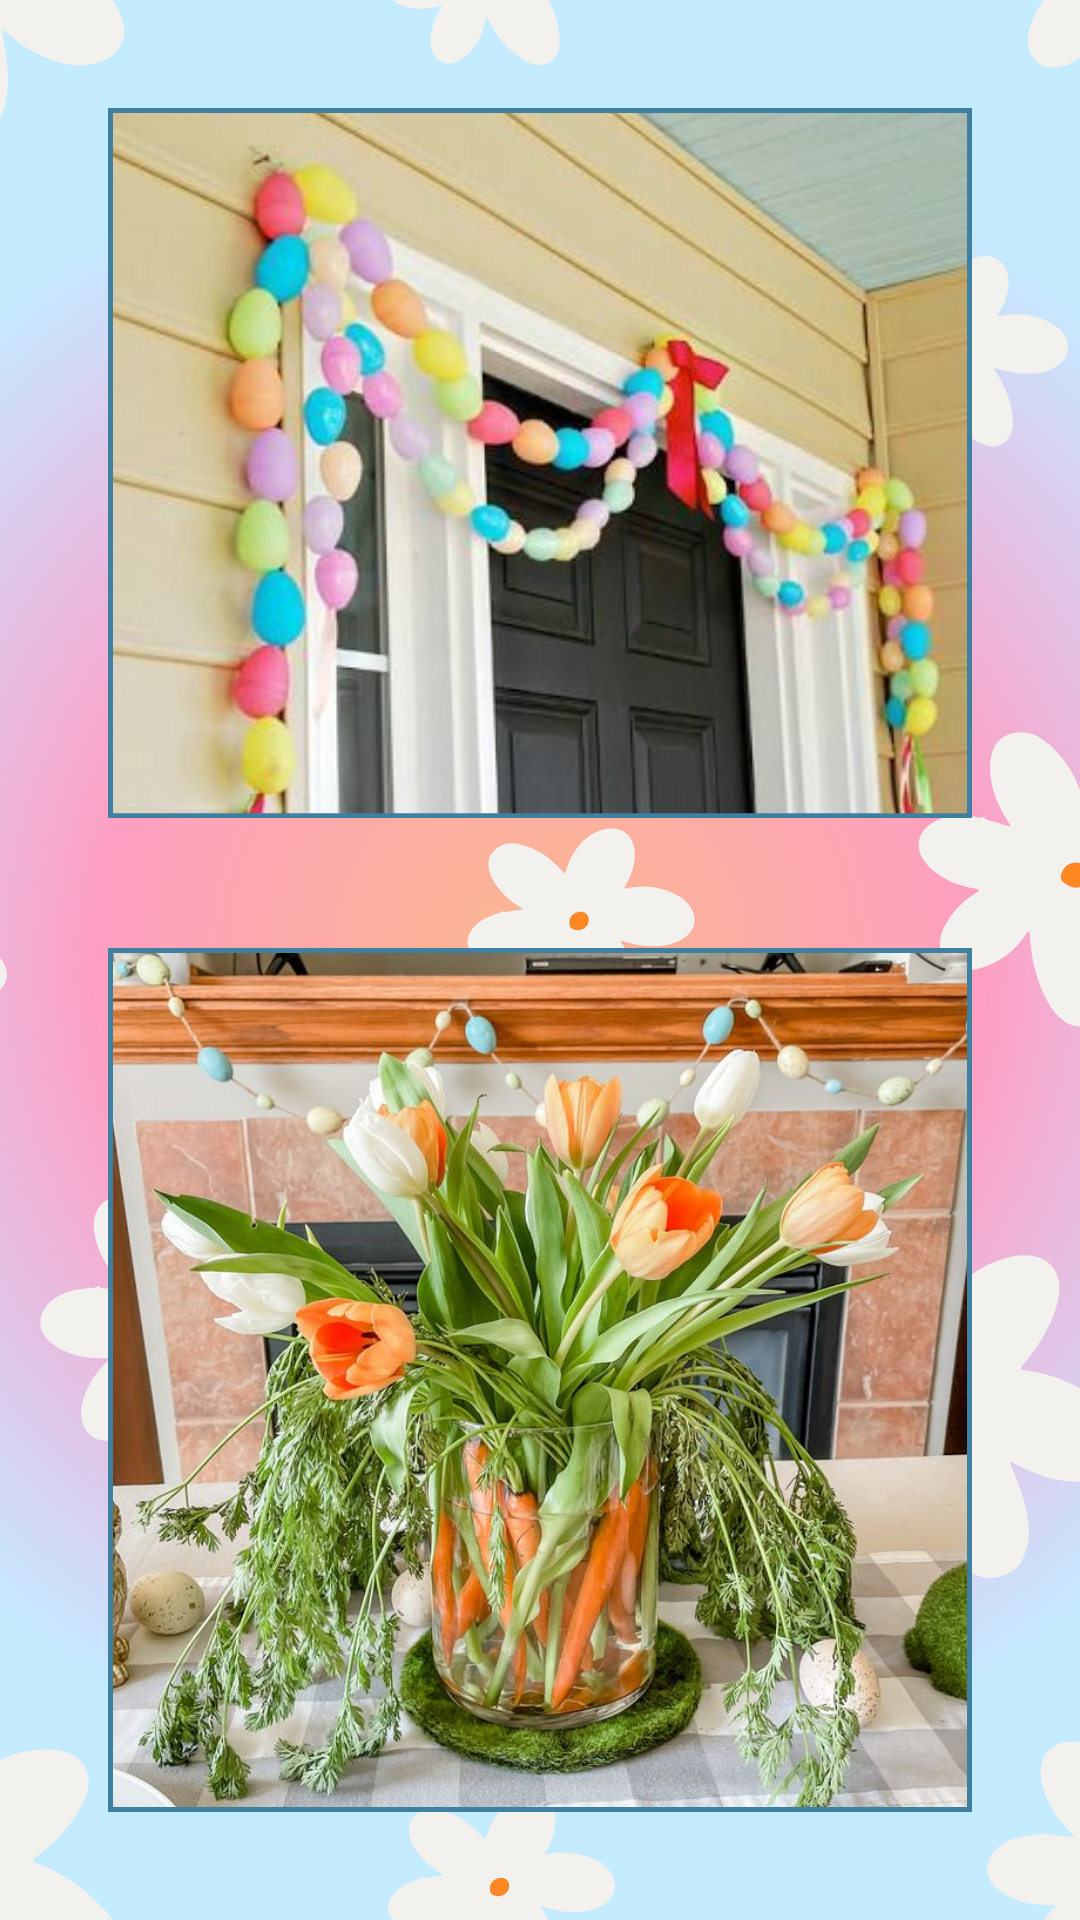
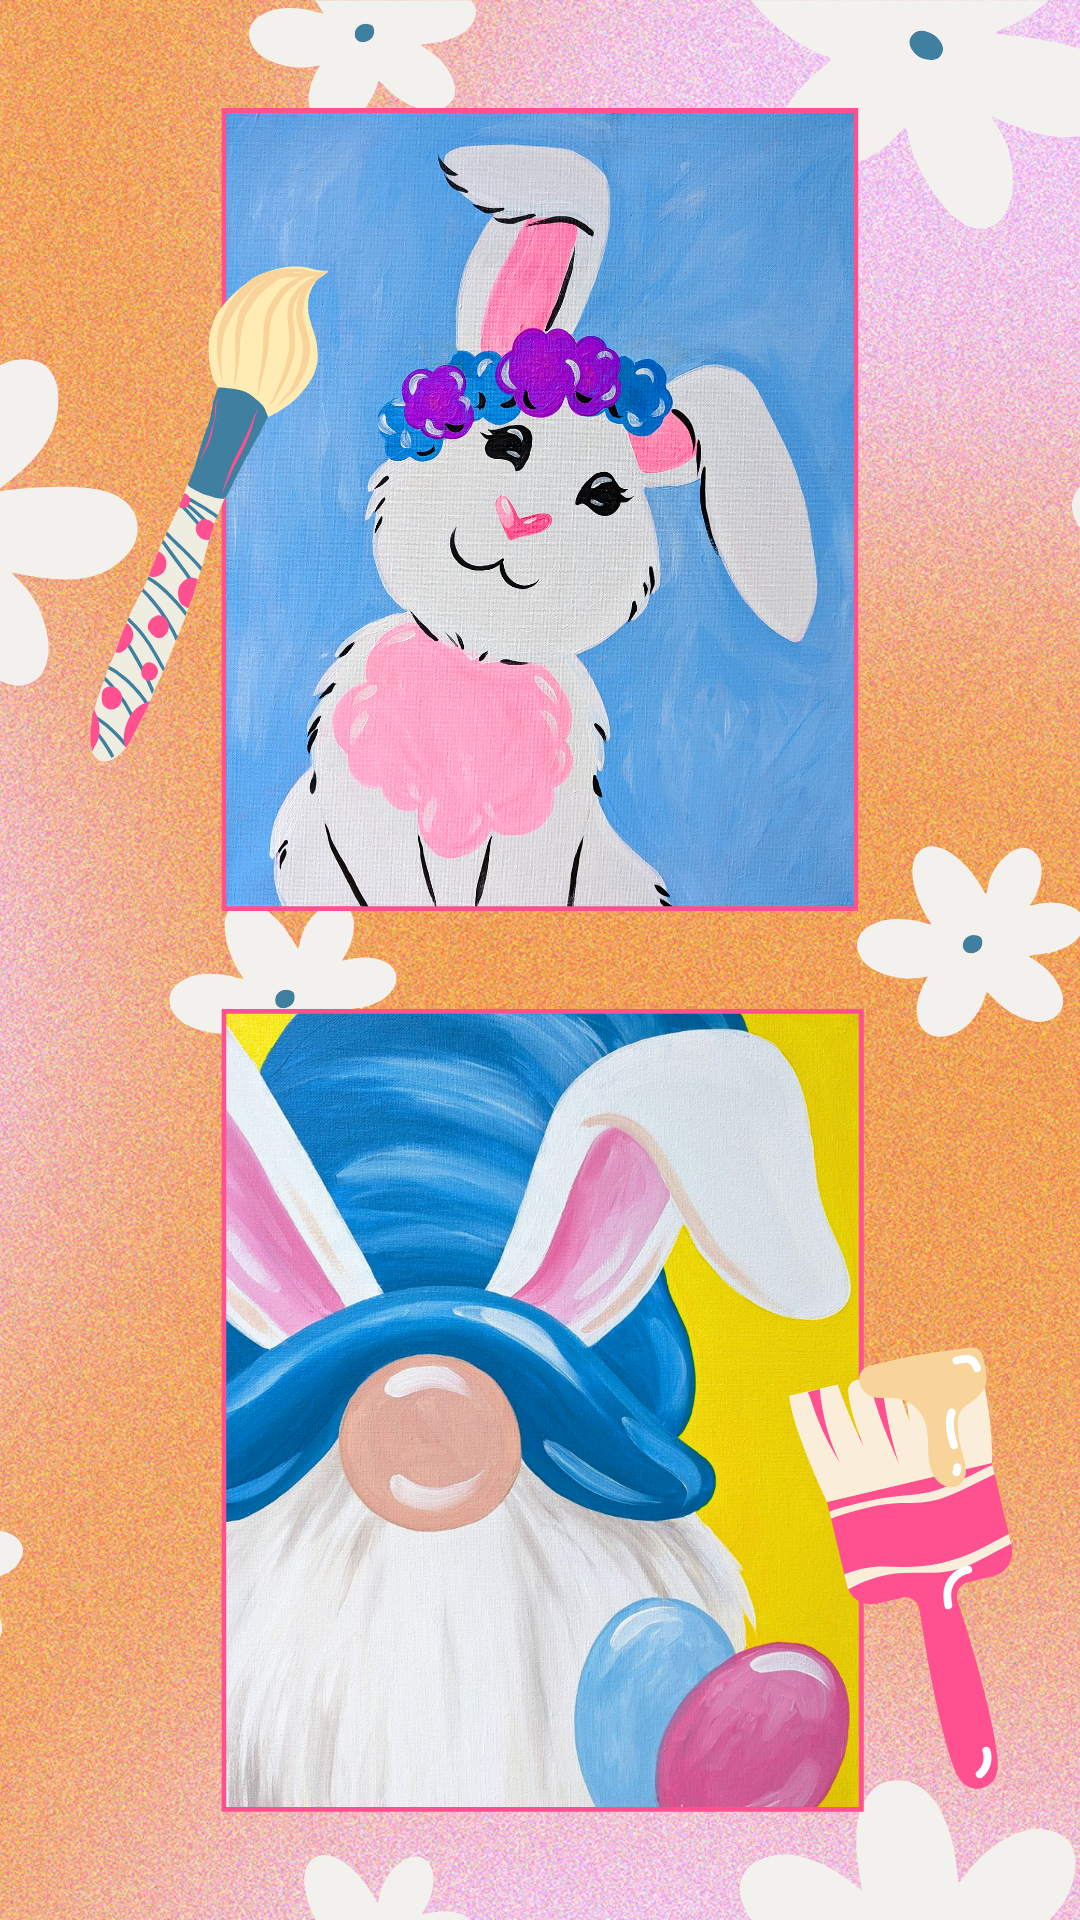
Don't settle for the usual Easter party this year! We have some unique and exciting ideas to make your celebration stand out. From creative activities and DIY additions to delicious food and drinks, this guide has everything you need to plan a memorable Easter party that both kids and adults will love!
Remember that if you need any extra inspiration, we have a Pinterest Board full of ideas that will be perfect for your party! Now that that's out of the way, let's hop right in!
GET PREPARED TO THROW THE PERFECT PAINTING PARTY
Planning a painting party for the first time or even the fifth can be daunting. What if you forget something crucial? Worry no longer; our free Painting Party guide will take you through everything you need to have a successful, fun painting party with your loved ones this Easter!
MORE EASTER FUNYOU MAY LIKE THESE RELATED POSTS
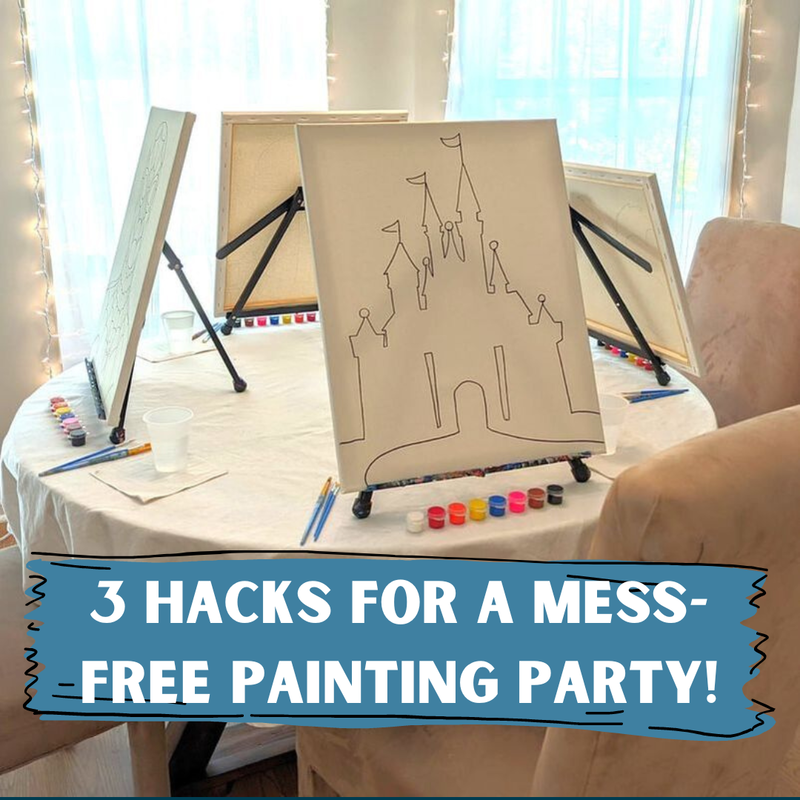
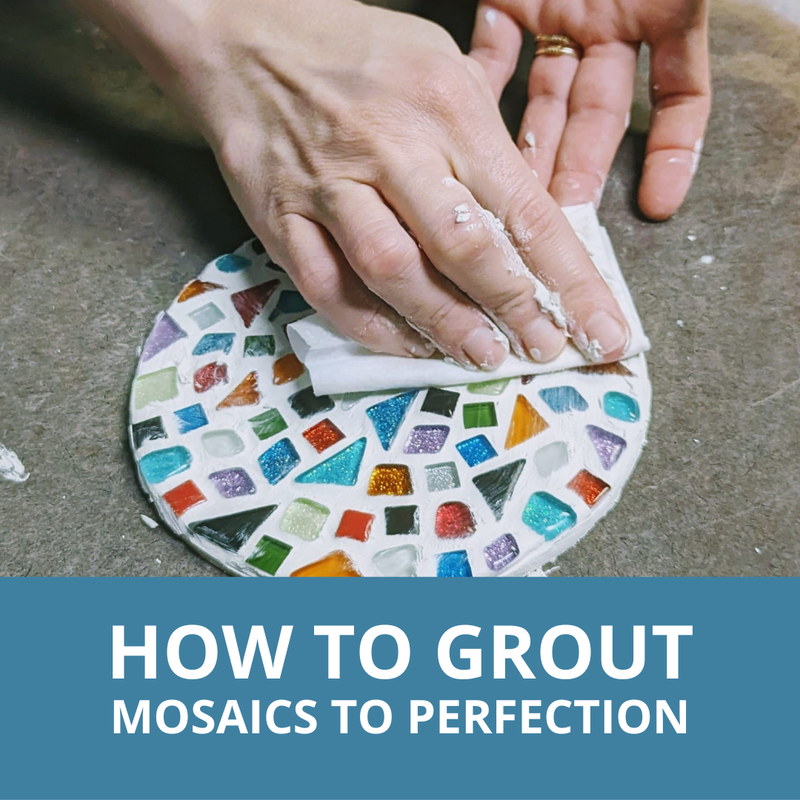
Mosaics are so much fun to make, but they aren't the tidiest DIY project you can work on, especially for kids. That being said, there are many ways to make cleaning up for mosaic projects easy! This post covers three tips for having a mess-free mosaic party so you can focus on all of the fun mosaics have to offer. Let's get into it!
1.
2.
3.
NOW THAT YOU KNOW HOW TO KEEP THINGS TIDY...
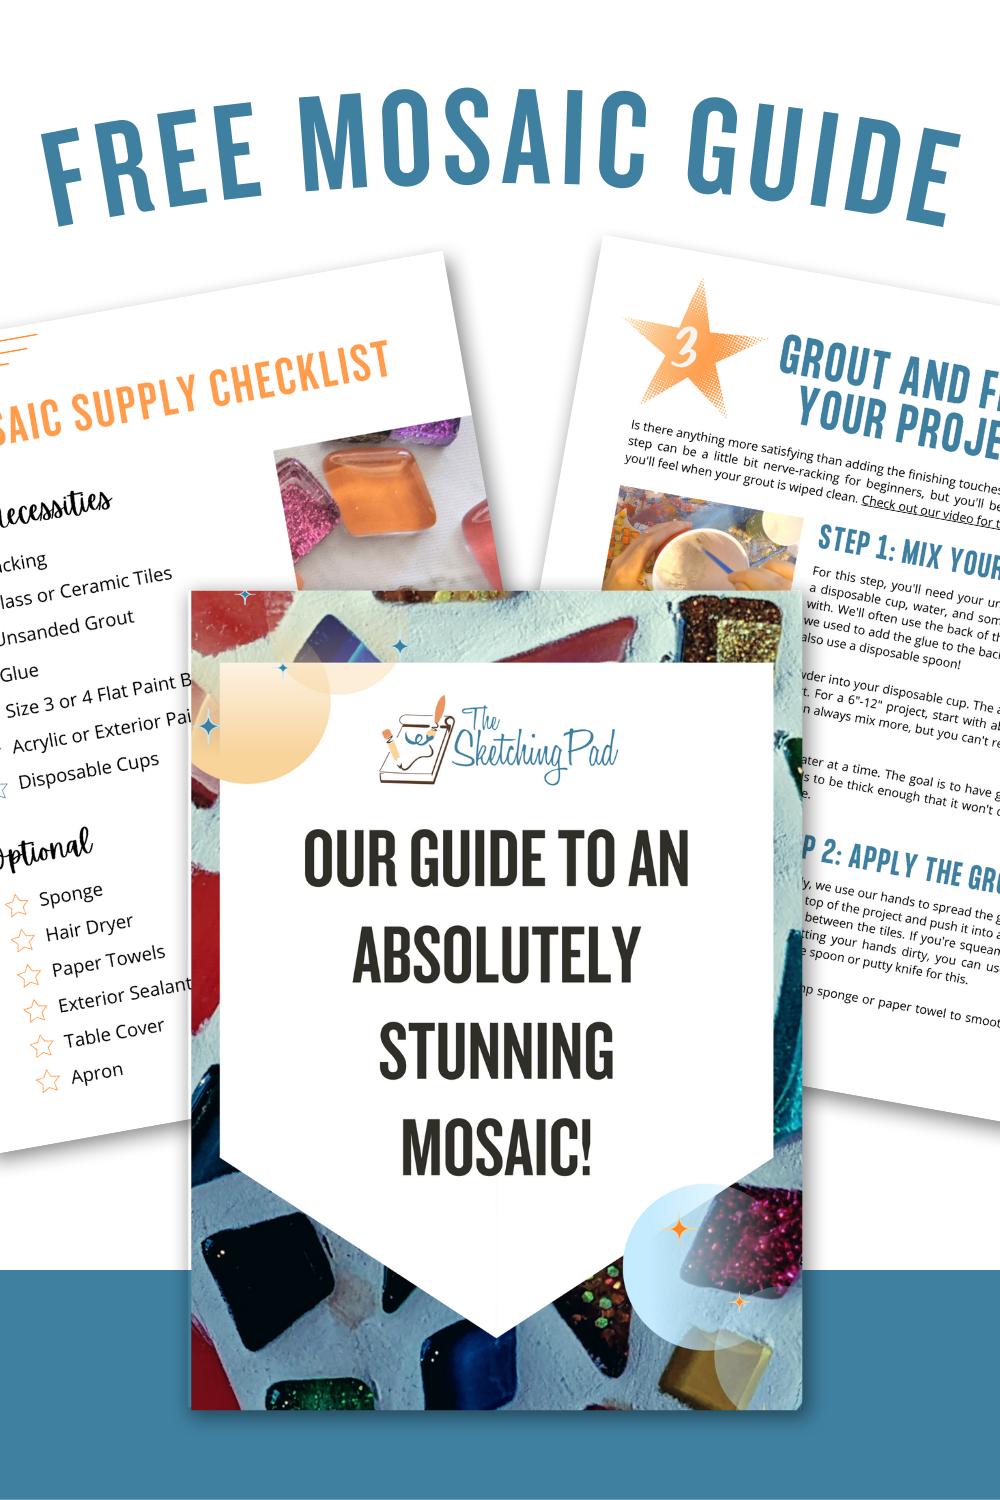
Are you ready for more? If you want to be extra prepared for your mosaic party then you'll love Our Guide To An Absolutely Stunning Mosaic. In the guide we cover the supplies you'll need, instructions, and some extra tips to give you all of the confidence you need to succeed!
DON'T FORGET THE MOST IMPORTANT PART!
You and your guests will be so at ease while using our Mosaic Kits! You'll have everything you need to create something just right for you, from beautiful glass and ceramic tiles to grout, instructions, and much more. You'll be able to kick back and enjoy your creation!
YOU MAY LOVE THESE POSTS TOO!
There's been a lot of talk about love with Valentine's Day being this month, but have you checked in on yourself lately? Finding the energy, motivation, or courage to make time for yourself and tap into your creativity can be challenging. I want you to look back at the past few weeks, months, or even years, when was the last time you really took a whole day to yourself? When was the last time you truly fed your creativity? It's starving!
I understand that it can be extremely hard to set aside time for yourself with work, school, commuting, errands, and so much more, but it's necessary for your mental well-being to take the time to take care of yourself! One of the best things you can do for yourself is create; it's so fulfilling to make something with your hands and say, "I did that!" TAP INTO CALM WITH A PAINTING KIT
This post isn't necessarily supposed to contain information you've never heard before, but all of the things we included are great reminders that we try to use as a way to show some self-love and care, too!
Sometimes, the most rejuvenating thing you can do is have quality time with your friends or family, with no distractions, just you and the people you love spending time together.
Break out a board game, have a picnic, put together a puzzle, bake a cake, or do anything else you're in the mood for; find a way to actually engage with your people! If you're really introverted and people don't quite have an inspiring, energizing effect on you, you can also connect with your pets by taking them for a walk, playing, or even just snuggling up to watch a movie!
Honestly, sometimes we all need to get up and wake up our bodies and minds. When I'm having trouble getting into the swing of things with a new painting, I love to get up and go for a short walk, but you can also do a nice, quick yoga routine, drink some coffee or tea, or turn on your favorite upbeat playlist and jam out!
If you're having trouble getting your energy levels up, though, you might not be meeting all of your body's needs. Try to take the time to eat nutritious food, drink water, or take a nap. Listening to your body in these cases is so important!
Focusing is much easier said than done, especially nowadays. When you're ready to sit down and paint, try putting your phone on silent and avoiding checking every notification that pops up.
If you're like me and that still doesn't work, try doing some meditation, specifically breathing exercises. There are so many great apps with guided meditation, like Calm and my favorite, Balance! It can also help to sharpen your focus by getting outside with your phone on silent or turned off and noticing things going on around you. Pay attention to the sounds and sights for even just a few minutes. GAIN CONFIDENCE IN YOUR ART AND HAVE FUN WHILE DOING IT
Take the stress out of painting and have fun with it! Our guide here will give you valuable tips and techniques to paint things from clouds to skin tones with acrylic paint!
I hope you've gotten a lot of value from this guide, and you can use these tips to dig into your creativity!
YOU MAY BE INTO THESE KITSYOU MAY FIND VALUE IN THESE OTHER POSTS
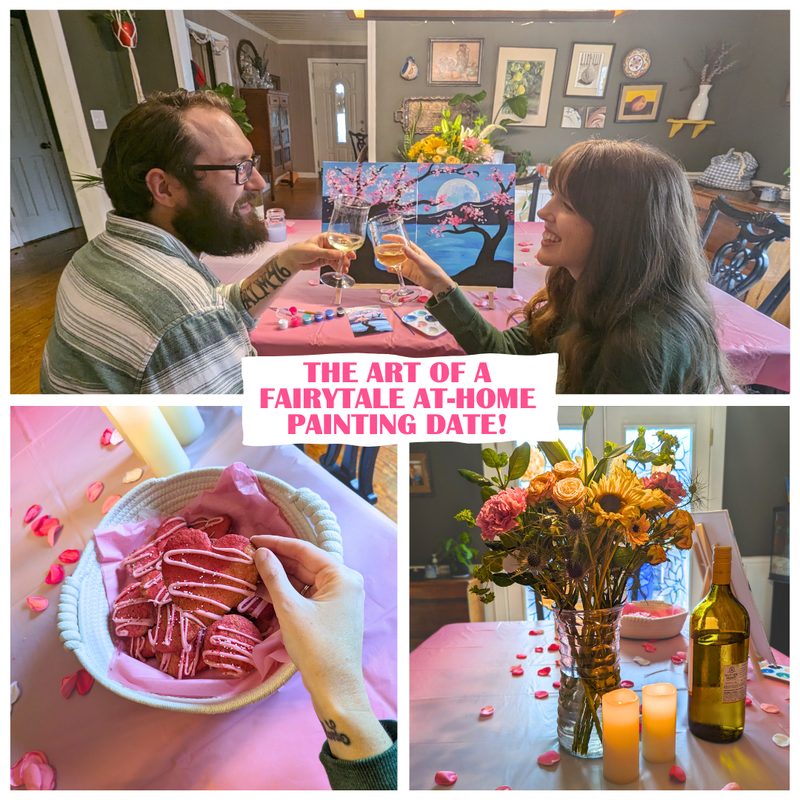
THE PERFECT ACTIVITY
MUSHY MUSIC
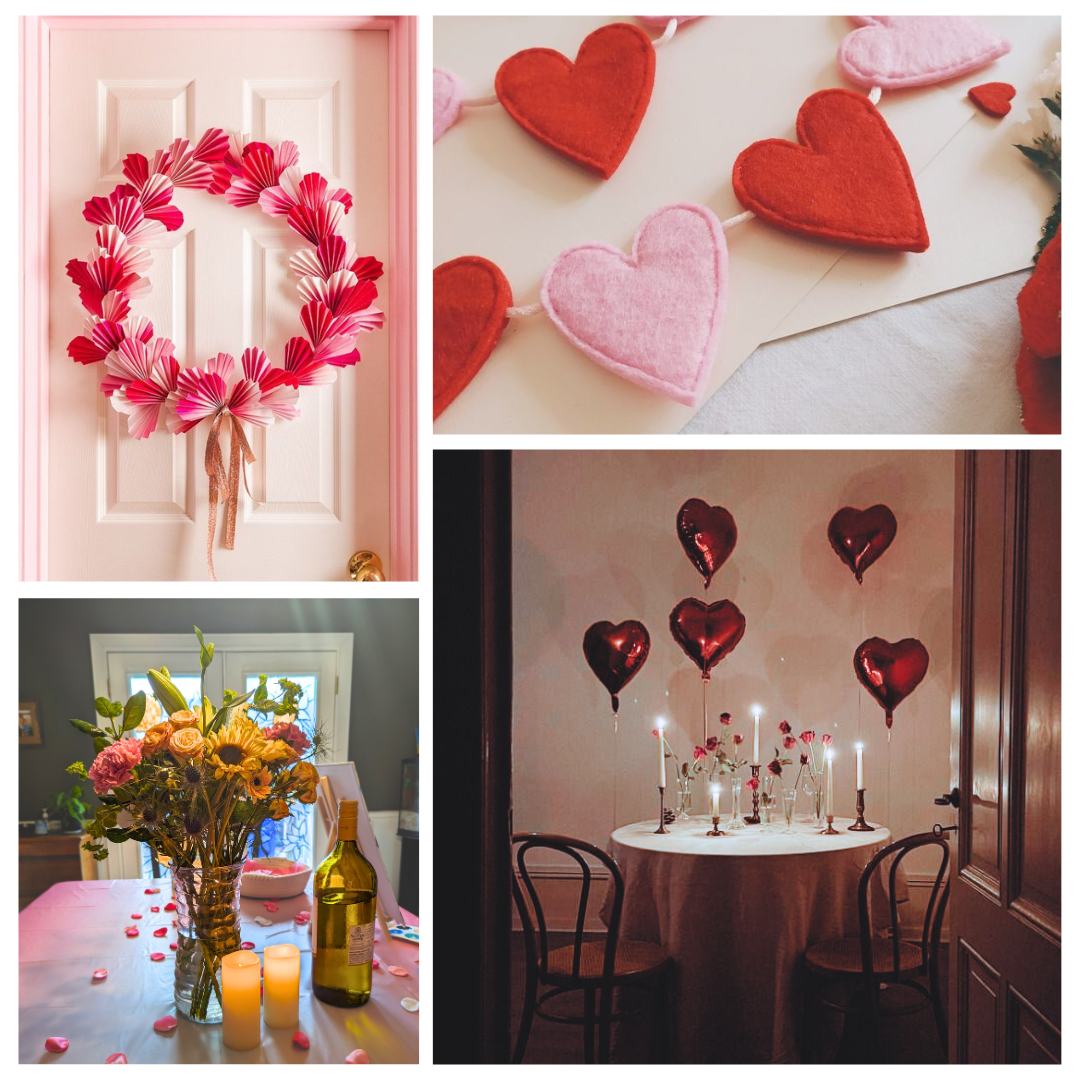
DARLING DECORATIONS
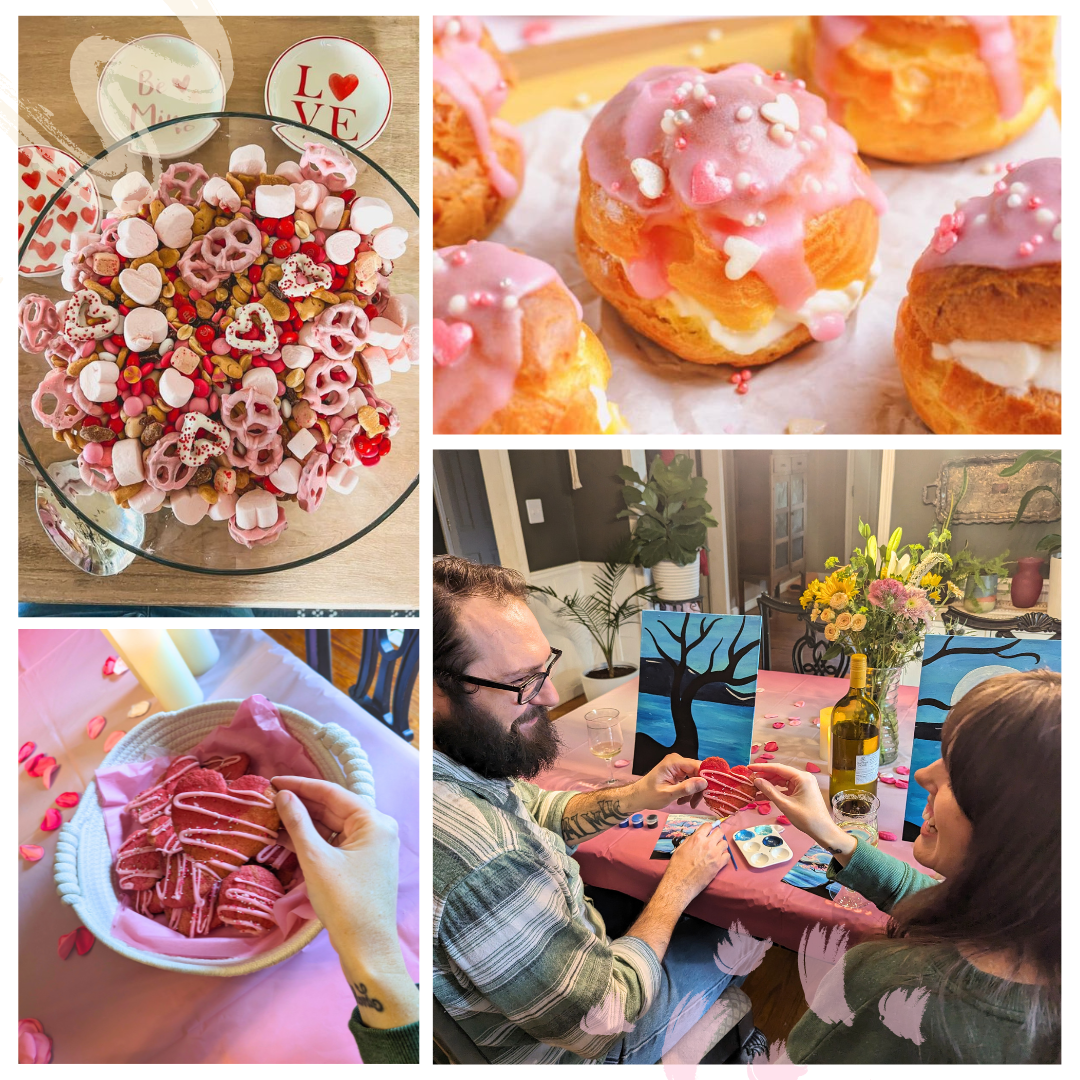
FABULOUS FOODS
DAZZLING DESSERTS
DECADENT DRINKS
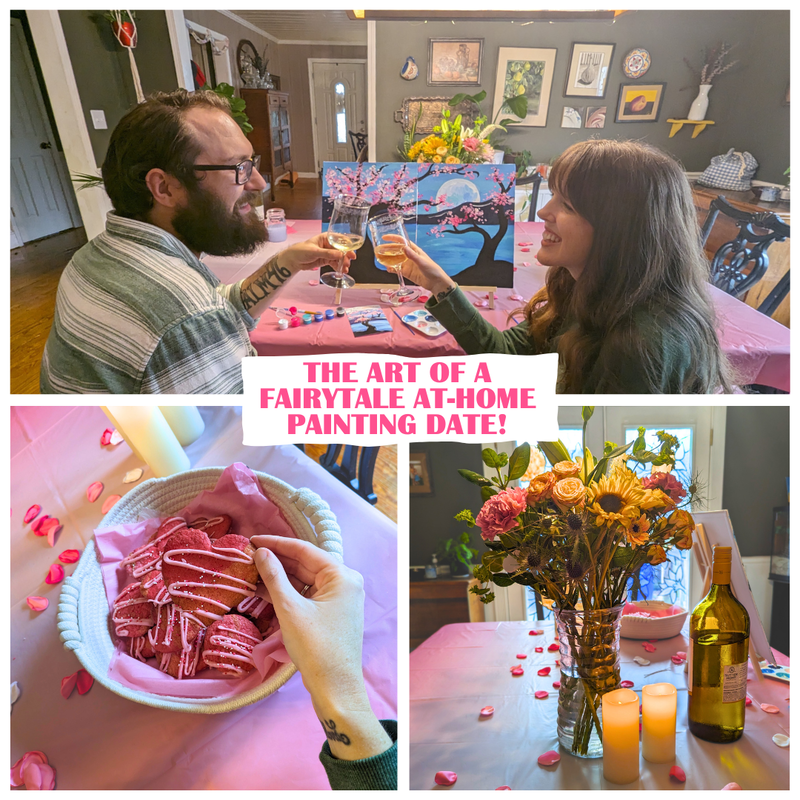
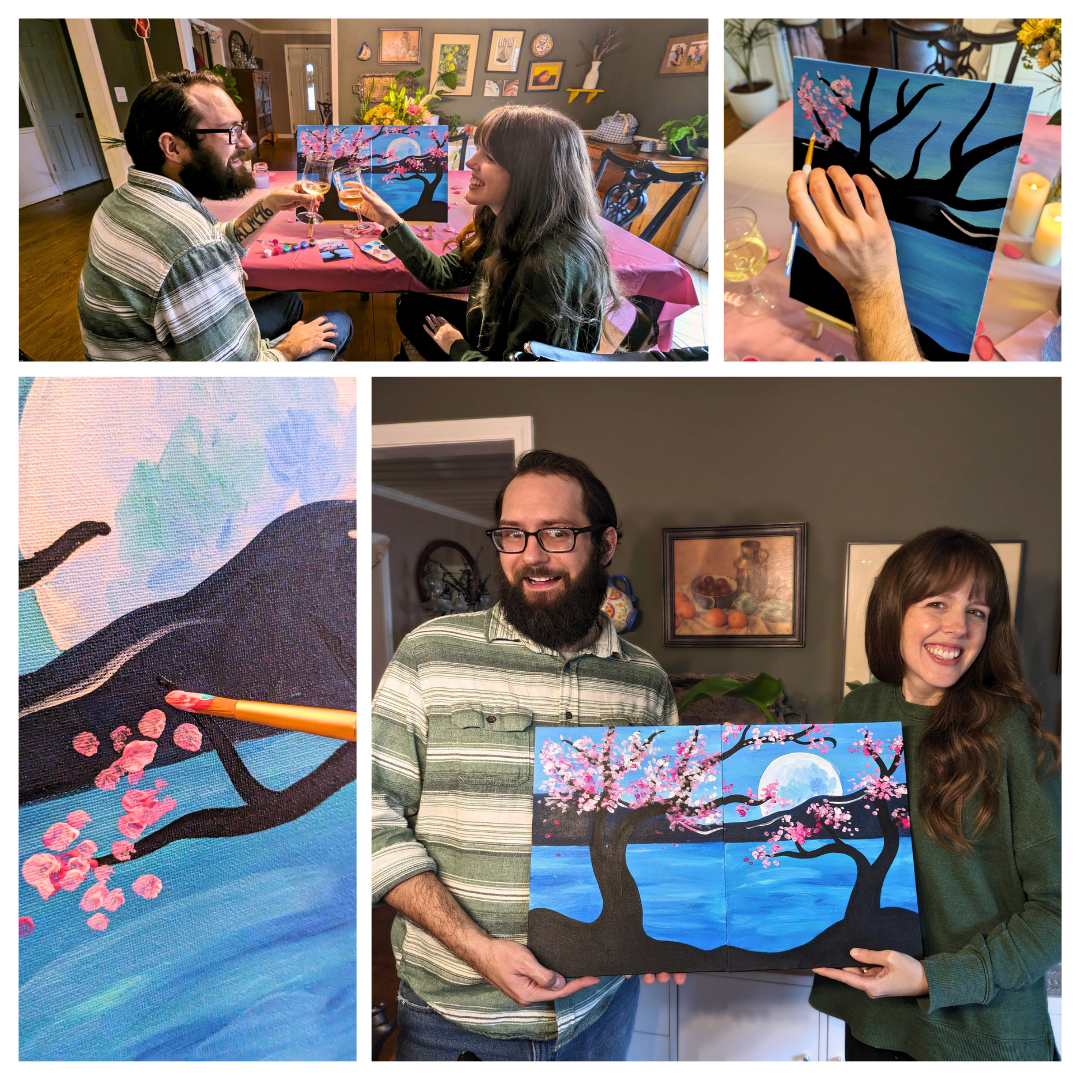
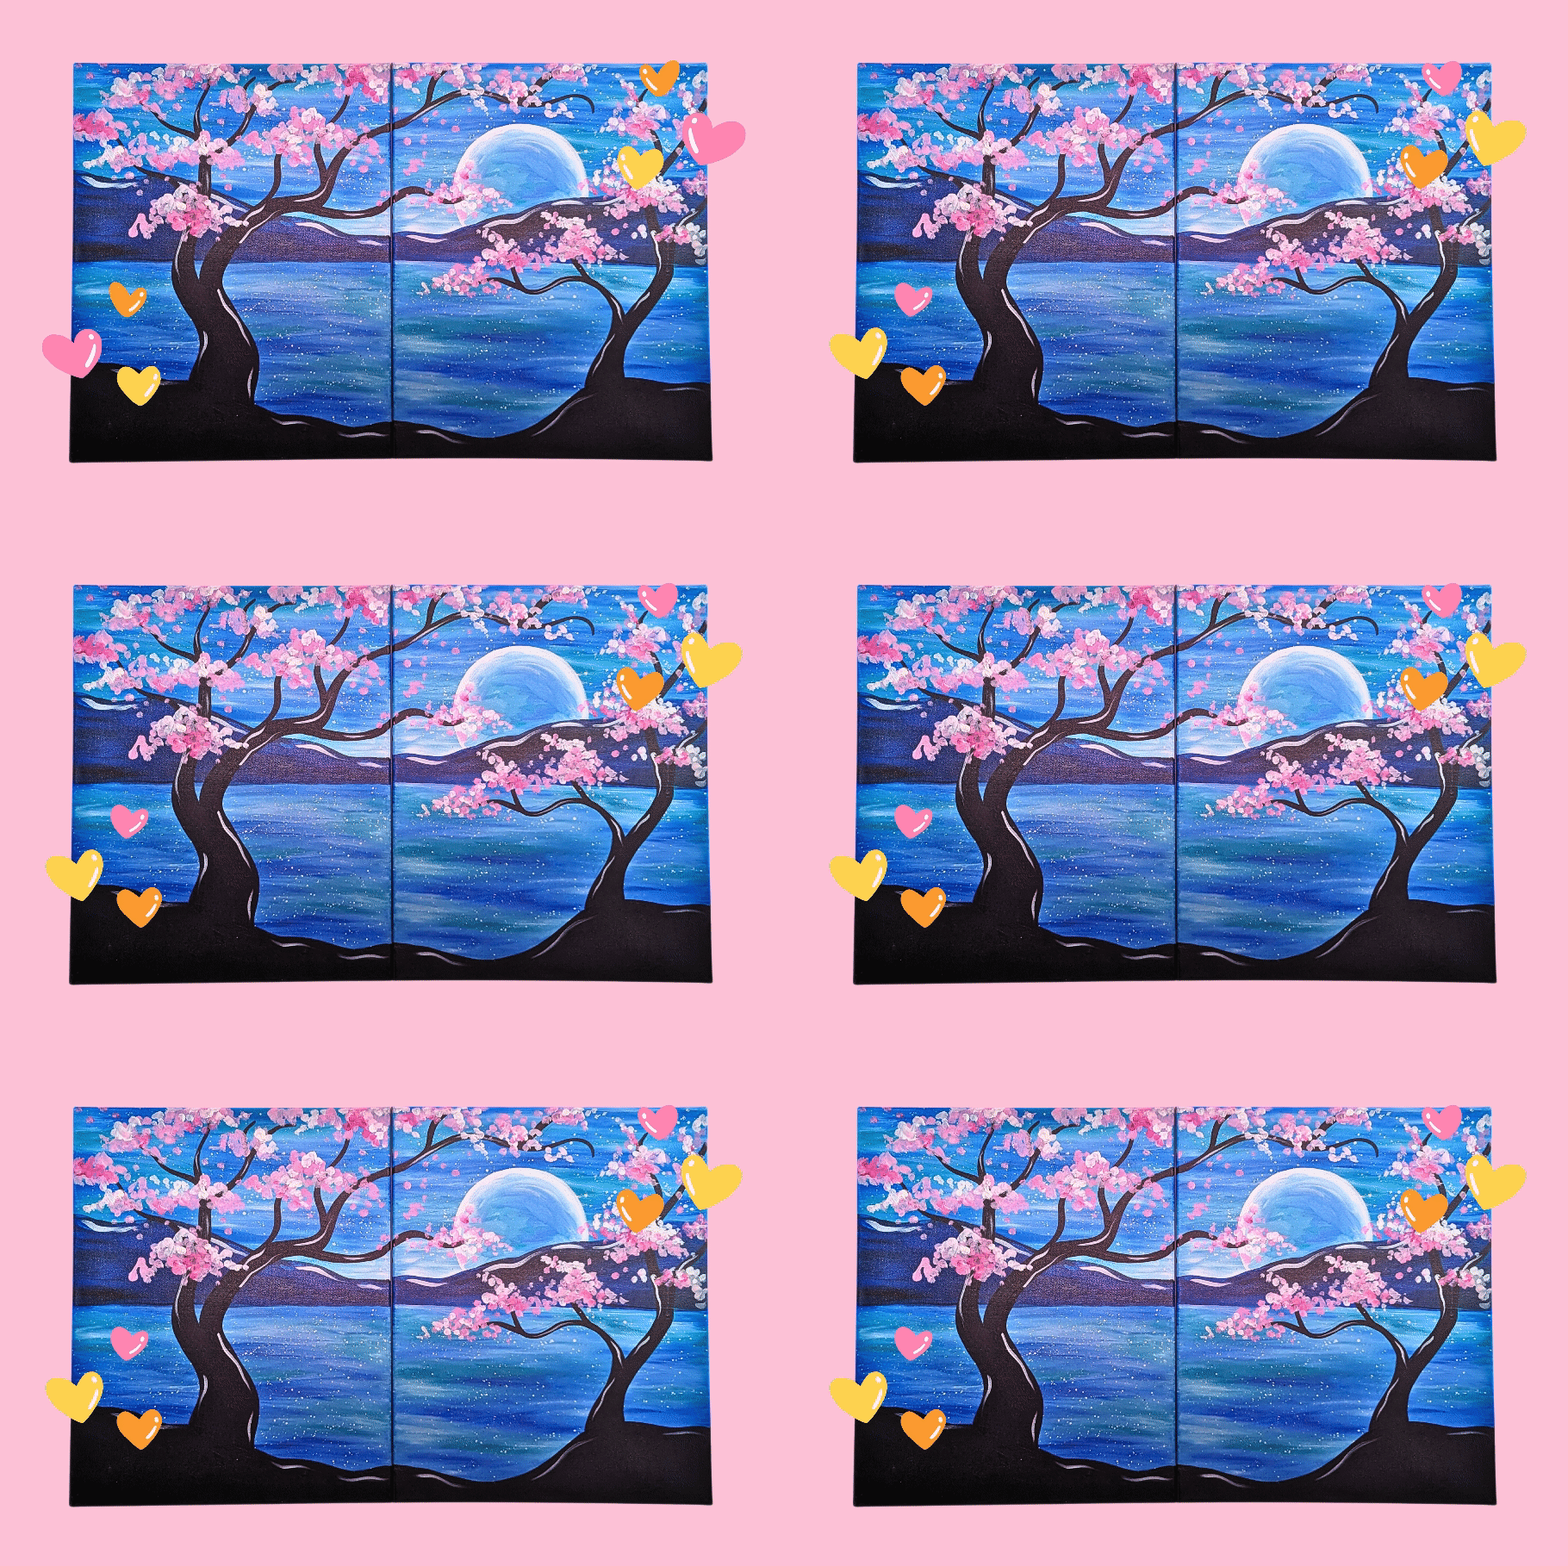
GET PREPARED FOR THE PAINTING PORTION OF YOUR DATEFIND KITS FOR FUTURE DATES
Thanks for reading! If you use any of our ideas, we'd love to see them; you can tag us on Instagram at @thesketchingpad for a chance to be featured on our page!
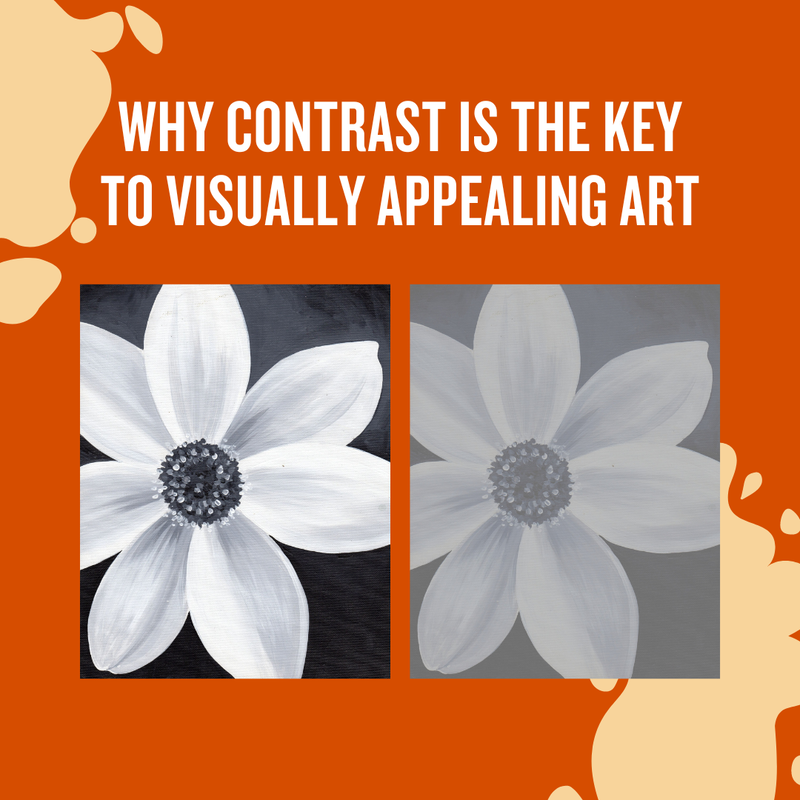
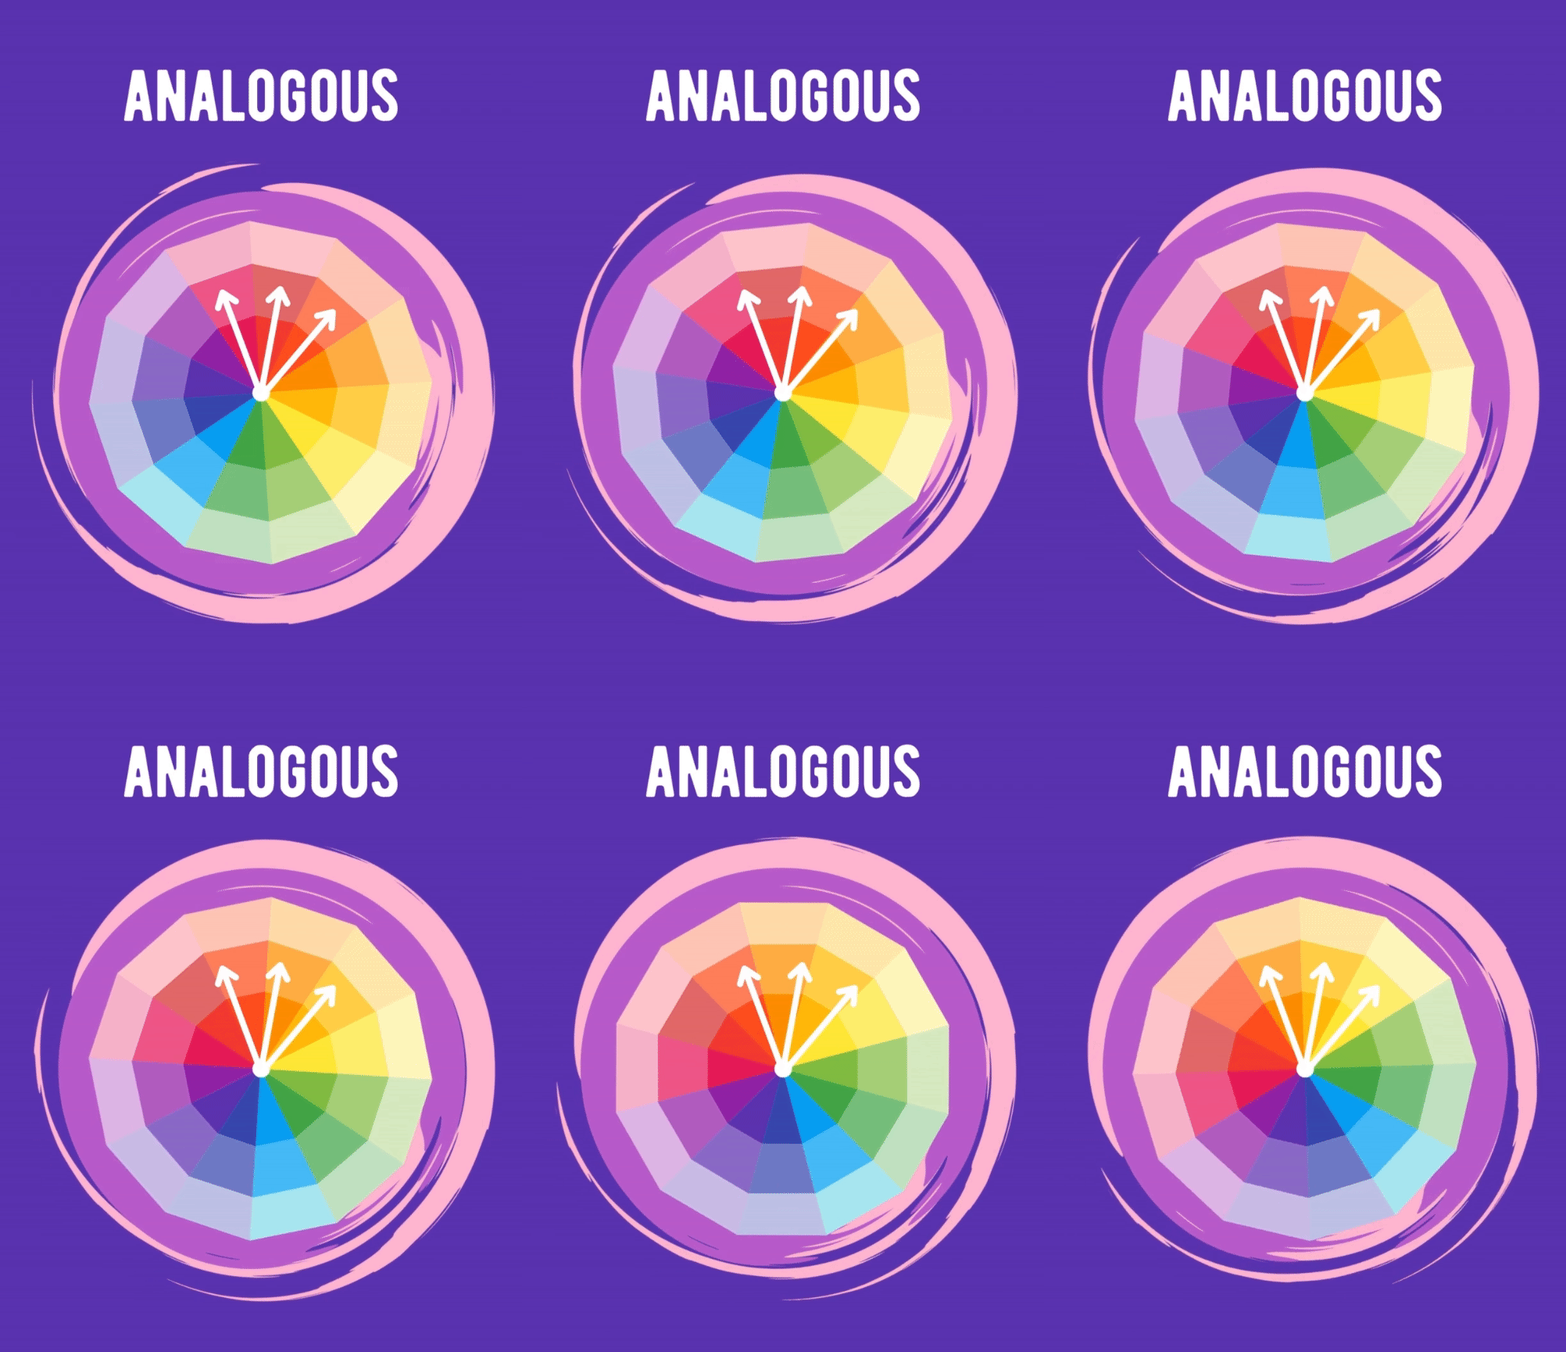
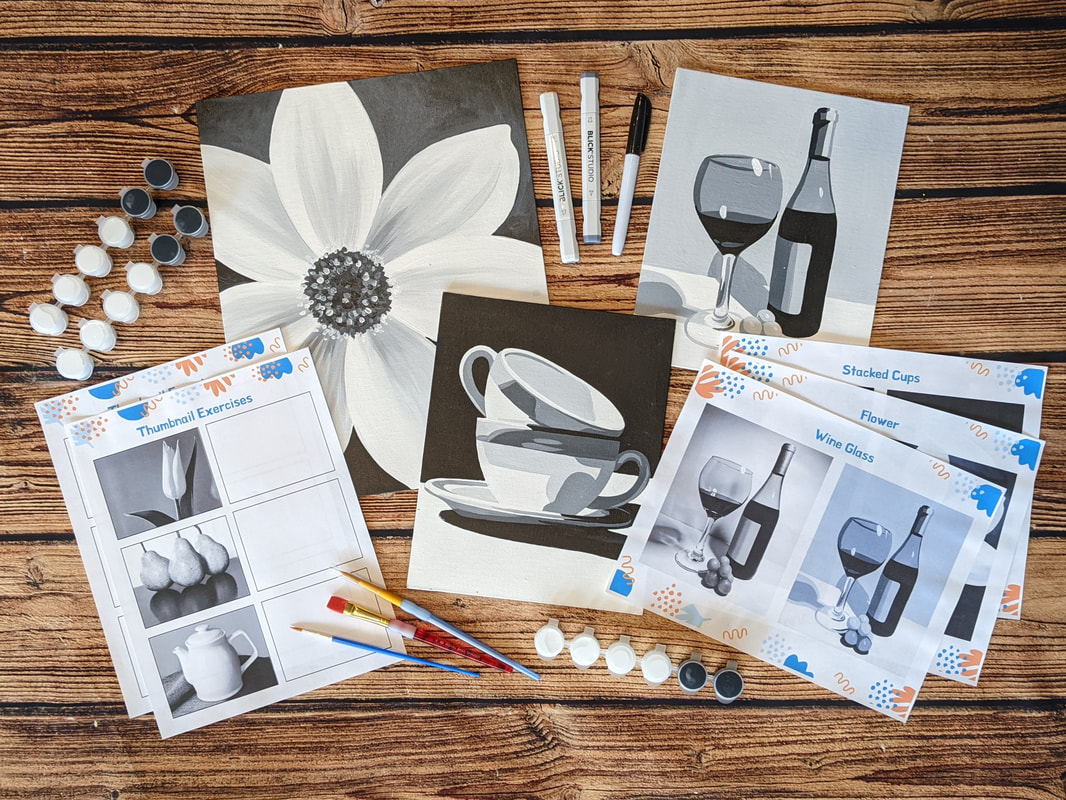
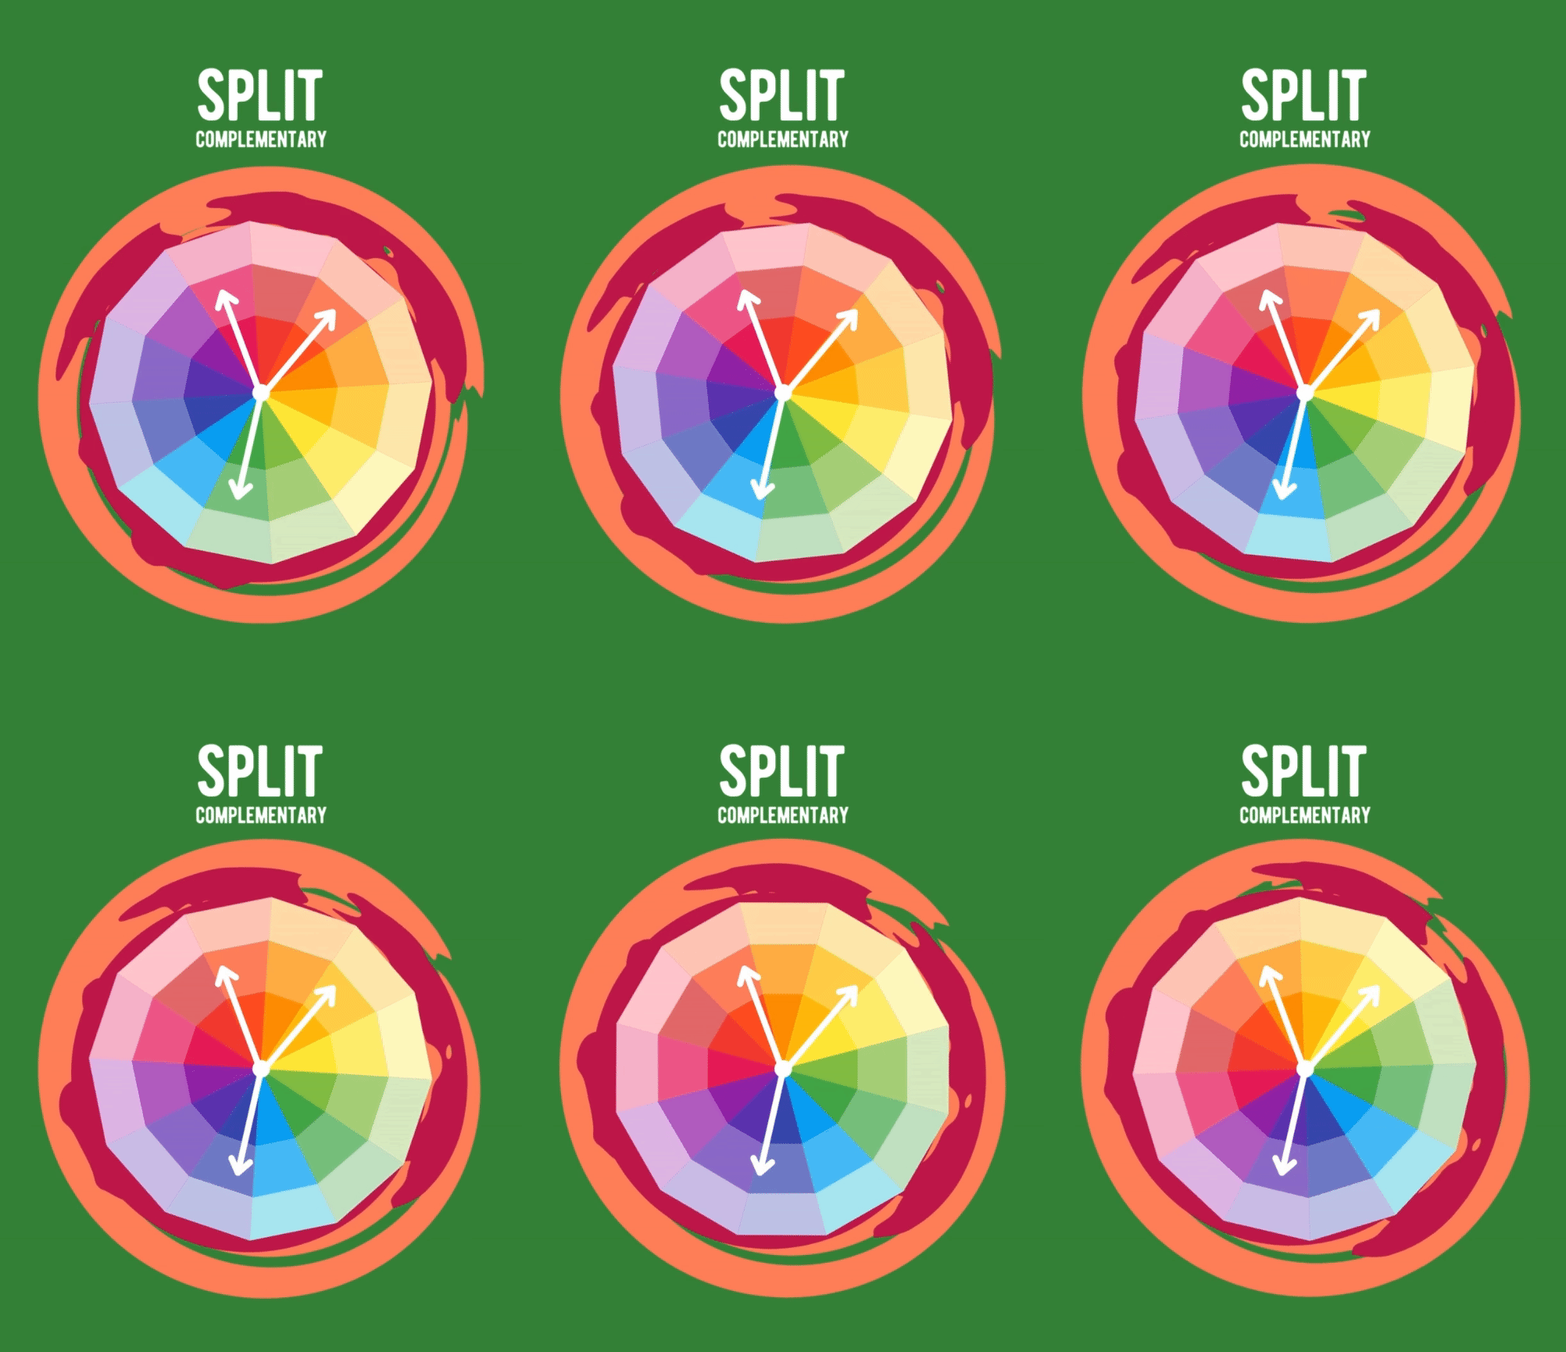
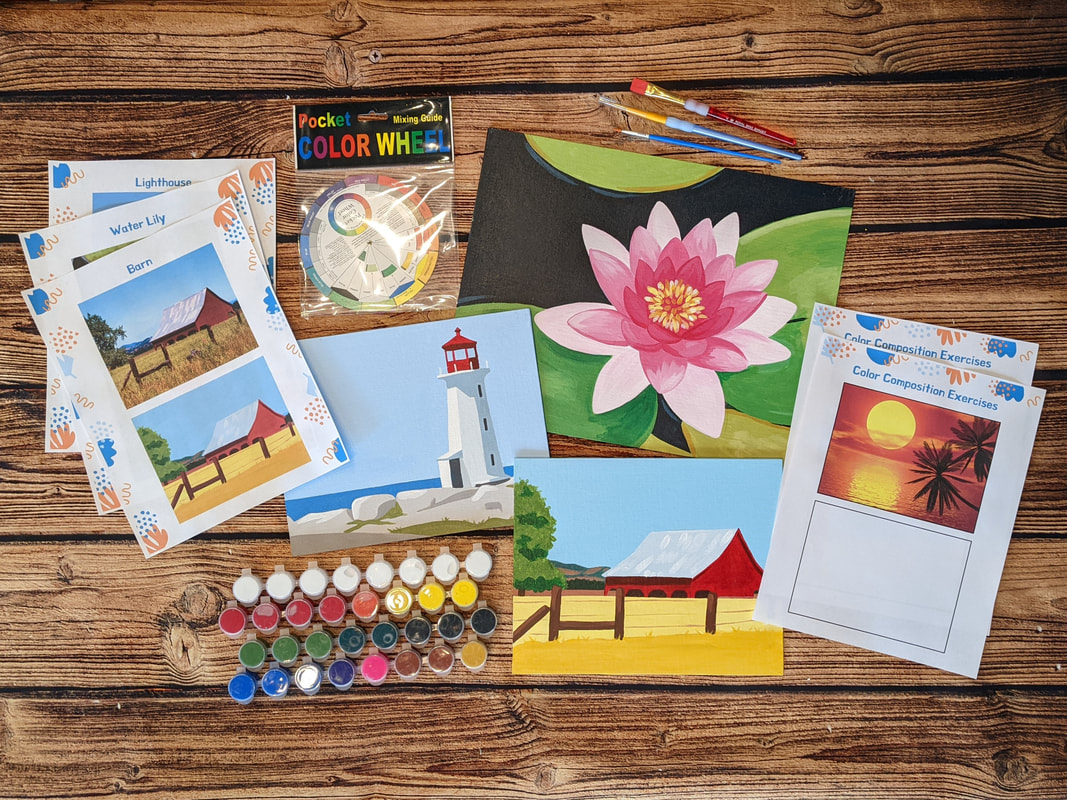
YOU MAY FALL IN LOVE WITH THESE OTHER POSTSPicture this: you've just finished a gorgeous sketch for a brand-new painting or decided on a design for your latest crochet blanket, but you need to figure out a color scheme, and you're unsure how to choose one that looks good. Don't worry; we've got you covered with our three favorite color patterns for creating a cohesive color palette! Before we get into it fully, you may want to check out our blog post on Why Contrast Is The Key To Visually Appealing Art. Without an understanding of contrast, your pieces may appear flat and dull, even with a gorgeous color palette!
This pattern will provide you with a great chance to play around with color theory and learn to understand how colors interact with each other, making it invaluable to beginner and seasoned artists alike! DO YOU WANT TO UNDERSTAND COLOR THEORY EVEN MORE IN DEPTH?
If you'd like even more color palette inspo, check out our Unique Color Palettes For Art board on Pinterest! As a great exercise, you can identify which color palettes on the board fall into the pattern categories we taught you about and which patterns they are! We hope you learned a lot about color theory in this post, and we would love to see how you use these color patterns. Tag us on Instagram at @thesketchingpad for a chance to be featured! DID YOU LOVE THIS POST? CHECK THESE OUT TOO! |
hey there!The Sketching Pad has been helping people just like you have fun and stress-free painting experiences for over a decade. Whether we're helping people create masterpieces in person in our studio, or we're guiding people who are painting at home through our painting kits and video tutorials, we are passionate about helping people see that everyone can be an artist with the right tools and guidance! This FREE Acrylic Painting Guide includes:
You'll learn...
This FREE course includes...
You'll learn...
Archives
June 2024
Categories
All
|















 RSS Feed