|
We could all use a little more calm in our lives with all the responsibilities adulthood brings. Having relaxing hobbies really helps ease the nonstop nature of life. If you're here at this blog post, you're probably looking for a little inspiration for a new mosaic project. Whether you're experienced with mosaic making or not, these will be as simple as they are beautiful, so you can just sit back, relax, and enjoy the process!
BEFORE WE GET INTO THE IDEAS...
If you're new to mosaic making, fret not! Here are a few simple tips to ensure your mosaic withstands the test of time, even in the harshest weather conditions!
STEPPING STONE INSPIRATION
There is something special about making your own stepping stones, perfect for your space. Concrete or pressure-treated wood should be your backing of choice. Any local hardware store or garden center should have something that will work perfectly.
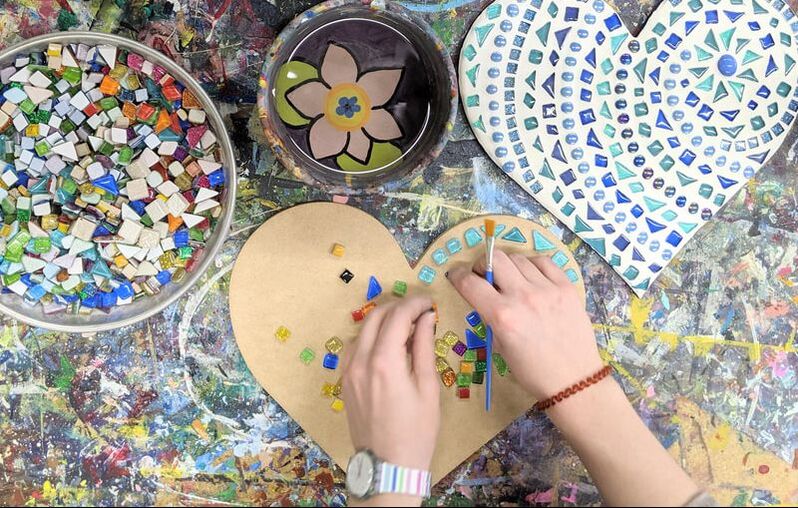
You can go wild and fun like this paver from Etsy. A design like this is actually a lot easier to lay out than you'd think. Just start with one of the circles, get it fully laid out, then fill in more circles around the original, and then fill the extra gaps between circles. Once you've got everything laid out, tweezers will be your best friend for picking up tiles and adhering them down without disturbing the rest of your design!
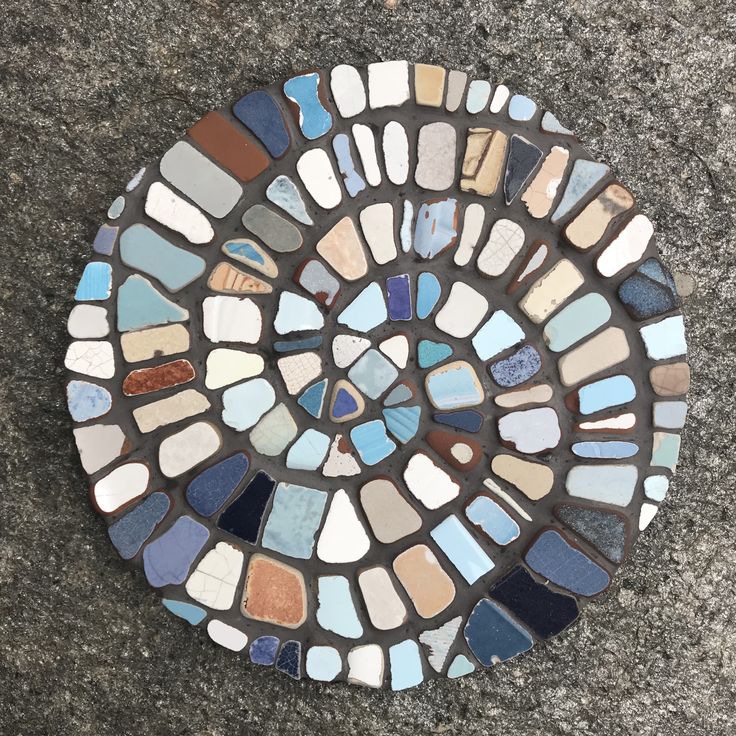
If you're feeling more inspired by this floral design, it's also deceptively simple to lay out, just like the last one! Just like you would've done with your circles, lay out the flowers around each other first, then fill in any additional gaps with assorted green tiles! This beach-inspired spiral stepping stone is GORGEOUS! For this one, you'll want to mark the center of your backing as accurately as possible. I would personally use a ruler for this. Then, arrange your tiles in a spiral, one line at a time, until you've got all of your lines on! BIRDHOUSE INSPIRATION
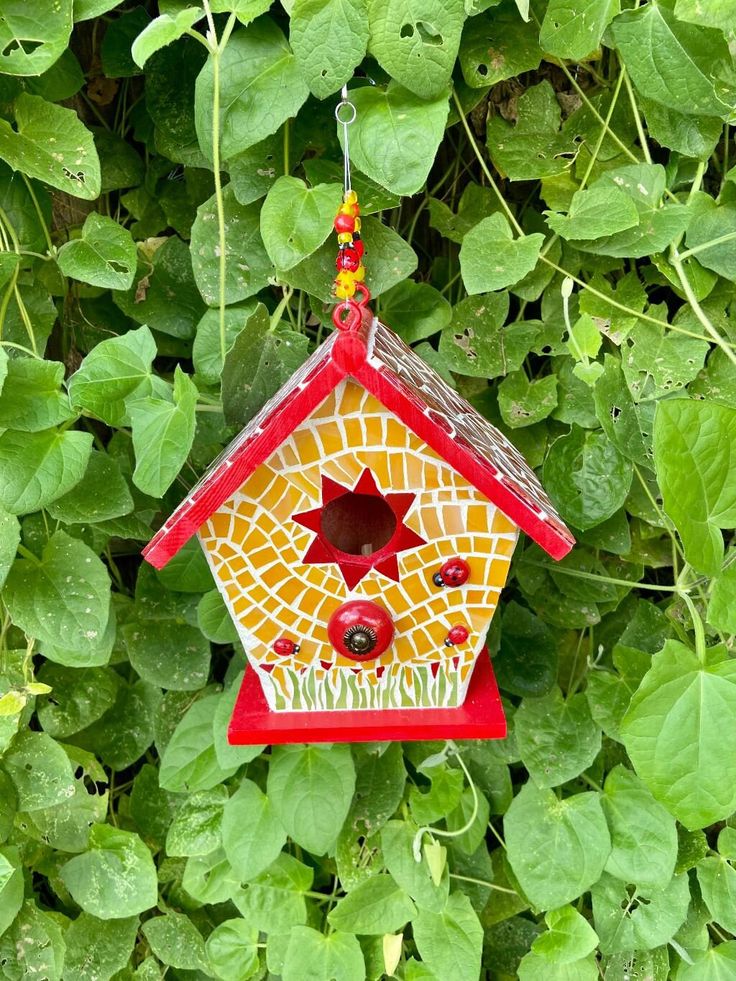
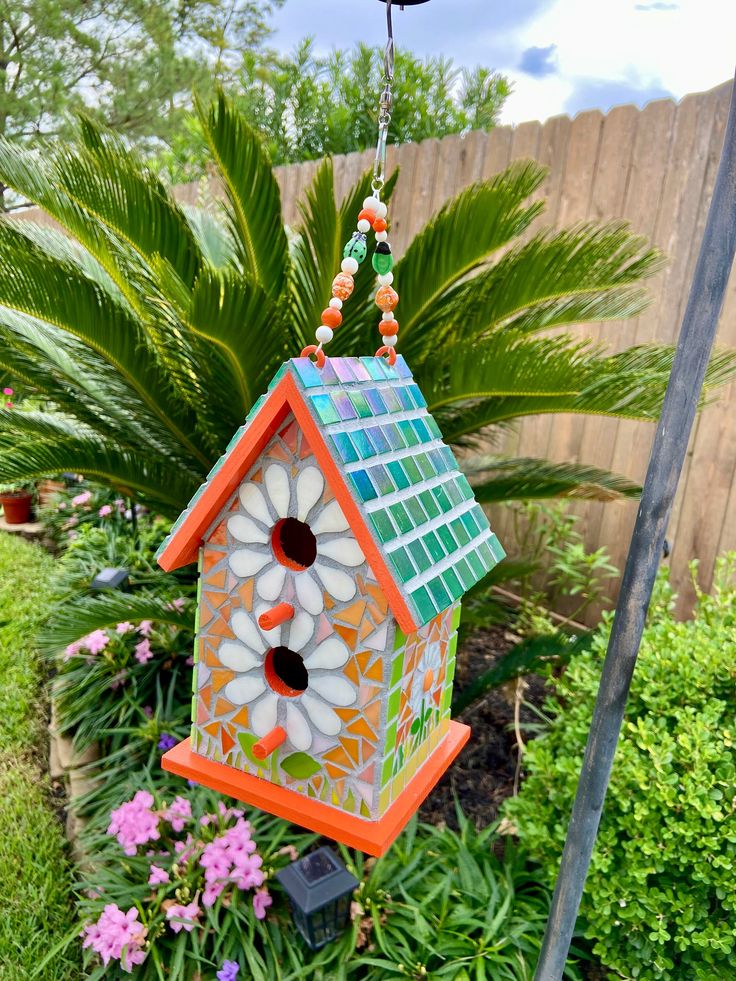
Wooden birdhouses are usually made with untreated wood, so before you get started on any of these adorable birdhouses, you'll want to paint the whole thing with exterior paint in the color of your choice to seal the wood and ensure no moisture will get through and break down the grout!
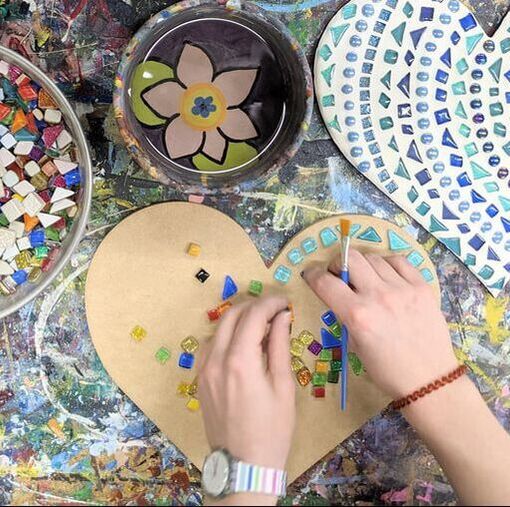
Much like those previous stepping stones, to lay out these designs you'll want to start with the more intricate parts and will in the spaces around them once everything is laid out. The most important thing to remember when adhering tiles to something like this is that you'll need to work on one side at a time and let it fully dry down before moving on to the next, otherwise your tiles will likely slide around and mess up all of your hard work!
Once you've got all of your sides on you'll want to go ahead and do a second coat of exterior paint anywhere you couldn't fit your tiles to make everything nice and finished! PLANTER INSPIRATION
If you're looking for a challenge, this project is for you! Ceramic or terracotta pots are your best friend for mosaics. We recommend starting with small ones if this is your first time working on a curved surface!
You may be thinking, "What? You think I can mosaic on a curved surface?" Yes, of course we do! It's actually easier than you may think! The only slightly challenging part about making a planter into a mosaic is that you have to work on one small portion at a time and allow the adhesive to be fully set before moving on, just like the birdhouses! You'll just have to work in much smaller sections, so nothing slides around.
Designing will also be a bit trickier because you won't be able to fully lay out your tiles before adhering them like you would on a flat surface. But if you know the dimensions of your pot, you could lay out a design flat on your table with the exact dimensions to take tiles from while you're adhering them! That way, you won't be going into things completely blind. NOT READY FOR THE FUN TO END?
NEEDING SOME FUN PROJECTS TO DECORATE THE INSIDE OF YOUR HOME WITH NOW? WE CAN HELP WITH THAT!
With tons of beautiful options to choose from, our mosaic kits are the perfect activity for satisfying your cravings for creativity without breaking the bank or researching all of the supplies you'll need in depth. We can't wait to see what you'll create!
YOU'LL LIKE THESE ARTICLES TOO!
0 Comments
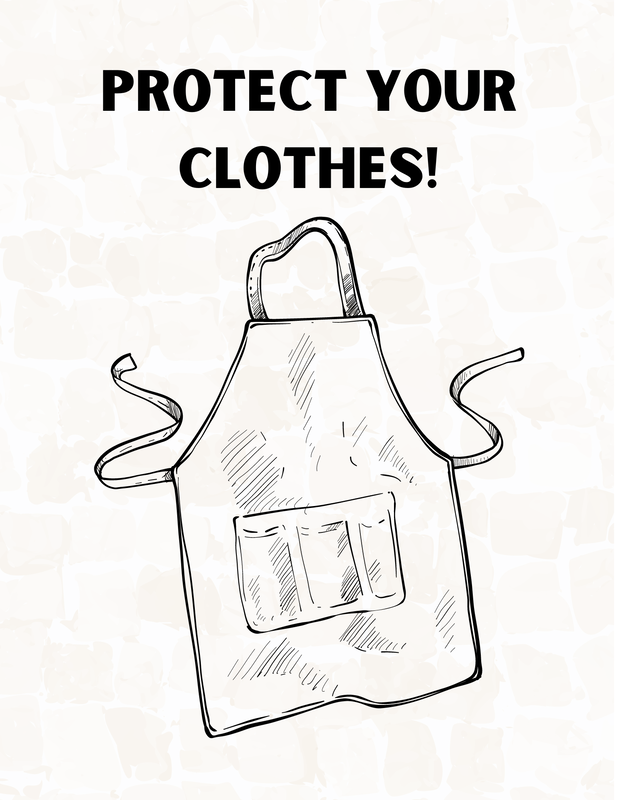
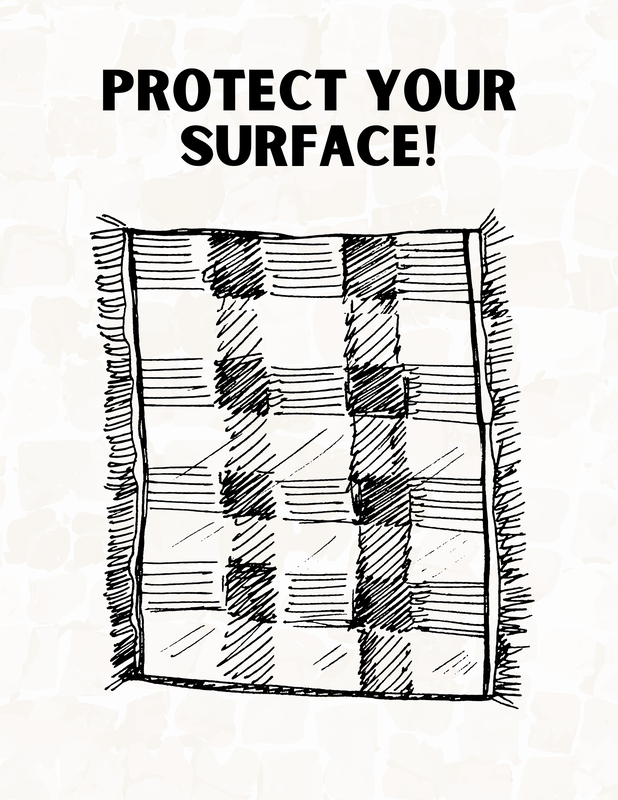
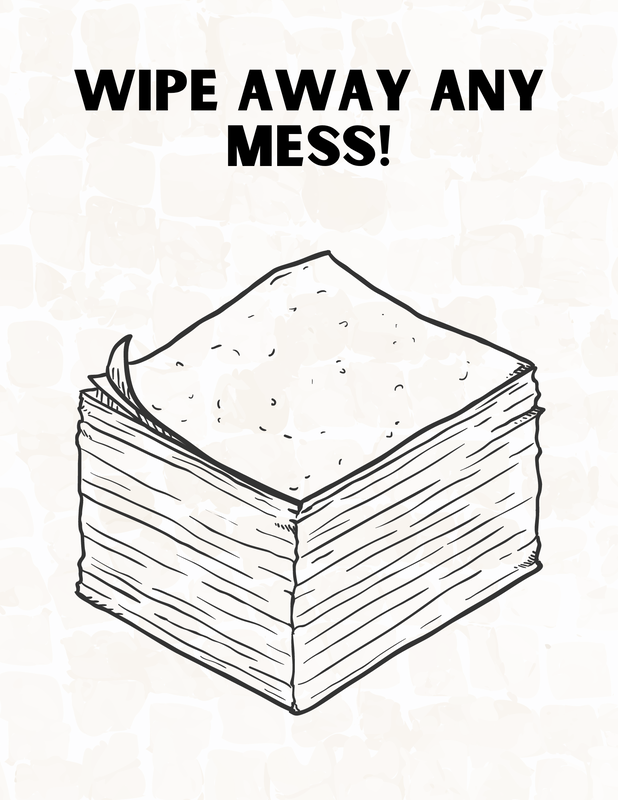
Mosaics are so much fun to make, but they aren't the tidiest DIY project you can work on, especially for kids. That being said, there are many ways to make cleaning up for mosaic projects easy! This post covers three tips for having a mess-free mosaic party so you can focus on all of the fun mosaics have to offer. Let's get into it!
1.
2.
3.
NOW THAT YOU KNOW HOW TO KEEP THINGS TIDY...
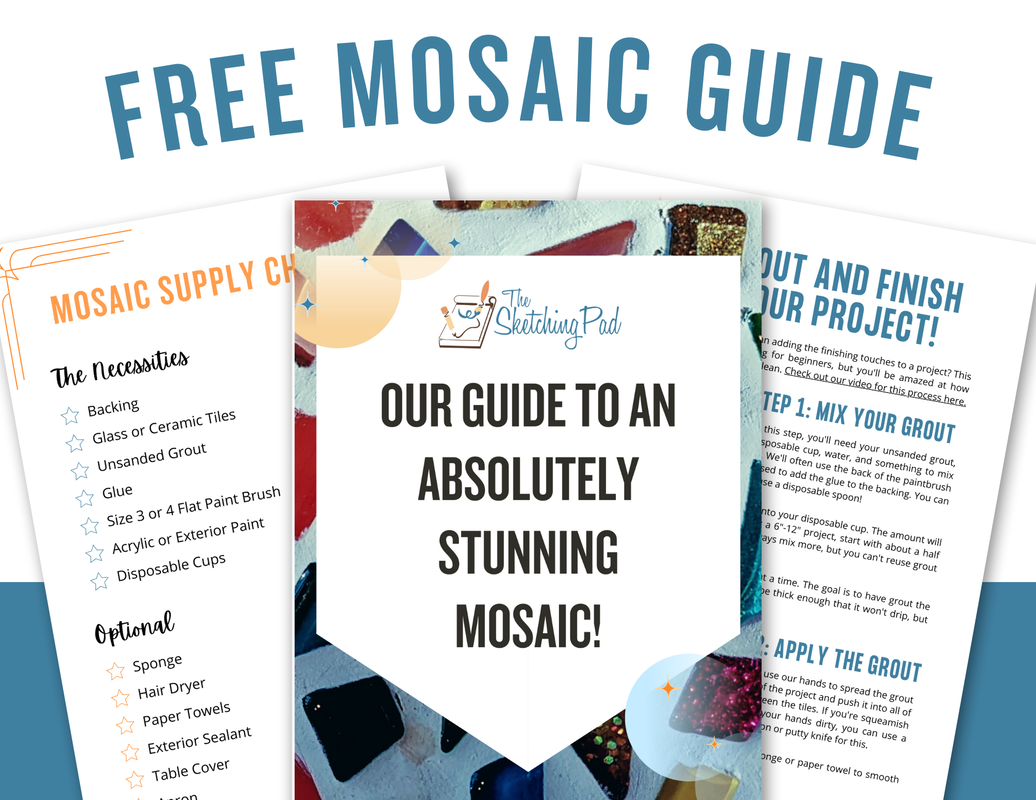
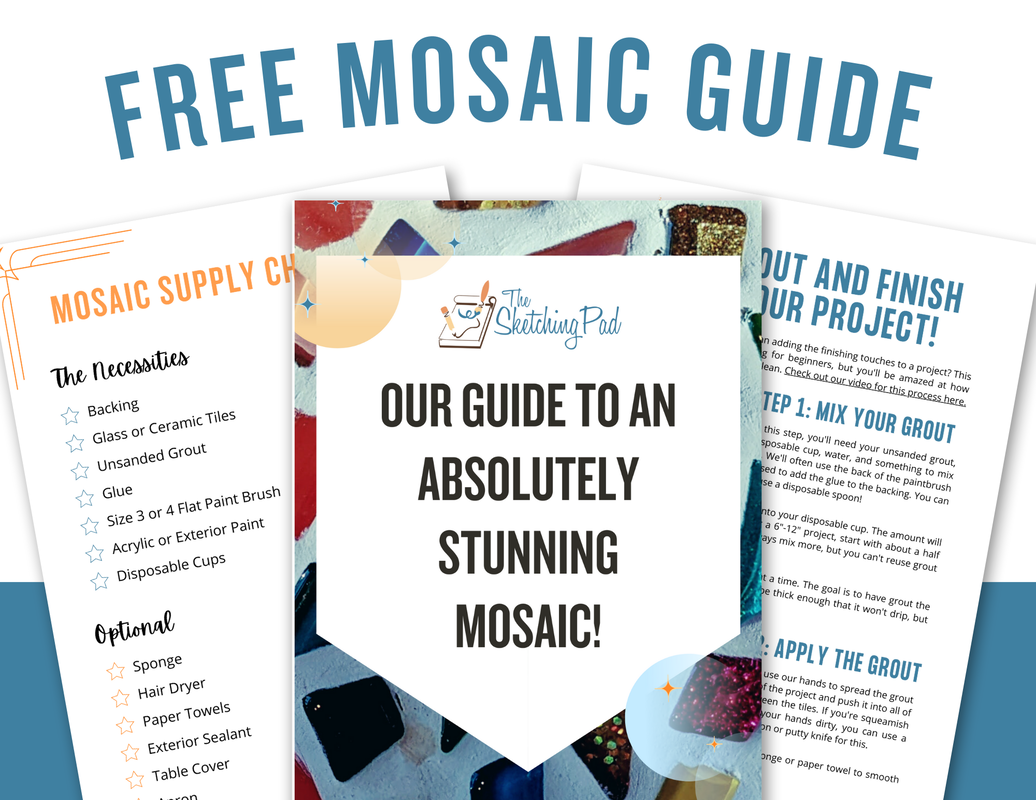
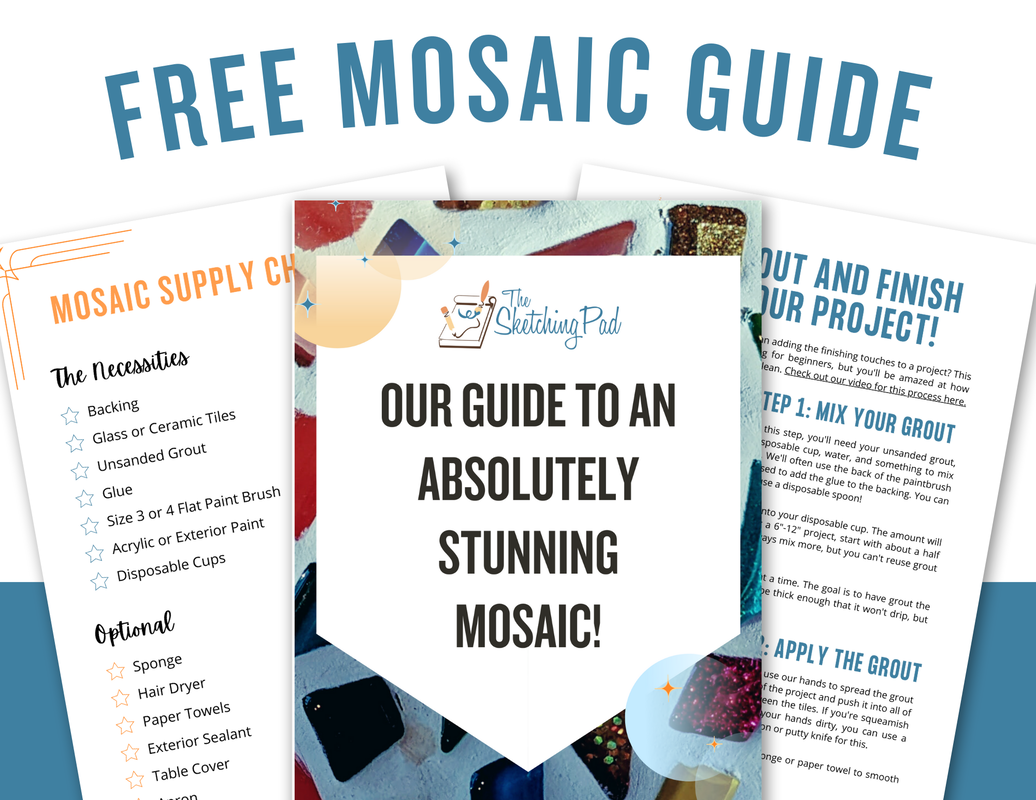
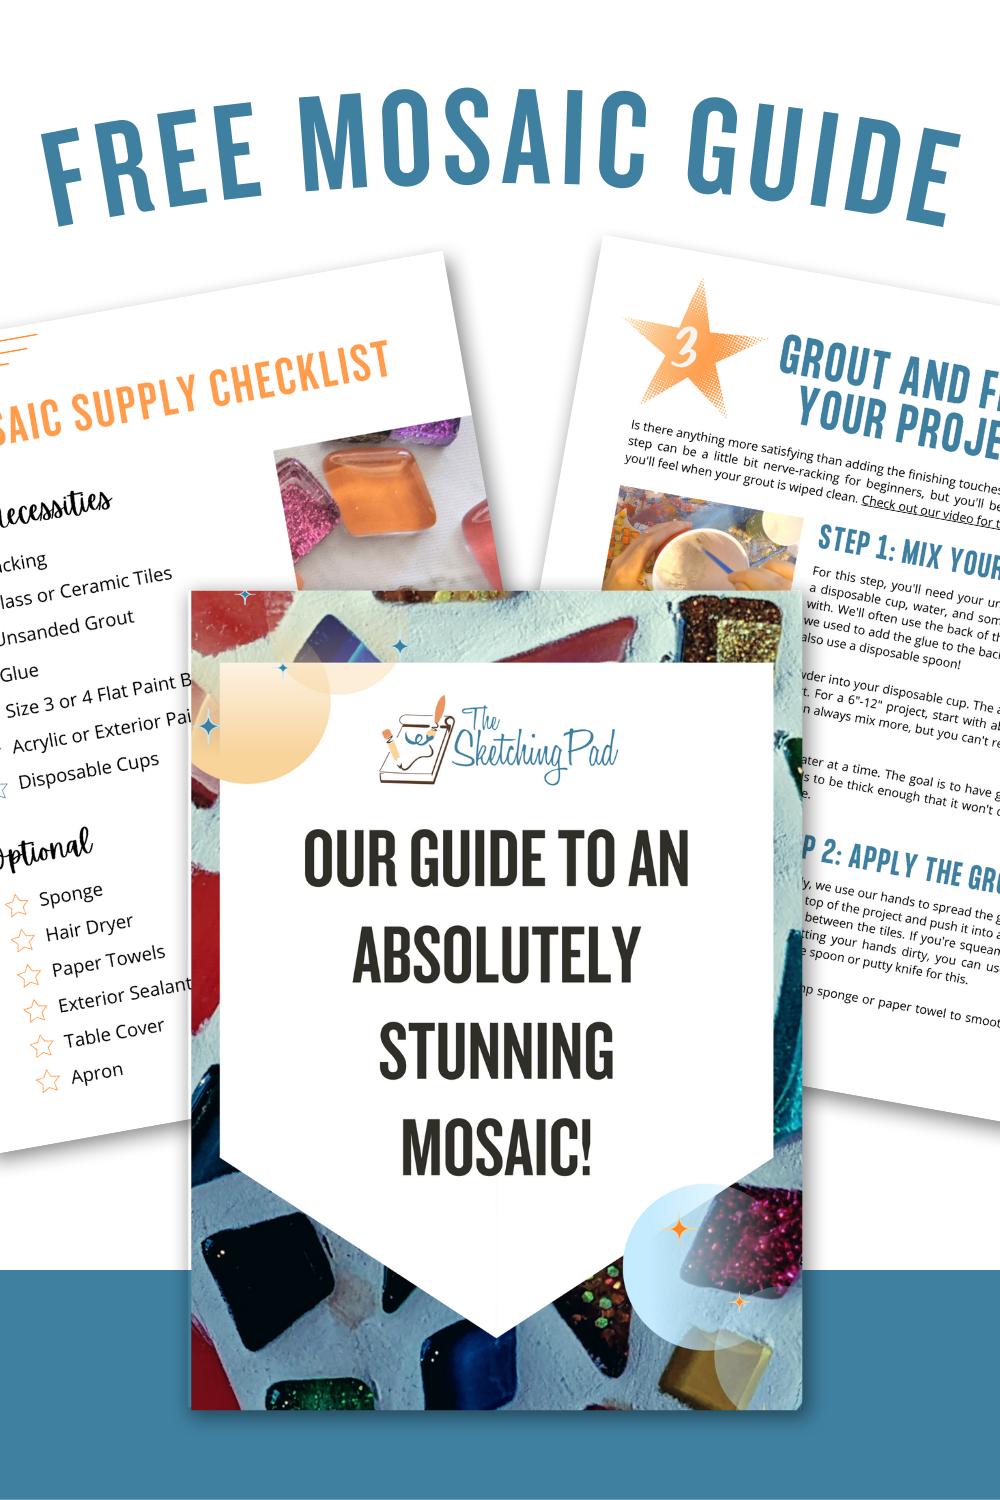
Are you ready for more? If you want to be extra prepared for your mosaic party then you'll love Our Guide To An Absolutely Stunning Mosaic. In the guide we cover the supplies you'll need, instructions, and some extra tips to give you all of the confidence you need to succeed!
DON'T FORGET THE MOST IMPORTANT PART!
You and your guests will be so at ease while using our Mosaic Kits! You'll have everything you need to create something just right for you, from beautiful glass and ceramic tiles to grout, instructions, and much more. You'll be able to kick back and enjoy your creation!
YOU MAY LOVE THESE POSTS TOO!
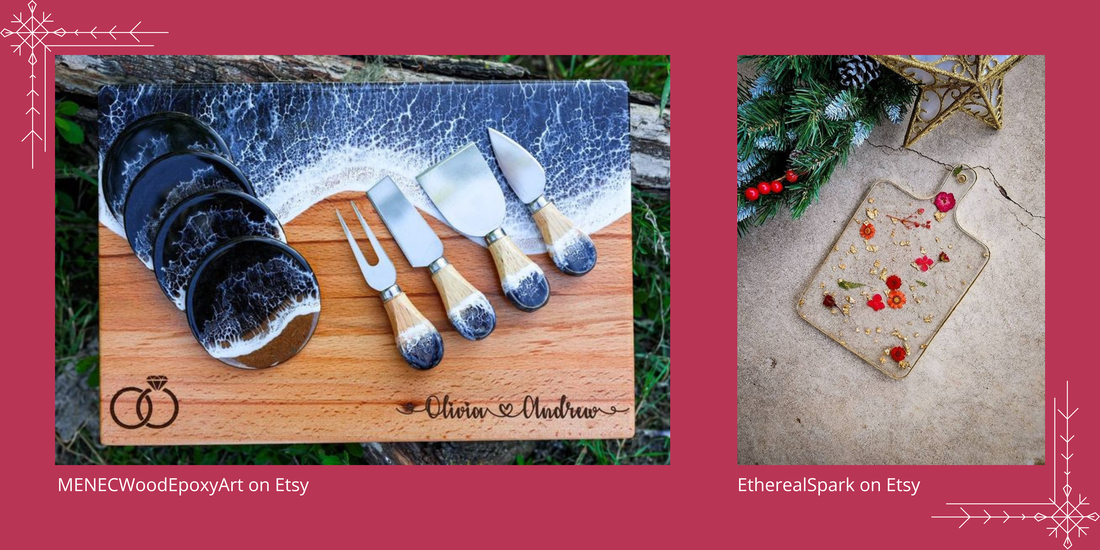
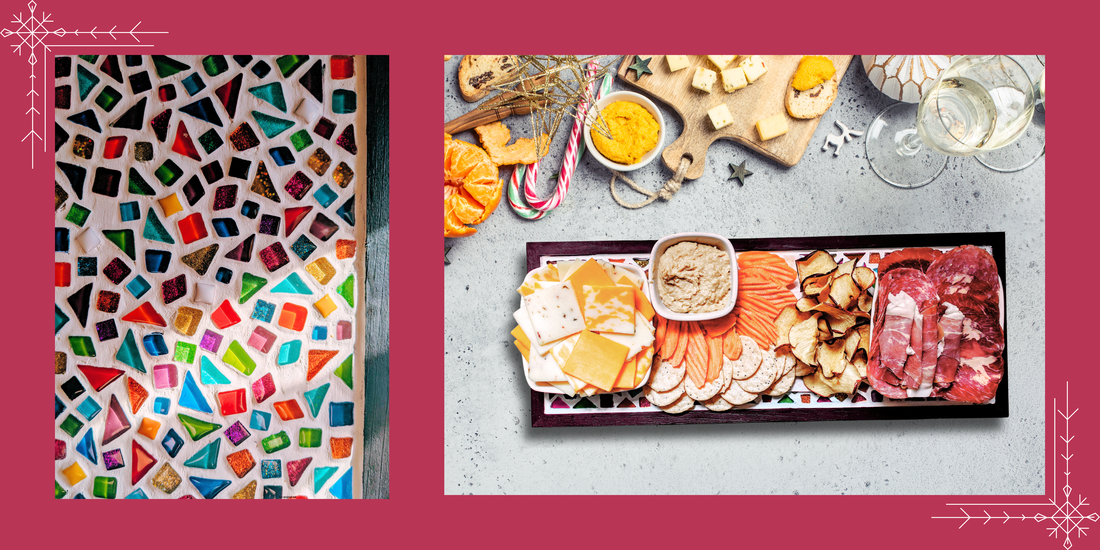
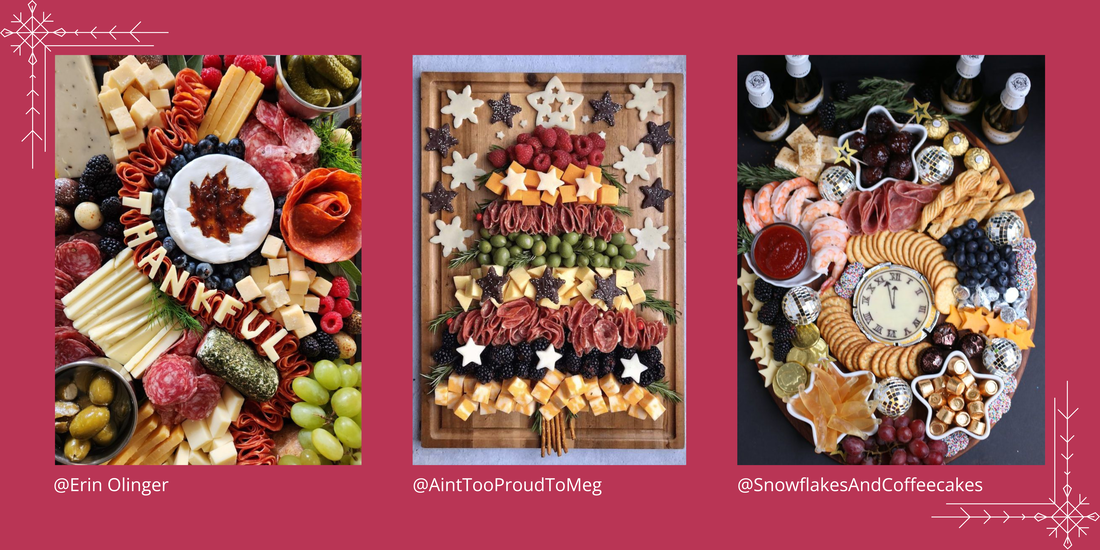
It's that season again, full of festivities and spending time with friends and family! With this season's return, there's a desperate need for charcuterie. If you're fresh out of ideas for a creative spread, look no further; we've got you!
NO MORE BORING BOARDSHOW ABOUT A CHARCUTERIE BOARD MADE BY YOU?
ADORN YOUR BOARD
Generally, I love to have a good assortment of cheese, meat, veggies, fruits, crackers, jam, hummus, and nuts. Be mindful of any loved ones with allergies or different dietary needs. If I have a particular layout in mind that might contaminate safe foods for someone, I like to make that person a separate mini charcuterie board with foods they can eat, so there's no risk!
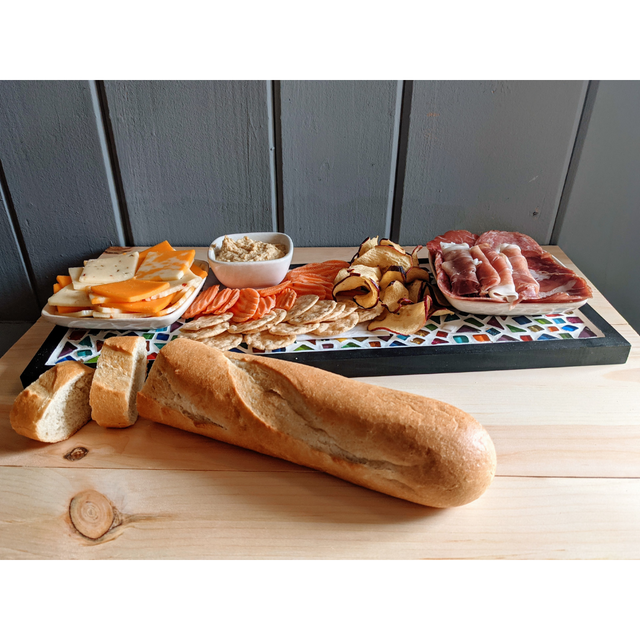
If you need some great ideas for how to style your ingredients, check out this guide to styling your prosciutto, see how to make a festive charcuterie wreath, and see a lovely, fresh way to display your brie! WANT ALL OF THE INFO YOU'LL NEED TO MAKE A FLAWLESS MOSAIC CHARCUTERIE BOARD?
This ultimate guide will take you through everything you need to know to make a stunning mosaic, from which supplies to purchase to how to use them step by step, with little bonus tips along the way! If you're ready to get into it, now's the perfect time, especially if you're looking for unique handmade gifts to give your friends and family this season!
ENJOYED THIS POST? TAKE A LOOK AT THESE!
You've decided to make a mosaic; that's awesome! Now for the fun but challenging part: where do you begin choosing your tiles? There are so many kinds of tiles to choose from, which can make it all too easy to make the wrong choice if you're unsure what to look for! That's why we created this post; we've worked (sometimes through trial and error) to determine what makes them great for each project!
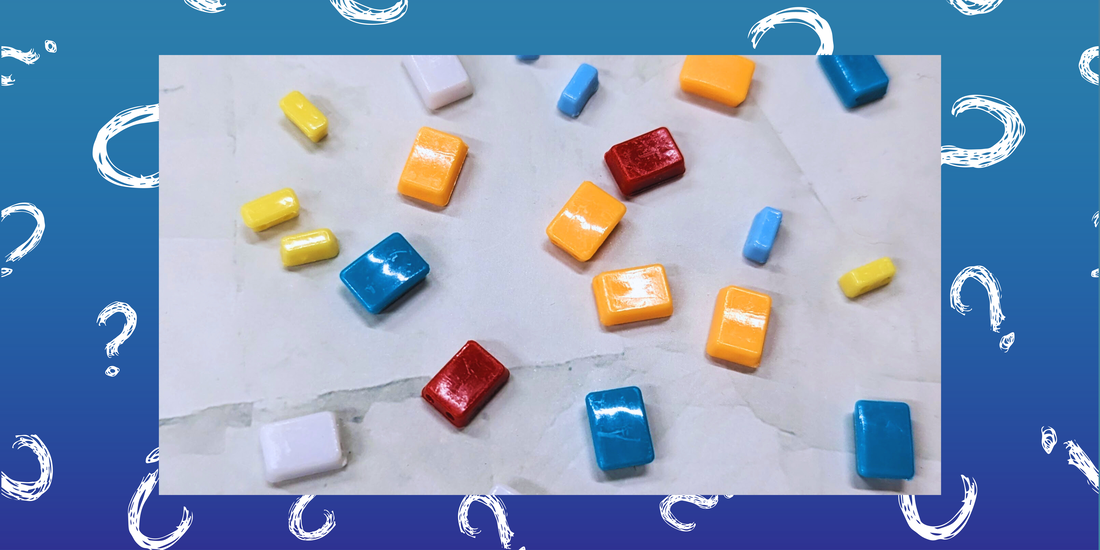
First, let's cover what you probably want to avoid getting and why! You might want to avoid plastic tiles, which won't be able to stand up to regular use. Durability is important when creating a functional project, like a trivet or tabletop. We don't want your beautiful mosaic trivet melting when you put a pot on it because your tiles are plastic! You may also want to avoid tiles with designs etched into the top. While these tiles can be gorgeous, it can be hard to get grout out of all the indentions when you finish your project.
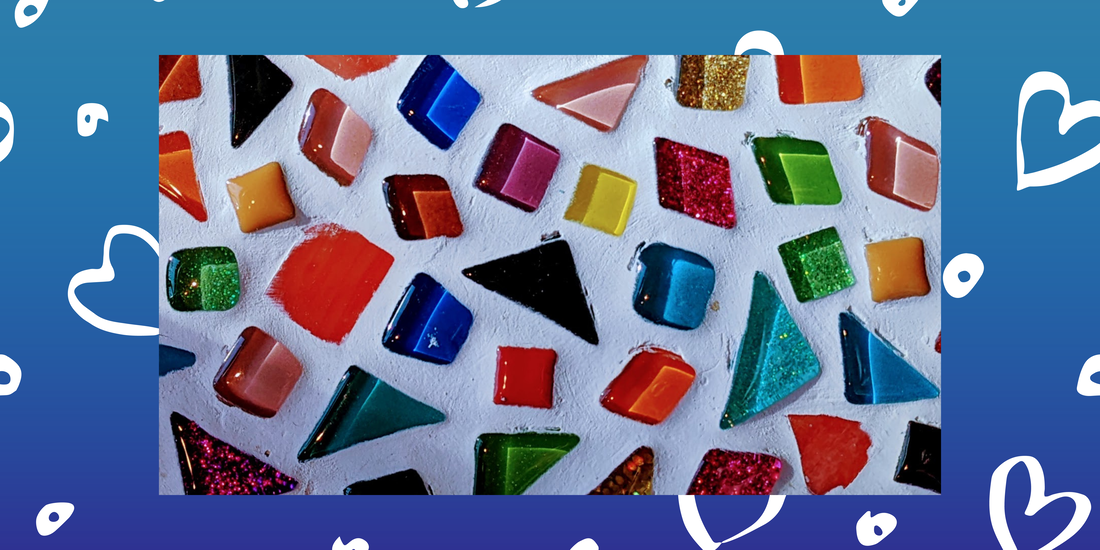
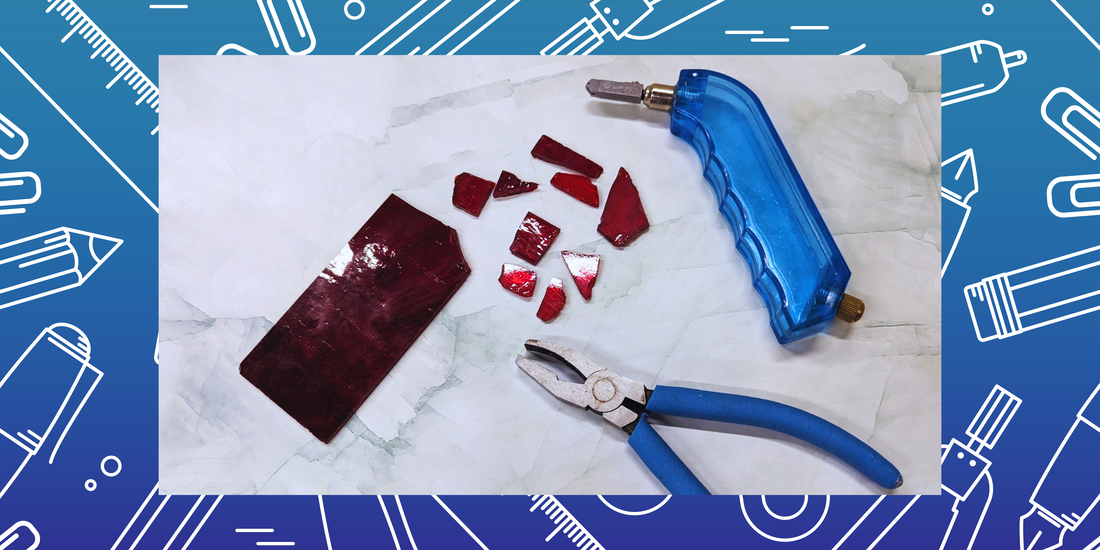
Now it's time to cover what tiles you should use! Glass and Ceramic tiles are beautiful and functional, making them our top choice and the types we include in our mosaic kits. They're great in many ways, but one of my favorite things about them is that they can withstand heat, so they're great for making things like trivets or coasters. You can also use them outside without the sun bleaching them like it would with plastic tiles. There are loads of stunning options for glass and ceramic tiles on Etsy! Glass is particularly great to work with because you can purchase sheets of glass and cut out your own tiles in the exact shapes you need! You can watch this great video from Bonnie Fitzgerald & Kim Wozniak on YouTube to learn everything you need to know about the glass cutting process!
Now you understand all the tile options at your disposal, but what about the other supplies you'll need for mosaics? Check out Our Guide To An Absolutely Stunning Mosaic to learn everything you need to know about mosaic making from surfaces, grout, tile adhesive, and more!
If you're ready to get a feel for mosaic making, check out our mosaic kits for a great project that won't have you stressing about supplies!
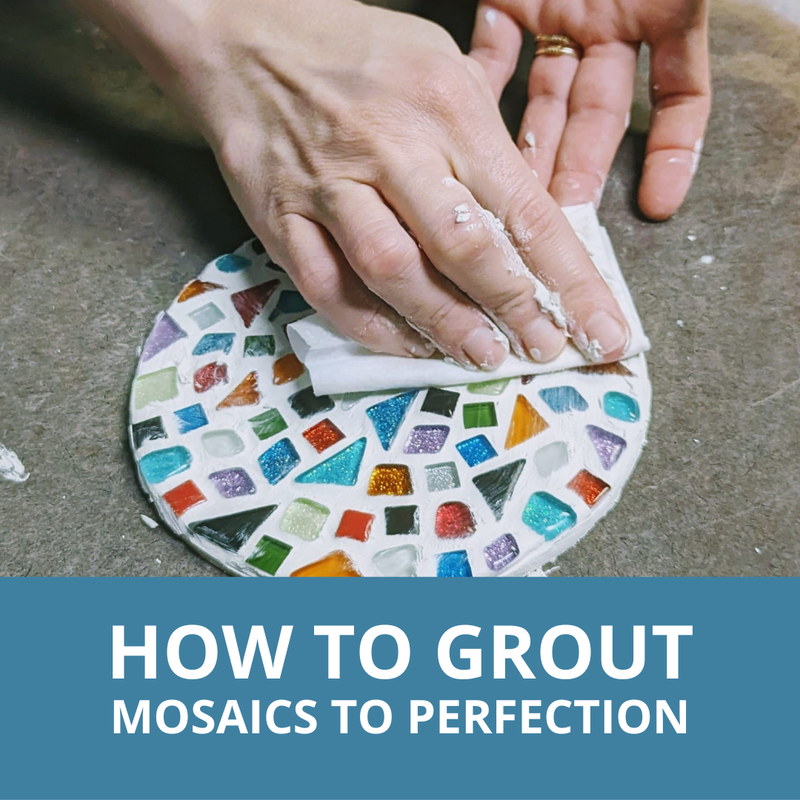
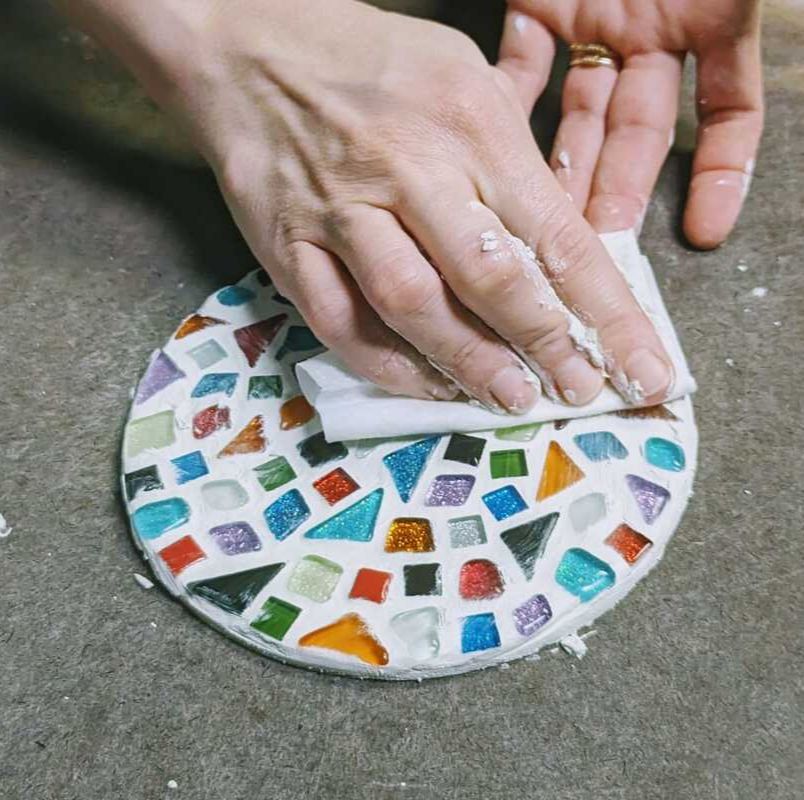
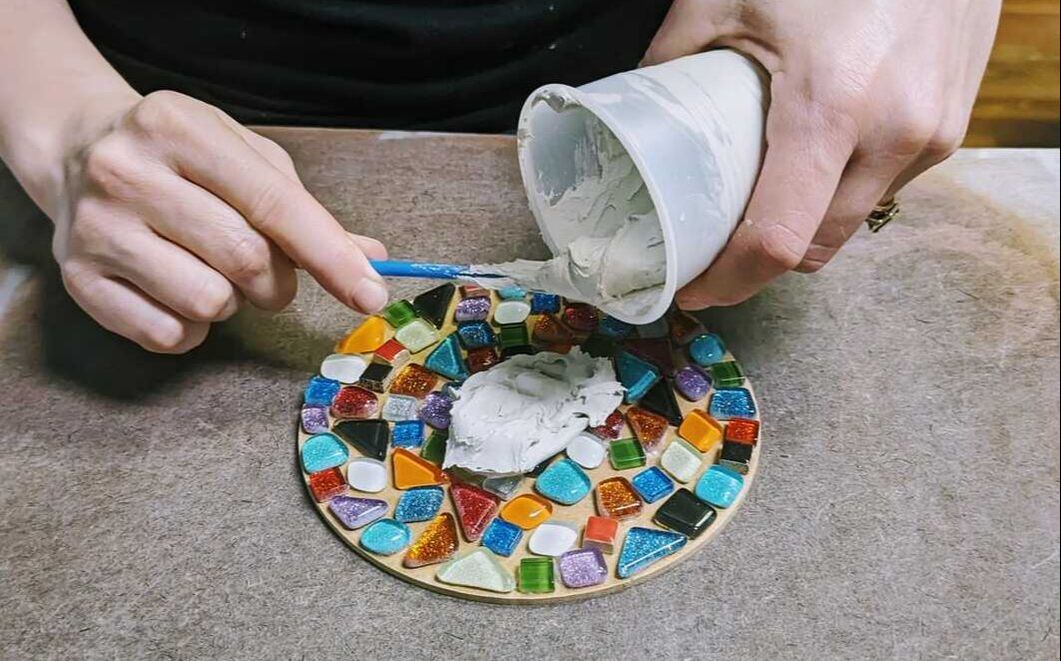
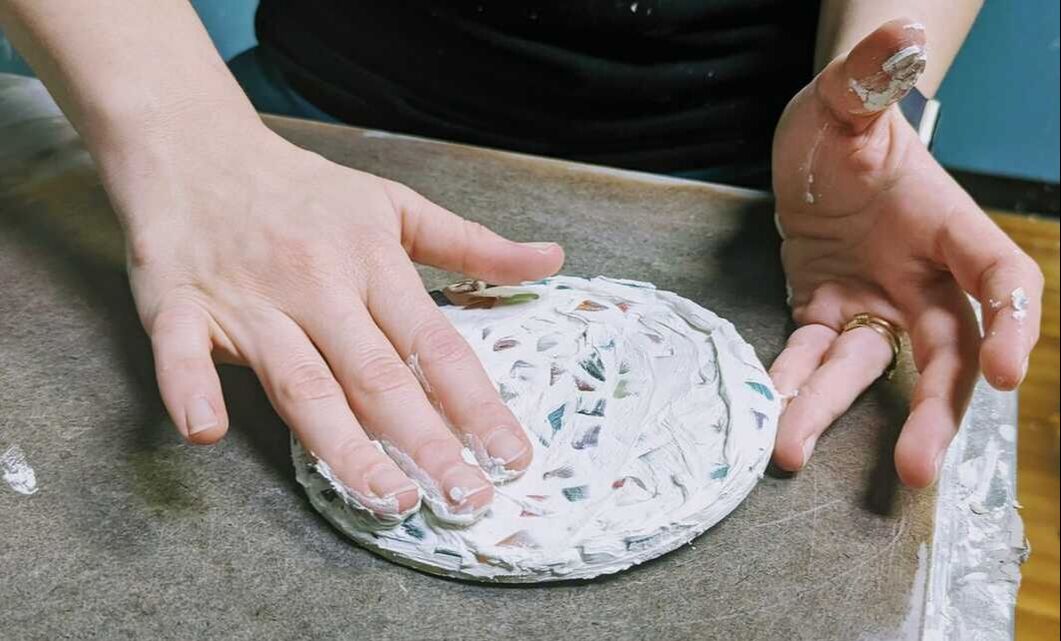
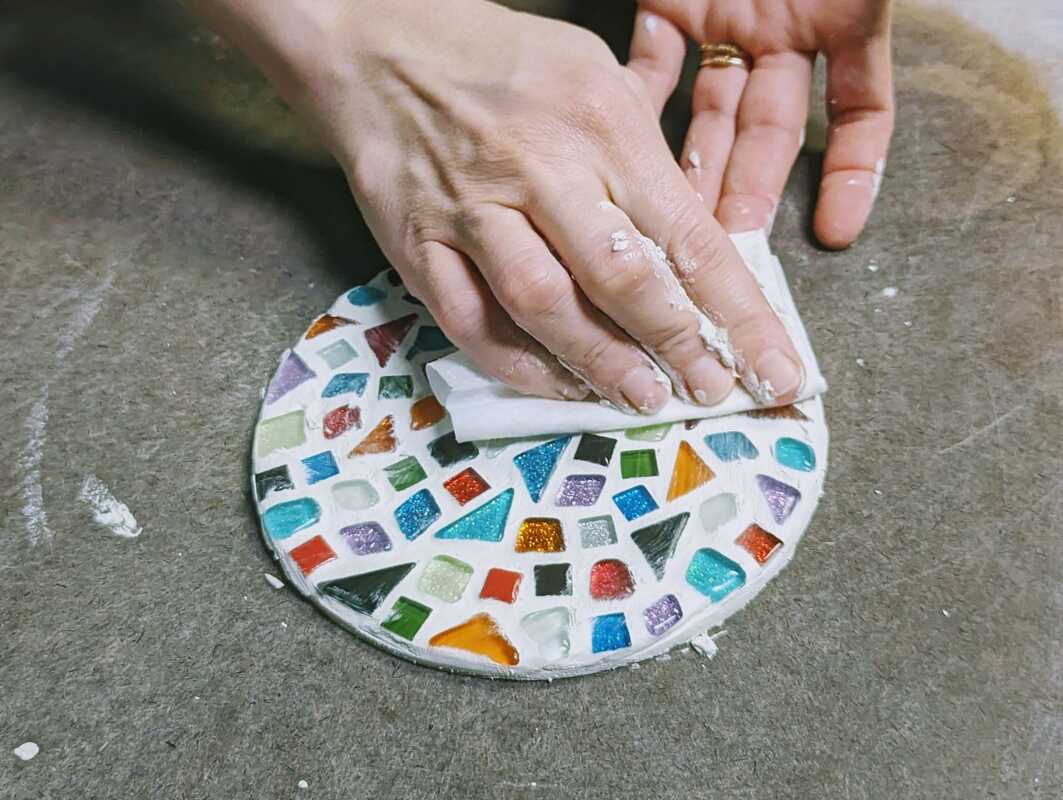
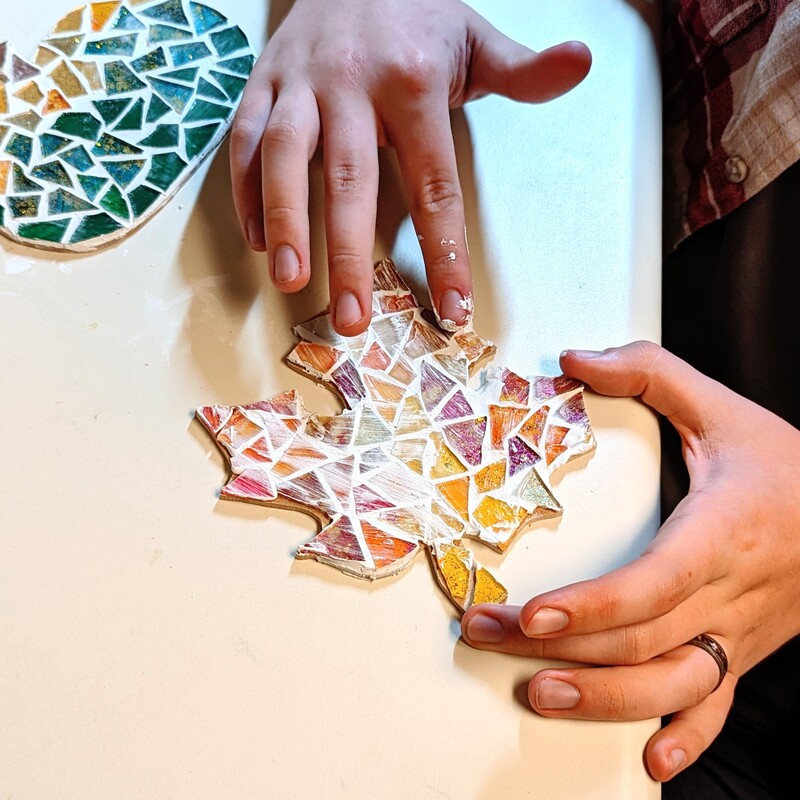
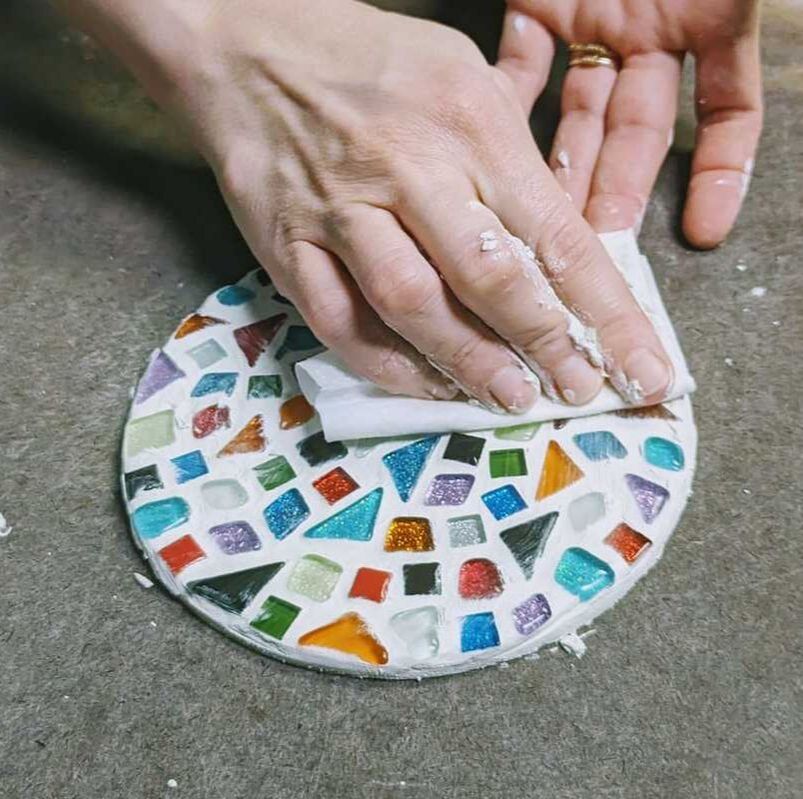
Is there anything more satisfying than adding the finishing touches to a project? This step can be a little bit nerve-racking for beginners to DIY mosaics, but you'll be amazed at how you'll feel when your grout is wiped clean. Check out our video for this process here.
STEP 1: MIX THE GROUT
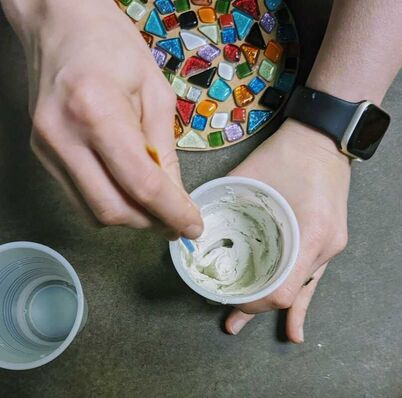
Put a small amount of your grout powder into your disposable cup. The amount will vary based on the size of your project. For a 6"-12" project, start with about a half cup of grout. Keep in mind that you can always mix more, but you can't reuse grout later that you've already mixed up.
Next, add a couple of tablespoons of water at a time. The goal is to have grout the consistency of a thick milkshake. It needs to be thick enough that it won't drip, but thin enough to be smooth and spreadable.
Do you want to learn more mosaic techniques or tips like how to color grout? Check out Our Guide to an Absolutely Stunning Mosaic!
We want to give you three simple steps to create a fun, stress-free experience and show how simple creating mosaics can be! With minimal effort, you'll find yourself growing in confidence in your mosaic abilities. Let's jump in!
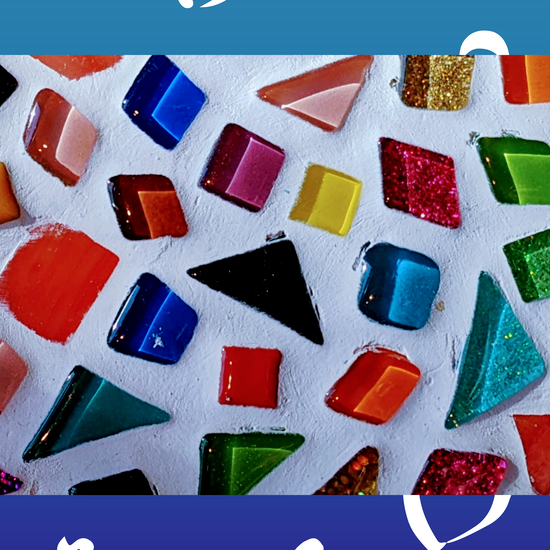
Be sure that you're selecting tiles that are either ceramic or glass. Plastic tiles or poor-quality tiles won't hold up to regular use, and you want your project to last. Check out our glass and ceramic tiles that are cut into shapes prior to finishing, which makes the edges smooth, rather than sharp! These are awesome when you're working on a project with kids, or when you don't want to have to stress about cutting yourself on glass shards!
Unsanded grout is the best choice for a nice and smooth grout finish for your project. This is easy to pick up at your local hardware store!
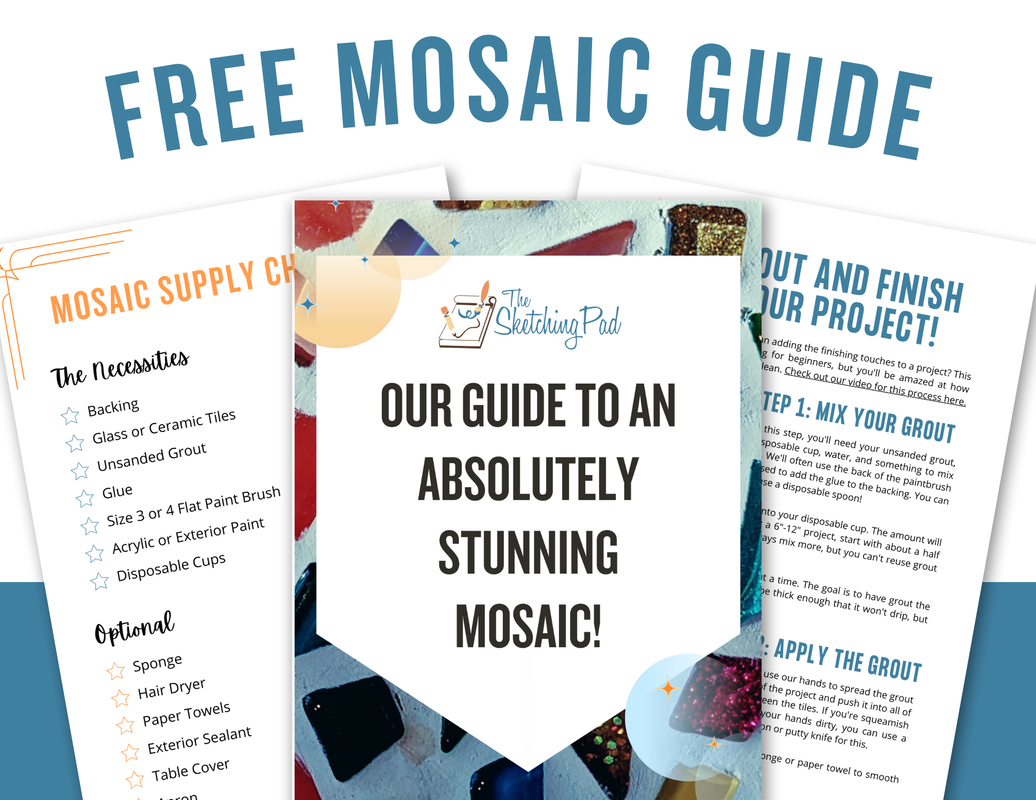
For a detailed explanation of all of the supplies you'll need, be sure to download our free mosaic guide! It includes a printable supply checklist.
Would you like a more thorough explanation of the grouting process, more tips, and a video tutorial? Our Guide to an Absolutely Stunning Mosaic includes all of those things!
MOSAIC KITS
Gathering all of the many supplies you'll need to get started with a mosaic hobby can be a challenge. That's why we've created mosaic kits that include everything you'll need. You can place one order and have everything you'll need to create your masterpiece arrive on your doorstep! With lots of projects to choose from, you can create one project after another with ease.
|
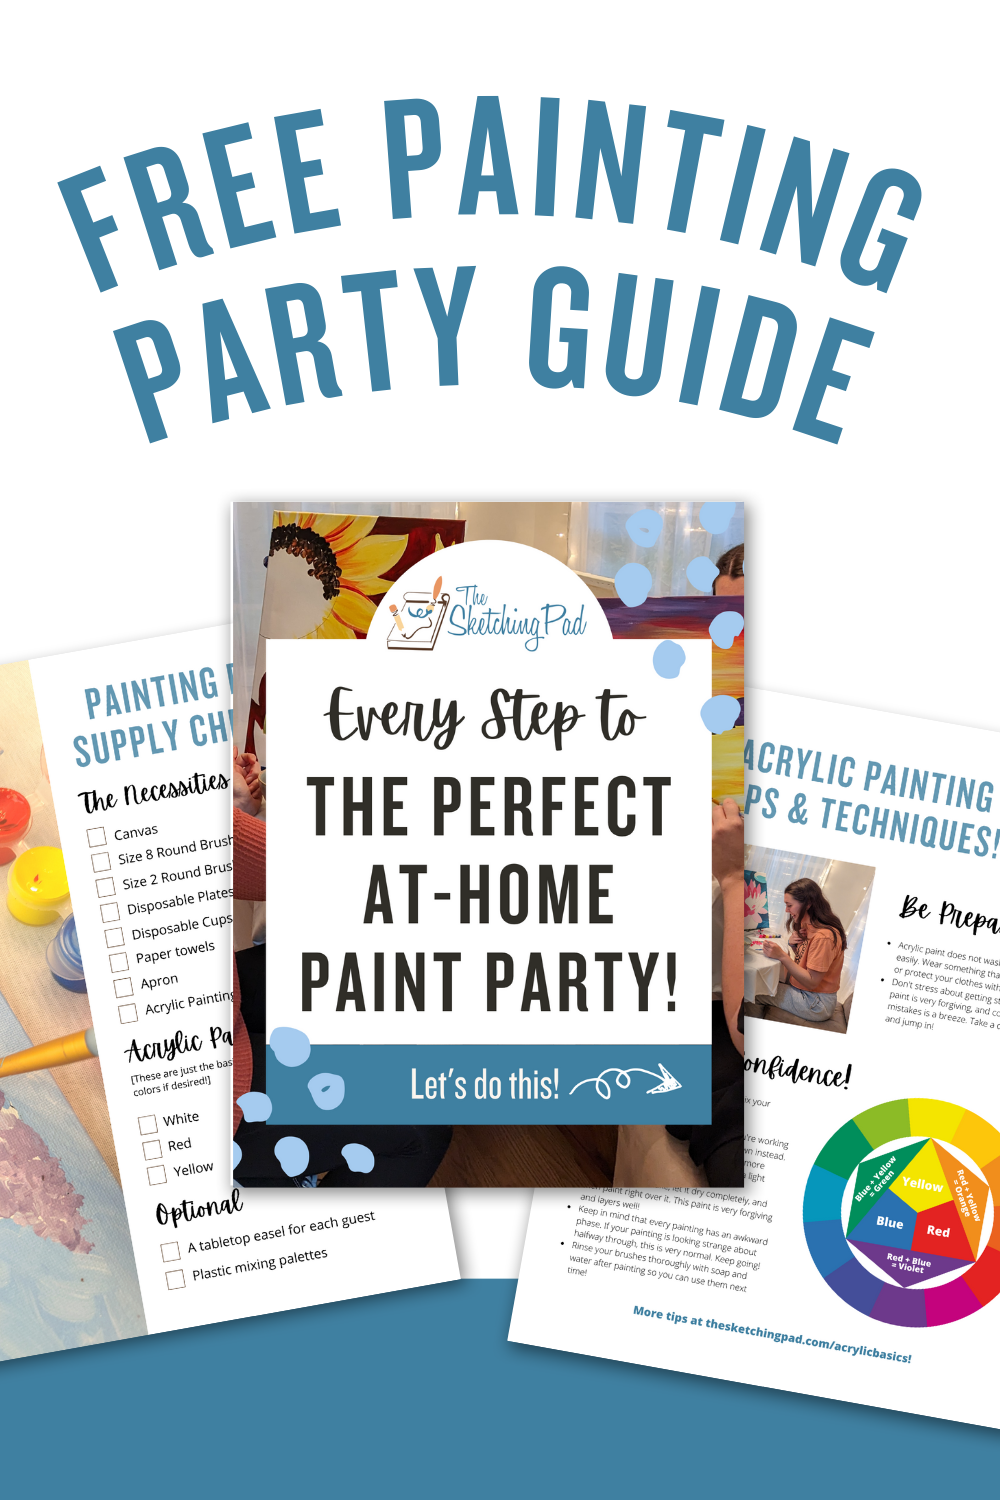
hey there!The Sketching Pad has been helping people just like you have fun and stress-free painting experiences for over a decade. Whether we're helping people create masterpieces in person in our studio, or we're guiding people who are painting at home through our painting kits and video tutorials, we are passionate about helping people see that everyone can be an artist with the right tools and guidance! This FREE Acrylic Painting Guide includes:
You'll learn...
This FREE course includes...
You'll learn...
Archives
June 2024
Categories
All
|










 RSS Feed