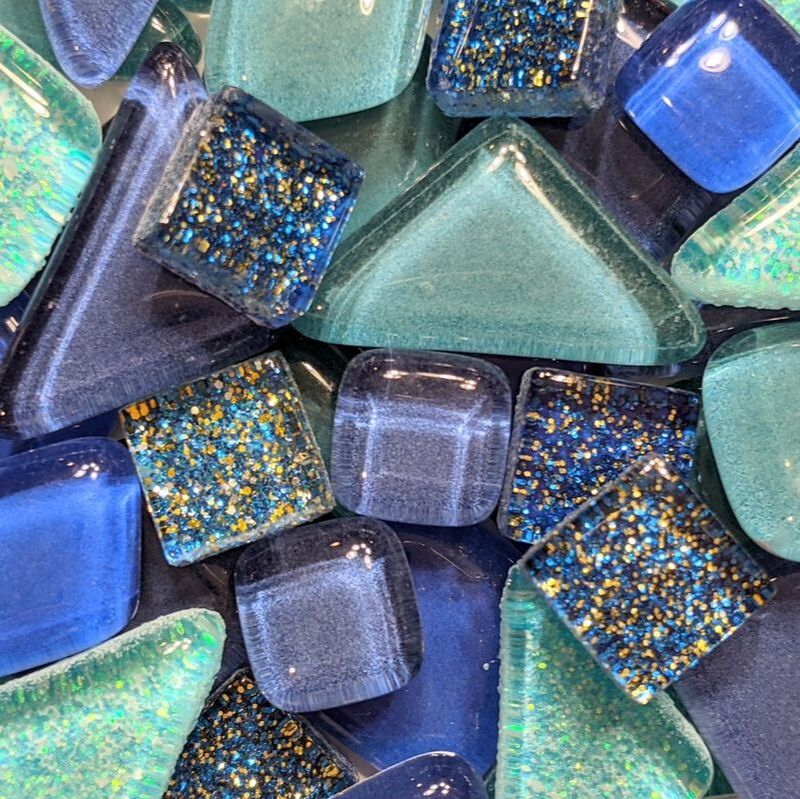
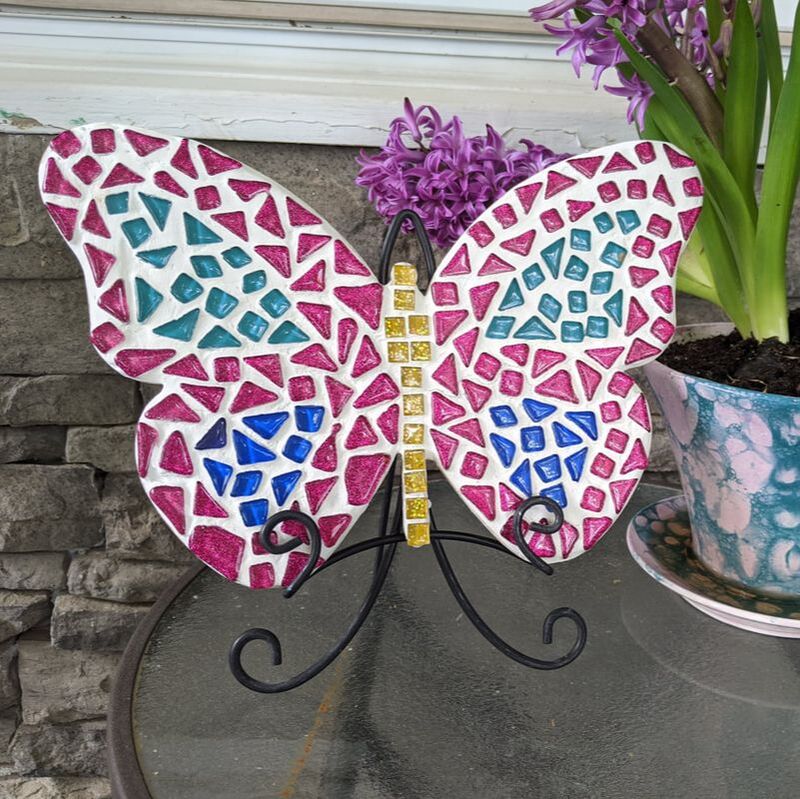
GLASS & CERAMIC MOSAIC TILESThese high quality, smooth glass and ceramic tiles are never cheap and never plastic.
|
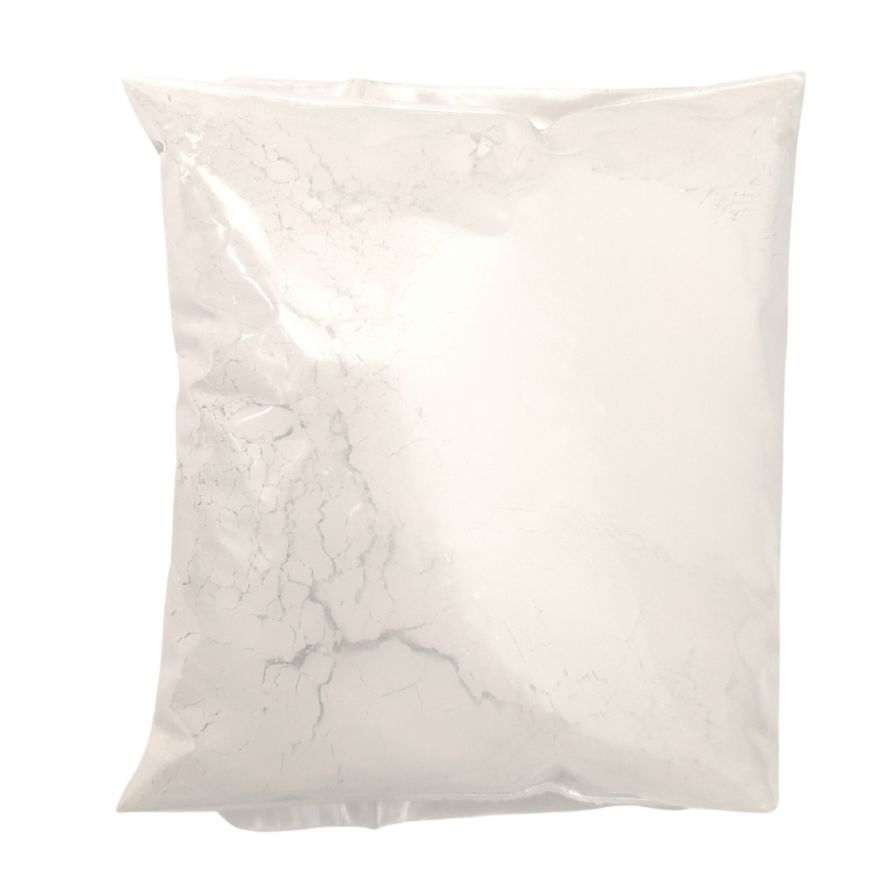
WHITE OR BLACK
|
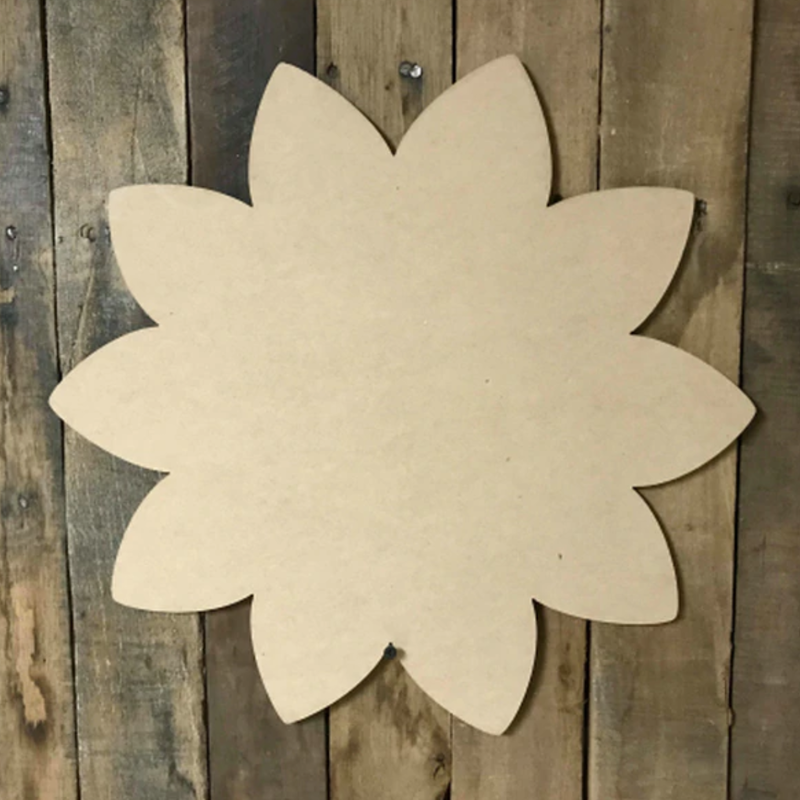
FLAT
|
GLUE TO
|
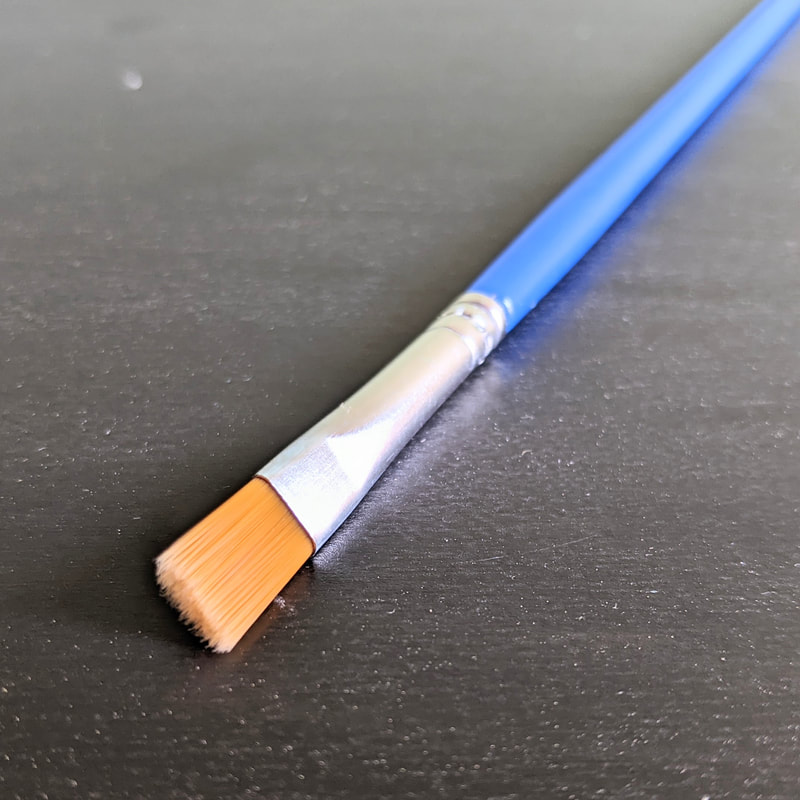
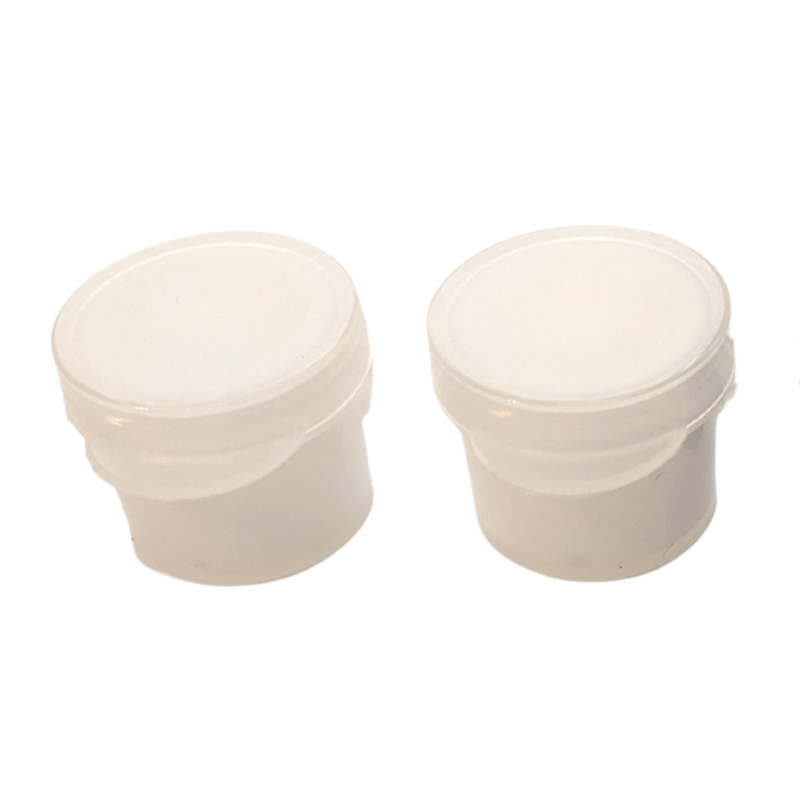
PAINT FOR
|
A FEW MORE THINGS TO GATHER...In addition to the supplies provided with your kit, you'll also need just a few things you already have at home!
DID YOU PURCHASE SEALANT AS AN ADD-ON? |
THE PROCESS IS SIMPLE!
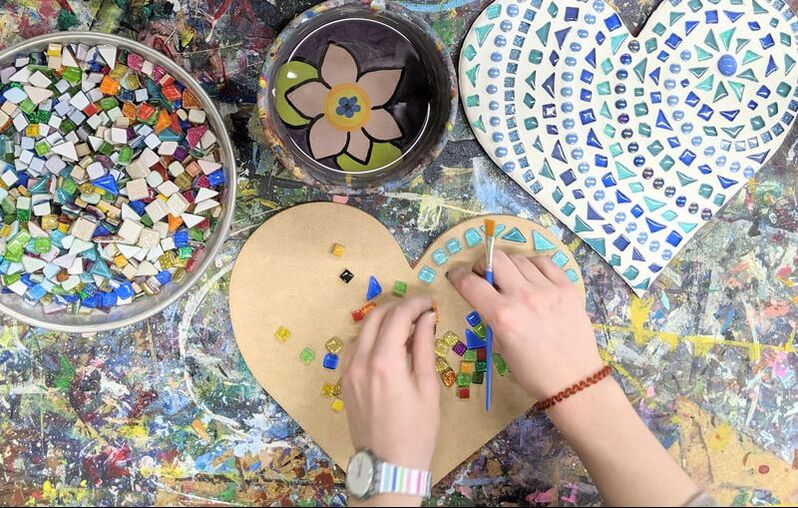
STEP 1: ADHERING THE TILES!It's time to design your mosaic masterpiece!
|
|
|
STEP 2: GROUTING!Give the glue about an hour to dry after tiling. If you're as impatient as we are, you can also use a hair dryer for about 10 minutes to speed up the process! Be sure that the tiles are not wiggling when you press on them. Now it's time to apply your grout!
|
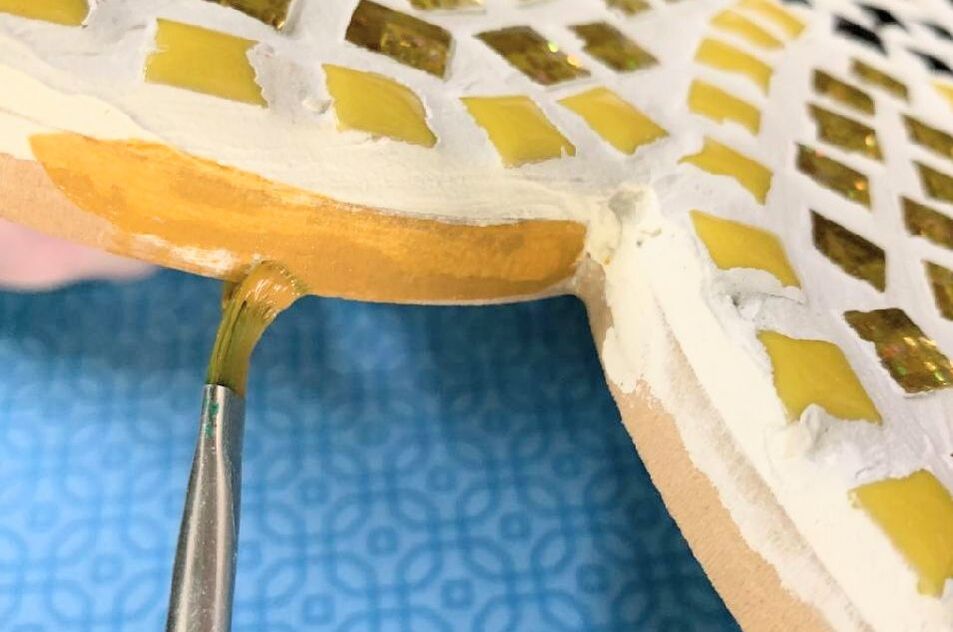
STEP 3: PAINT YOUR EDGES!Let the grout dry overnight or for at least six hours. We don't recommend using a hair dryer to speed up the process on this step, because it tends to cause the grout to crack.
When your grout has dried, you're ready to paint your edges! Use your paintbrush to apply the provided paint all the way around. This finishing touch is not necessary, but it does make the project look more complete! If you ordered sealant to accompany your kit, now is the time to apply that! One coat on the top, bottom, and edges will be perfectly sufficient! |
THERE ARE SO MANY WAYS TO DISPLAY YOUR MOSAIC MASTERPIECE!
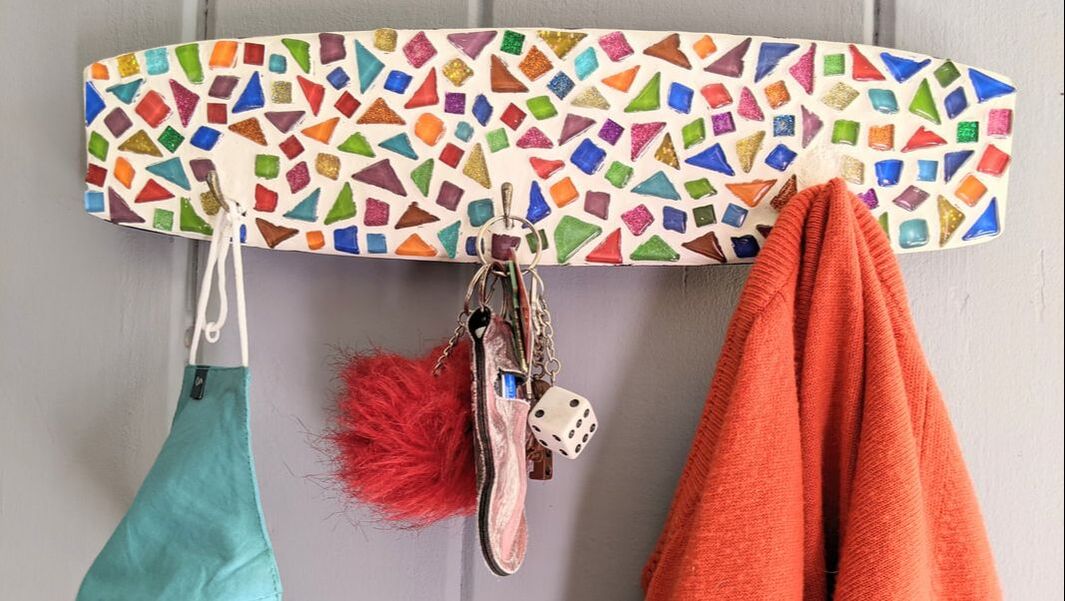
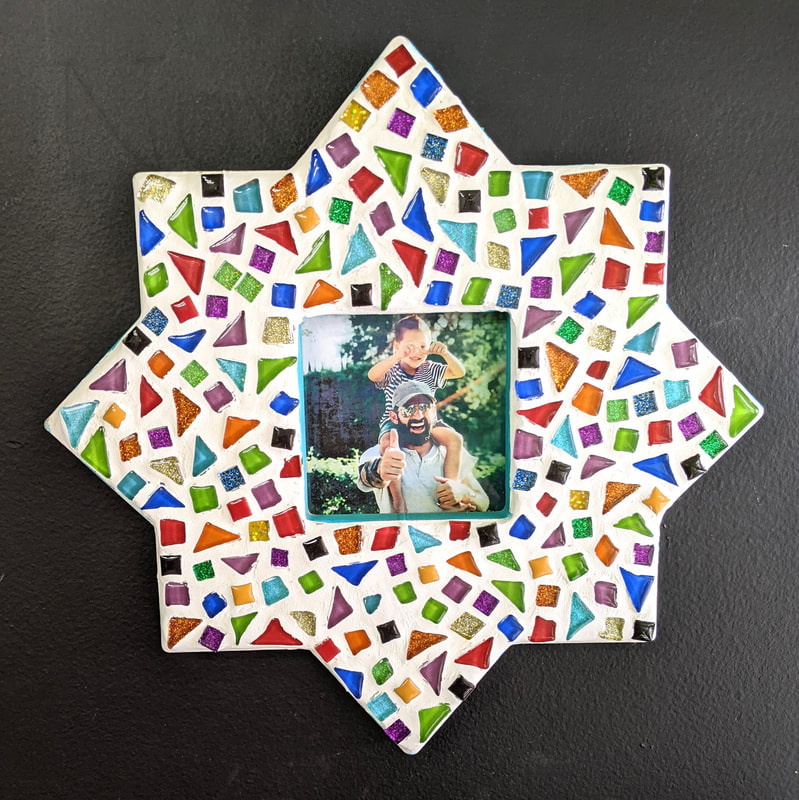
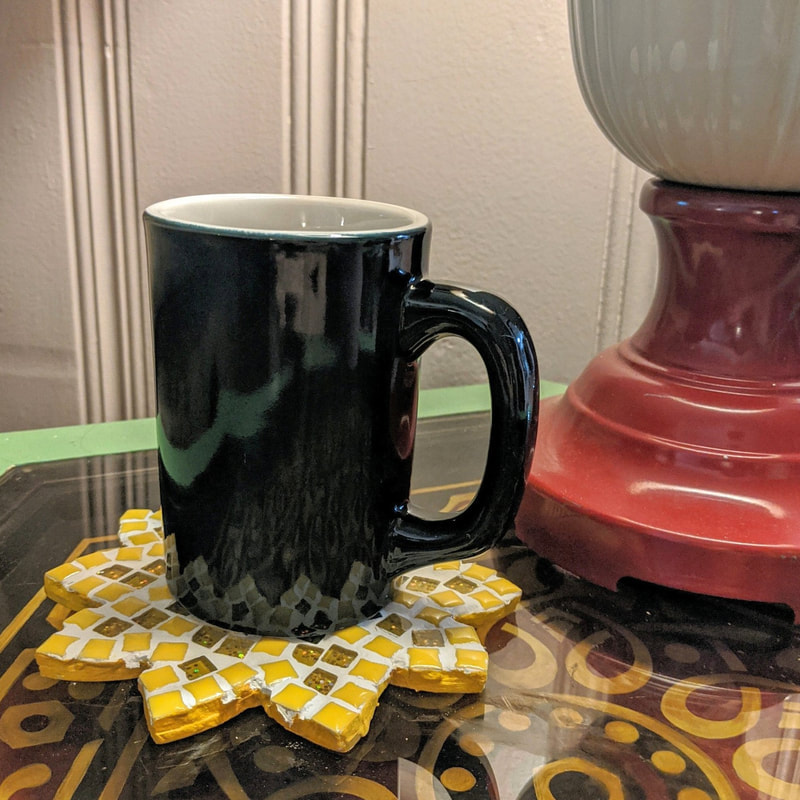
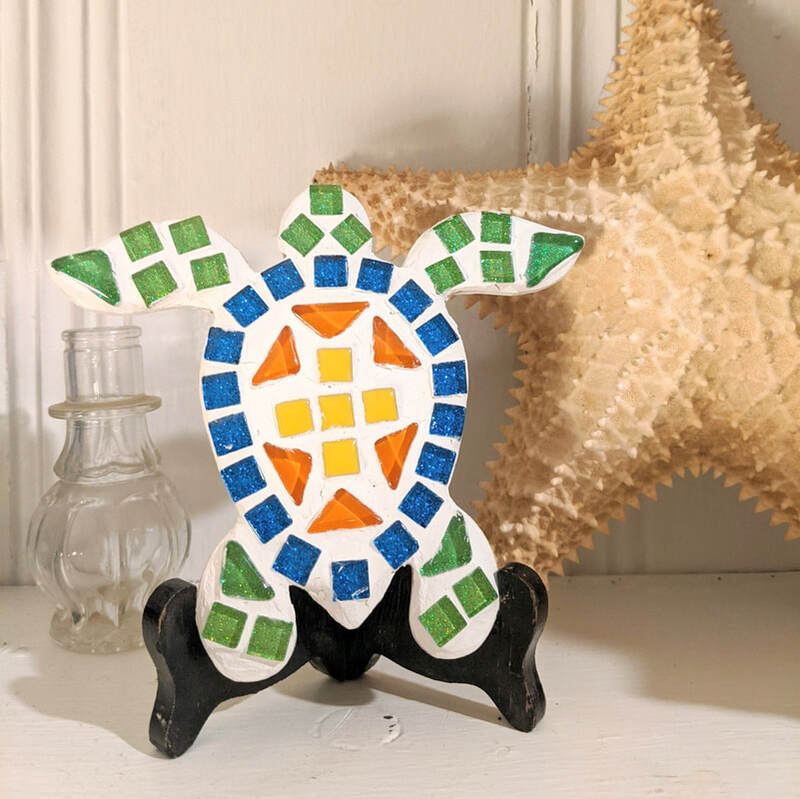
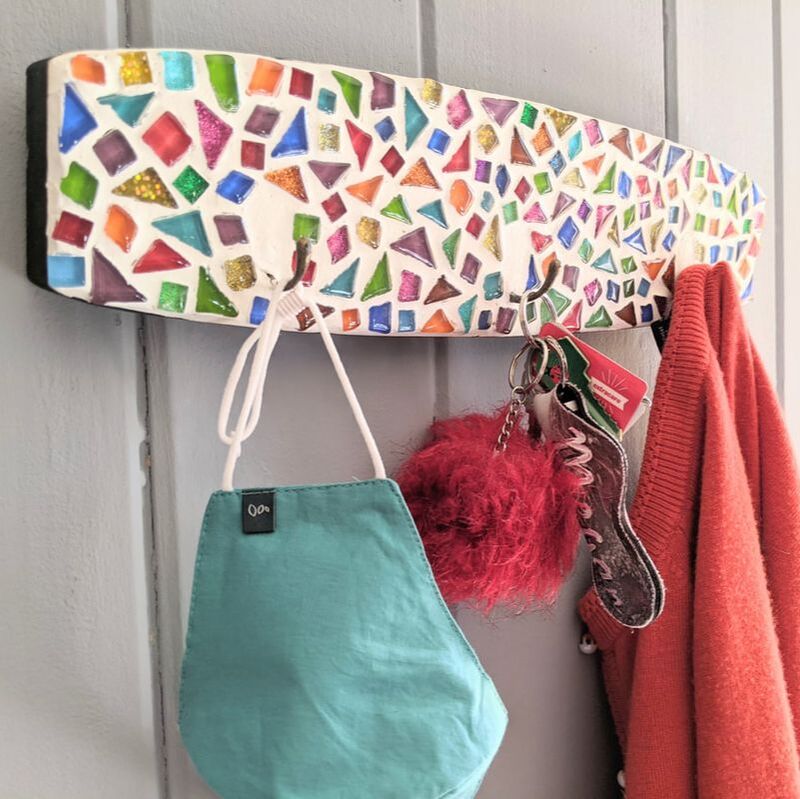
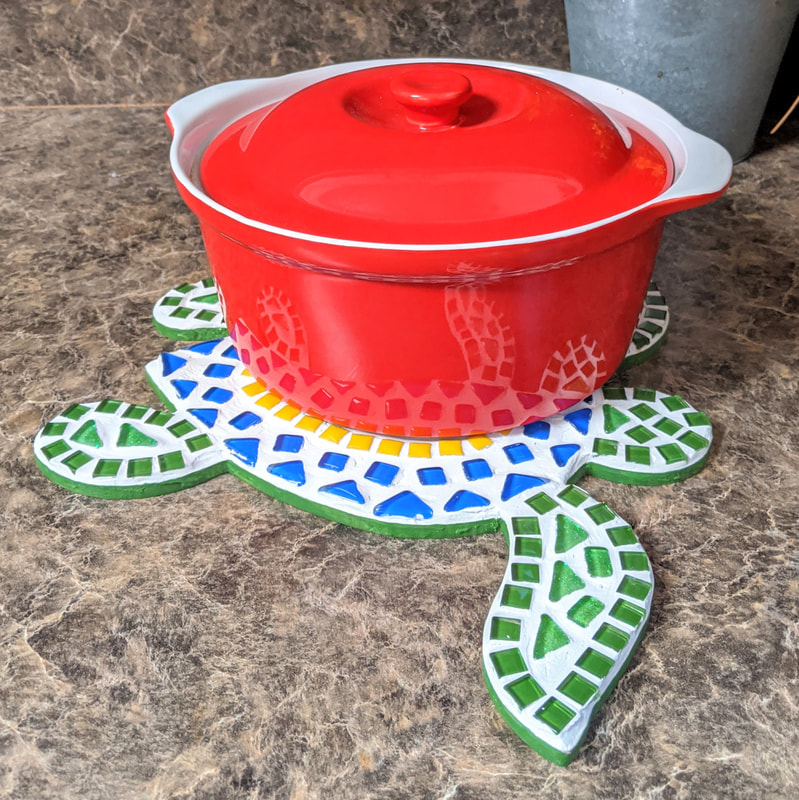
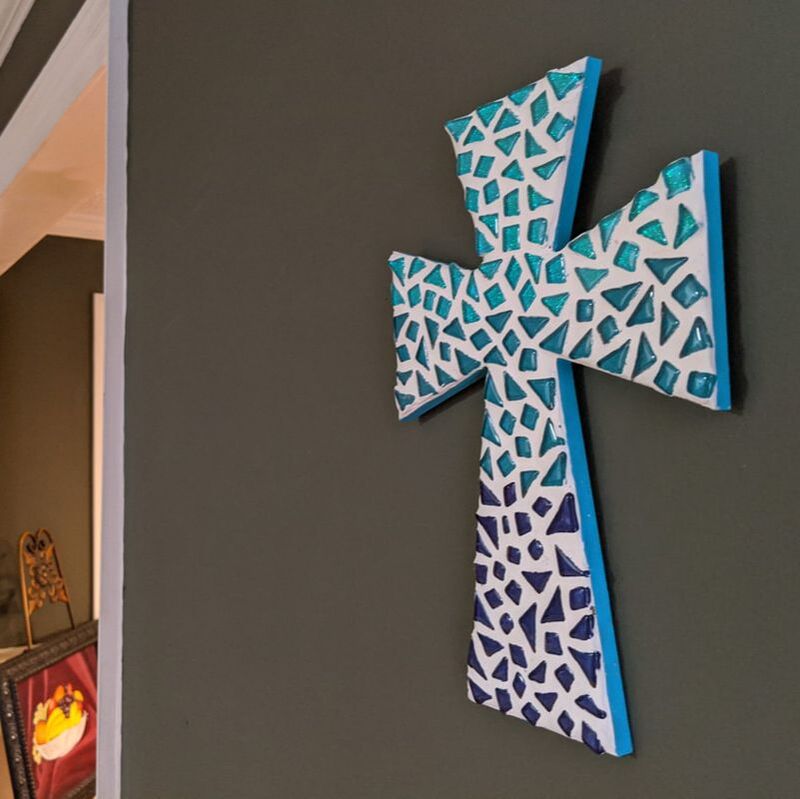
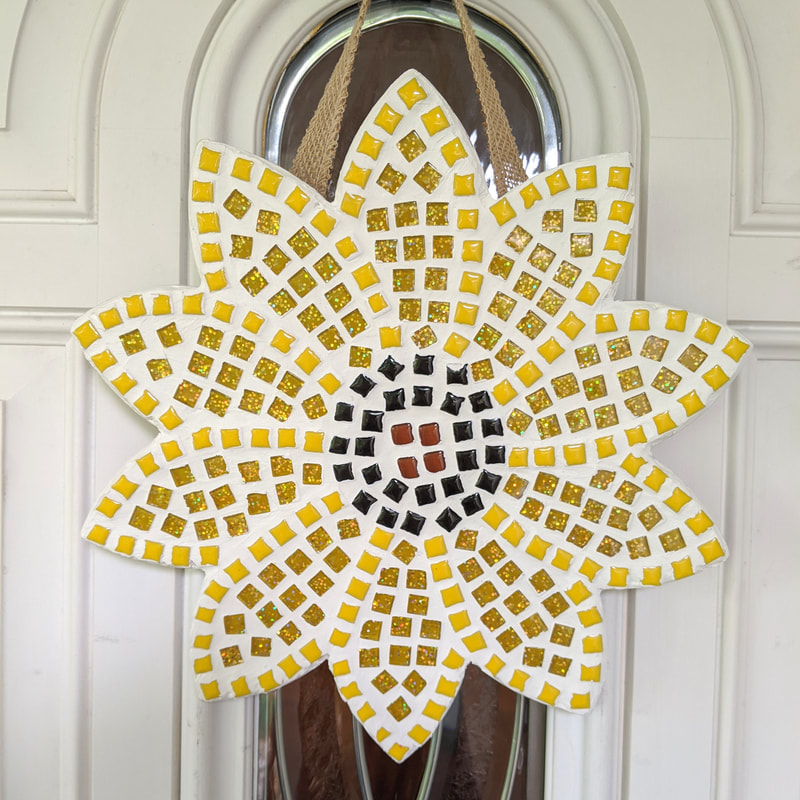
Mosaics look great on mantels and on tables with small display easels. Because they are heat resistant, they work beautifully as trivets and coasters! Throw a ribbon or hanger on the back to hang your masterpiece on a wall or front door! Our frames and key racks are incredibly functional as well as being beautiful.
LET'S DO THIS!
It's time to pick your kit! Which design best reflects your style?

